Holiday & Christmas
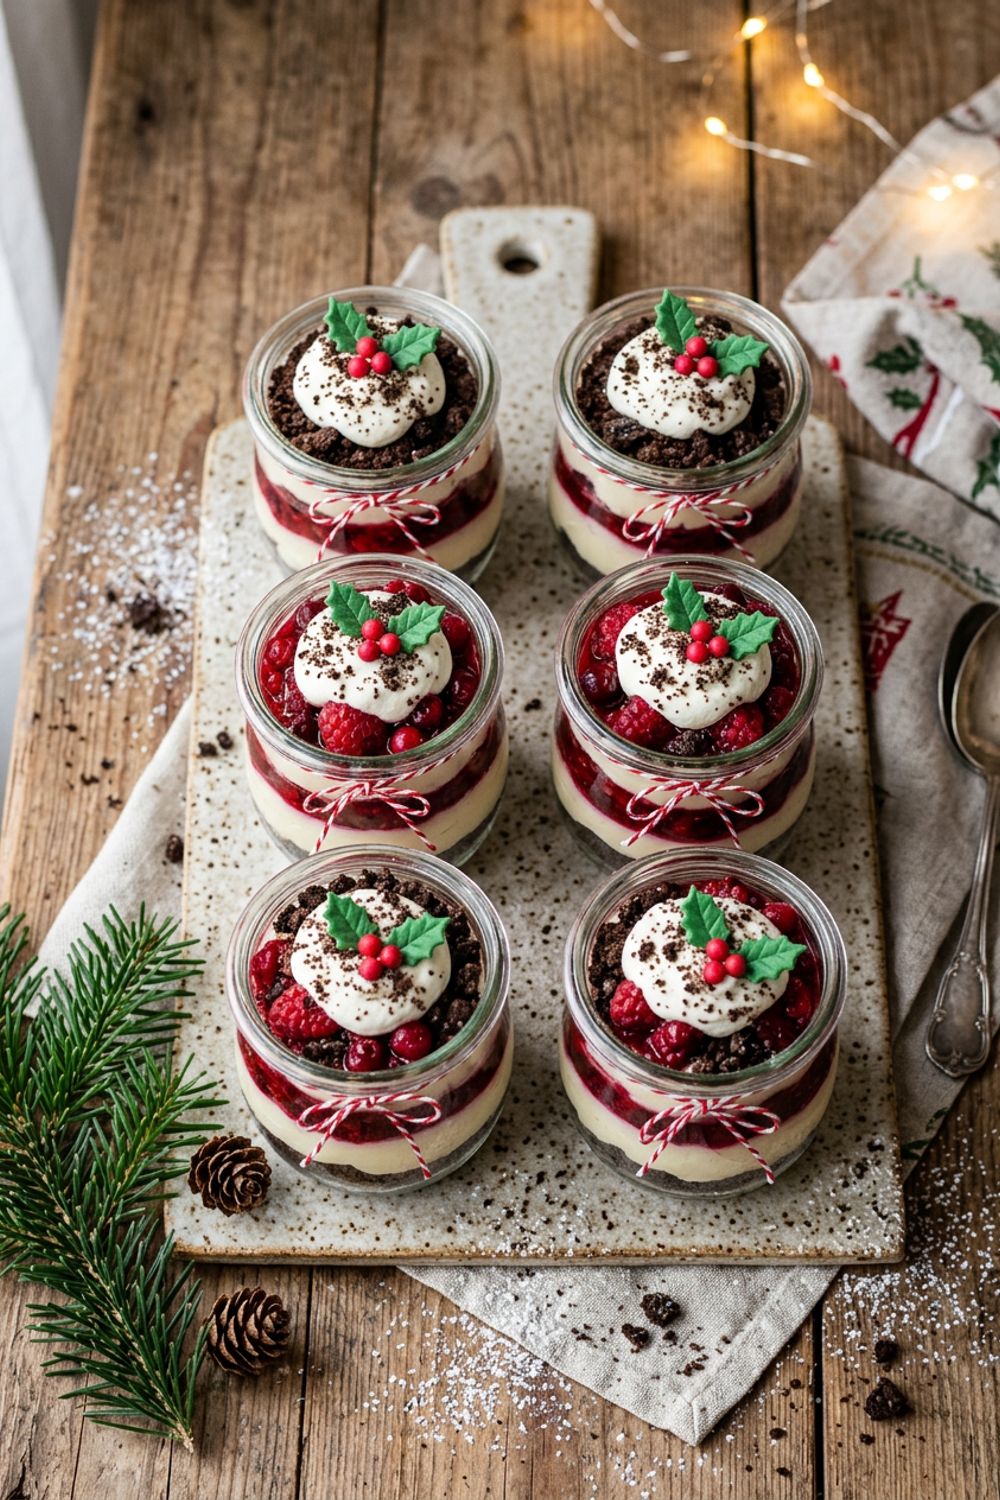
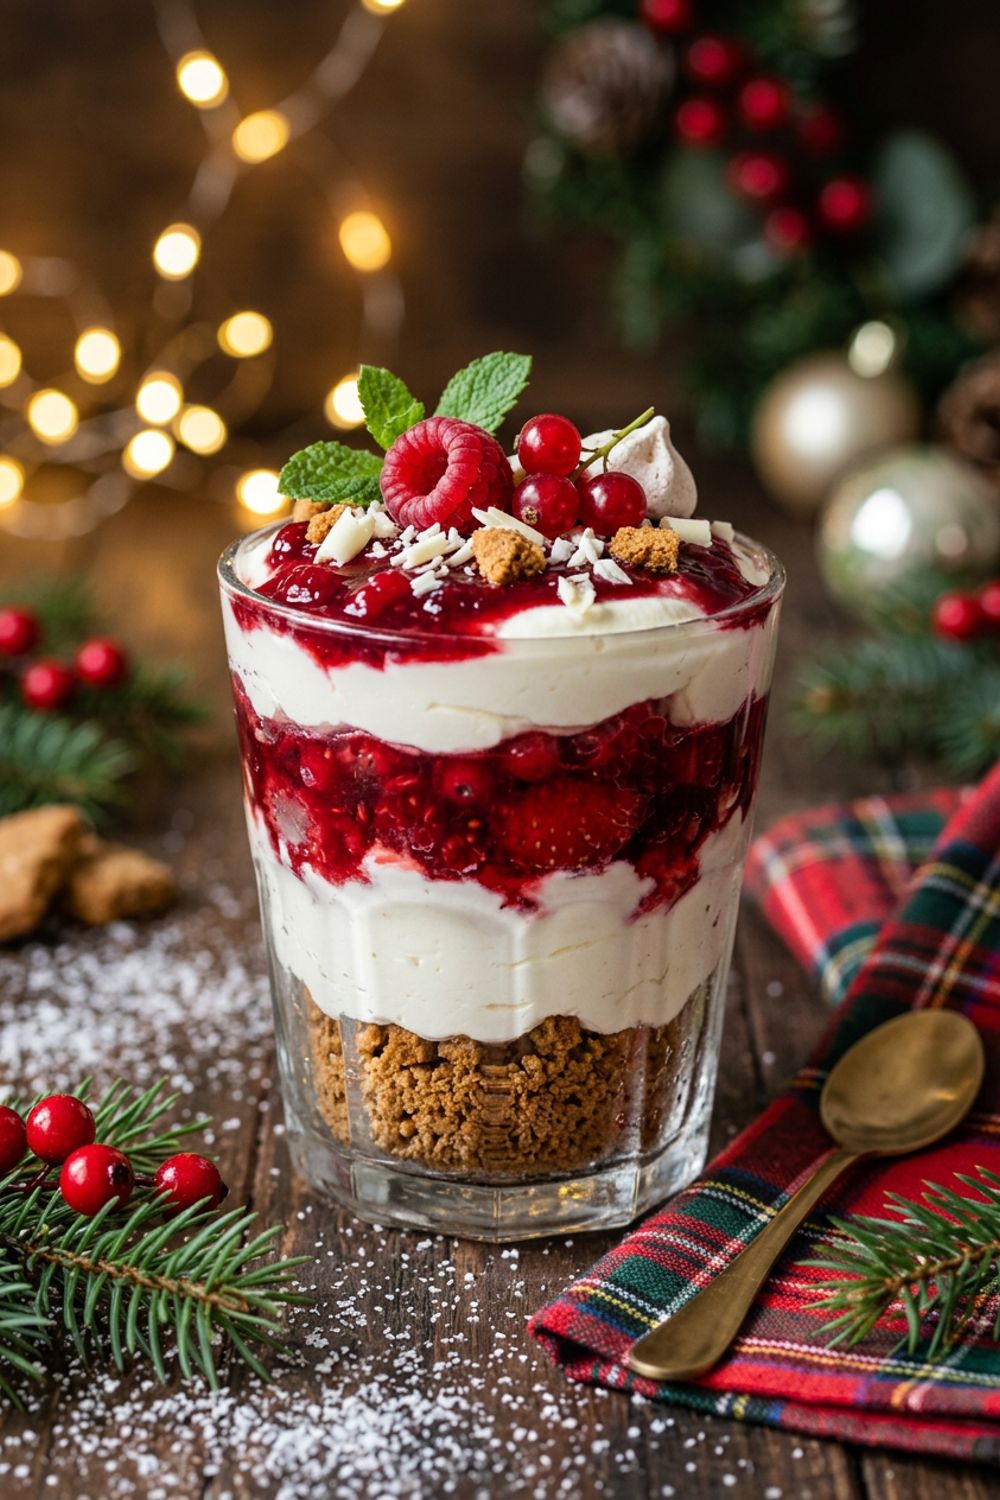
No-Bake Christmas Dessert Cups
Why These No-Bake Christmas Dessert Cups Are Special
I created these dessert cups for a Christmas party where I had exactly zero oven time to spare. The turkey was taking up the entire oven, the side dishes were being kept warm in every remaining nook, and I had promised dessert for sixteen people. In a moment of creative desperation, I grabbed some clear glasses from the cabinet, crushed up some cookies, whipped together a quick mousse, and topped everything with fresh berries. What came out of that frantic improvisation is now one of my most beloved holiday dessert recipes, and I have made them every single Christmas since.
These dessert cups solve every holiday dessert dilemma I can think of. No oven required, so your oven stays free for the main course. No baking time, so there is nothing to overbake, underbake, or burn. No complicated techniques — if you can crush cookies and whip cream, you can make these. And they can be assembled hours ahead of time, which means you are not scrambling in the kitchen while your guests are arriving. They sit patiently in the refrigerator, getting better as they chill, ready to be pulled out at the perfect moment.
But the real reason these cups have become a holiday staple is how they taste. The chocolate cookie crumble at the bottom adds a satisfying crunch and a rich cocoa flavor. The cream cheese mousse is impossibly light and airy — like eating a sweetened cloud with the faintest tang of cream cheese. And the macerated berry topping brings a burst of fresh, tart fruitiness that cuts through the richness and makes you want another spoonful immediately. The layers look absolutely beautiful through clear glass, with the dark cookie base, snow-white mousse, and ruby-red berries creating a natural Christmas color scheme. No food coloring, no sprinkles, no gimmicks — just pure, honest flavors that happen to look festive.
The Art of the Perfect Mousse
The cream cheese mousse is the star of these dessert cups, and getting the texture right is what elevates this recipe from a simple layered parfait to something that tastes like it came from a pastry shop. I want to walk you through the technique because there are a few details that make a significant difference in the final result.
The cream cheese must be fully softened before you start beating it. I take mine out of the refrigerator a full hour before I need it. Cold cream cheese is lumpy and resistant to blending, and no amount of beating will make it smooth once it has already been combined with the other ingredients. If you forget to set it out early, cut the cream cheese into small cubes and microwave for 15 seconds on low power. Check the texture — it should be soft enough to dent easily with a finger but not melted or warm.
When you beat the cream cheese, give it a solid two minutes on medium speed before adding anything else. This initial beating breaks down the protein structure and aerates the cheese, giving you a smoother, lighter base for the mousse. I scrape down the sides of the bowl halfway through to make sure there are no dense pockets hiding along the edges.
The whipping cream component is where the mousse gets its ethereal lightness. I whip the cream in a separate, chilled bowl — I put both the bowl and the whisk attachment in the freezer for 10 minutes beforehand. Cold equipment helps the cream whip faster and hold its shape better. Whip to stiff peaks, meaning when you lift the whisk, the cream forms points that stand straight up without flopping over. Stop immediately when you reach this stage — over-whipped cream turns grainy and eventually becomes butter.
Folding the whipped cream into the cream cheese is the most critical step. Use a large rubber spatula and fold gently in three additions. Add one-third of the whipped cream first and fold a bit more vigorously — this loosens the cream cheese so the remaining cream folds in without deflating. Then add the second and third portions with gentle, sweeping folds. Turn the bowl a quarter turn between each fold. Stop as soon as no white streaks remain. Over-folding is the most common mistake — it collapses the air you carefully whipped into the cream, and the mousse comes out dense instead of fluffy.
Mastering the Macerated Berry Topping
Maceration is a simple technique that transforms plain fresh berries into something extraordinary. By tossing the berries with sugar and lemon juice and letting them sit, you draw out the natural juices and create a syrupy sauce that pools around the fruit. The process takes only 15 minutes but makes a world of difference in both flavor and presentation.
The sugar does the heavy lifting through osmosis. When sugar contacts the surface of a fresh berry, it draws moisture from inside the fruit to the outside, dissolving itself in the process. This creates a thin, naturally sweet syrup that is intensely fruity and deeply colored. Two tablespoons of sugar is enough to generate a good amount of syrup without making the berries overly sweet. If your berries are very ripe and sweet on their own, you can reduce the sugar to one tablespoon.
The lemon juice serves two purposes. First, it adds a bright acidity that balances the sweetness and enhances the berry flavor — similar to how a squeeze of lemon makes everything taste more vivid. Second, the acid helps the berries maintain their red color. Without acid, the berries can oxidize slightly and turn a duller shade. One tablespoon of lemon juice is enough to keep the color vibrant and the flavor bright without making the topping taste lemony.
I use a combination of raspberries and strawberries for the best result. Raspberries are incredibly aromatic and produce a rich, ruby-colored juice when macerated. Strawberries are firmer and hold their shape better, providing structure and texture in the topping. Together, they create a complex, multi-dimensional berry experience with both saucy and chunky elements. You can substitute blueberries, blackberries, or a frozen mixed berry blend if fresh berries are not available.
Tips for Perfect No-Bake Christmas Dessert Cups
Use clear glasses for maximum visual impact. The entire appeal of these dessert cups is the visible layering — dark chocolate crumble, white mousse, red berries. If you use opaque cups or bowls, you lose that stunning cross-section effect. I use 8-ounce stemless wine glasses, but any clear glass, mason jar, or plastic dessert cup works. Even clear plastic party cups in a pinch — the flavor is the same regardless of the vessel.
Keep the layers distinct. The biggest mistake people make with layered desserts is creating muddy, blurred layers that blend together. To keep the layers crisp and separate, pack the cookie crumble firmly at the bottom so it creates a solid base. Spoon the mousse carefully, starting from the center and working outward, so it does not drag cookie crumbs up the sides of the glass. When adding the berries, spoon them gently on top of the mousse rather than dumping them, which can crater the surface.
Pipe the mousse for a professional look. Instead of spooning the mousse into the cups, transfer it to a large piping bag fitted with a large round or star tip. Pipe the mousse in a slow spiral from the edges to the center. This creates a smoother, more even surface and looks much more polished than a spooned layer. If you do not have a piping bag, cut the corner off a large resealable bag — it works nearly as well.
Chill before serving but not too long. Thirty minutes to one hour in the refrigerator gives the mousse time to set slightly, making the cups easier to eat and the layers more stable. However, if you chill them for more than 8 hours, the cookie crumble can absorb moisture from the mousse and lose its crunch. For the best texture contrast, assemble 1 to 2 hours before serving.
Make the white chocolate shavings yourself. Use a vegetable peeler to shave curls from a block of white chocolate. Hold the chocolate block at an angle and drag the peeler along the flat side in long, slow strokes. The curls look much more elegant than store-bought white chocolate chips. If the chocolate is too cold and brittle, microwave it for 5 seconds to soften slightly.
Variations to Try
Peppermint Mocha Cups. Replace the berry topping with a chocolate ganache made by heating 1/2 cup heavy cream and pouring it over 4 oz chopped dark chocolate. Stir until smooth and let cool slightly. Add 1/4 teaspoon peppermint extract to the cream cheese mousse. Layer the cups with cookie crumble, peppermint mousse, and a drizzle of chocolate ganache. Garnish with crushed candy canes for a holiday classic.
Gingerbread Cheesecake Cups. Use crushed gingersnap cookies instead of chocolate sandwich cookies for the base. Add 1/2 teaspoon ground ginger and 1/4 teaspoon ground cinnamon to the cream cheese mousse. Top with a drizzle of caramel sauce and a small gingersnap cookie for garnish. This spiced version is incredibly festive and tastes like gingerbread cheesecake in a cup.
Lemon Berry Trifle Cups. Add 2 tablespoons of lemon curd to the cream cheese mousse for a bright, citrusy flavor. Use crushed vanilla wafers instead of chocolate cookies. Layer with the macerated berries and top with a tiny dollop of lemon curd and a fresh blueberry. This lighter version is perfect for guests who find the chocolate version too rich.
Tiramisu-Style Holiday Cups. Brush ladyfinger pieces with cooled espresso mixed with 1 tablespoon Kahlua. Use mascarpone cheese in place of cream cheese in the mousse. Layer the espresso-soaked ladyfingers with the mascarpone mousse. Dust the top with cocoa powder. This elegant Italian-inspired variation is perfect for coffee lovers and makes a sophisticated after-dinner dessert.
How to Store No-Bake Christmas Dessert Cups
Assembled dessert cups keep well in the refrigerator for up to 8 hours when covered with plastic wrap. After 8 hours, the cookie crumble begins to soften as it absorbs moisture from the mousse. This does not affect the flavor — the softened crumble tastes like a cheesecake crust — but if you prefer the crunch contrast, serve within a few hours of assembly.
For longer make-ahead prep, store the components separately. The cookie crumble mixture (with melted butter) can be made up to 3 days ahead and stored in an airtight container at room temperature. The cream cheese mousse can be made up to 24 hours ahead and stored covered in the refrigerator — give it a gentle stir before layering to restore its fluffy texture. The macerated berries are best made the same day but can be prepared up to 12 hours in advance.
Leftover individual cups that have already been assembled can be covered with plastic wrap and refrigerated for up to 2 days. The layers will have merged slightly, but the flavor remains excellent. I actually find day-old cups have a more cohesive, cheesecake-like flavor profile that I really enjoy.
Troubleshooting Common Issues
The mousse is lumpy. The cream cheese was not soft enough before beating. If you already see lumps, push the mousse through a fine-mesh sieve to remove them before folding in the whipped cream. For future batches, ensure the cream cheese is truly at room temperature — soft enough that a finger leaves an imprint easily.
The mousse is too runny and will not hold its shape. The whipping cream was not whipped to stiff peaks, or the folding was too vigorous and deflated the cream. If the mousse is runny, refrigerate it for 20 minutes and then try piping or spooning again — it may set up enough to work. For next time, whip the cream fully to stiff peaks and fold more gently.
The berry topping is too juicy and flooding the mousse. The berries released more juice than expected. Use a slotted spoon to place the berries on top of the mousse, leaving most of the juice behind in the bowl. Drizzle just a teaspoon or two of the juice over each cup for color and flavor without flooding. Save the extra juice — it is delicious stirred into sparkling water.
The cookie crumble is too dry and crumbly. Add more melted butter, one teaspoon at a time, until the crumble holds together when pressed. It should feel like damp sand that clumps when squeezed. If it is completely dry and dusty, it will not form a cohesive layer at the bottom of the cup and will just scatter when guests try to scoop through it.
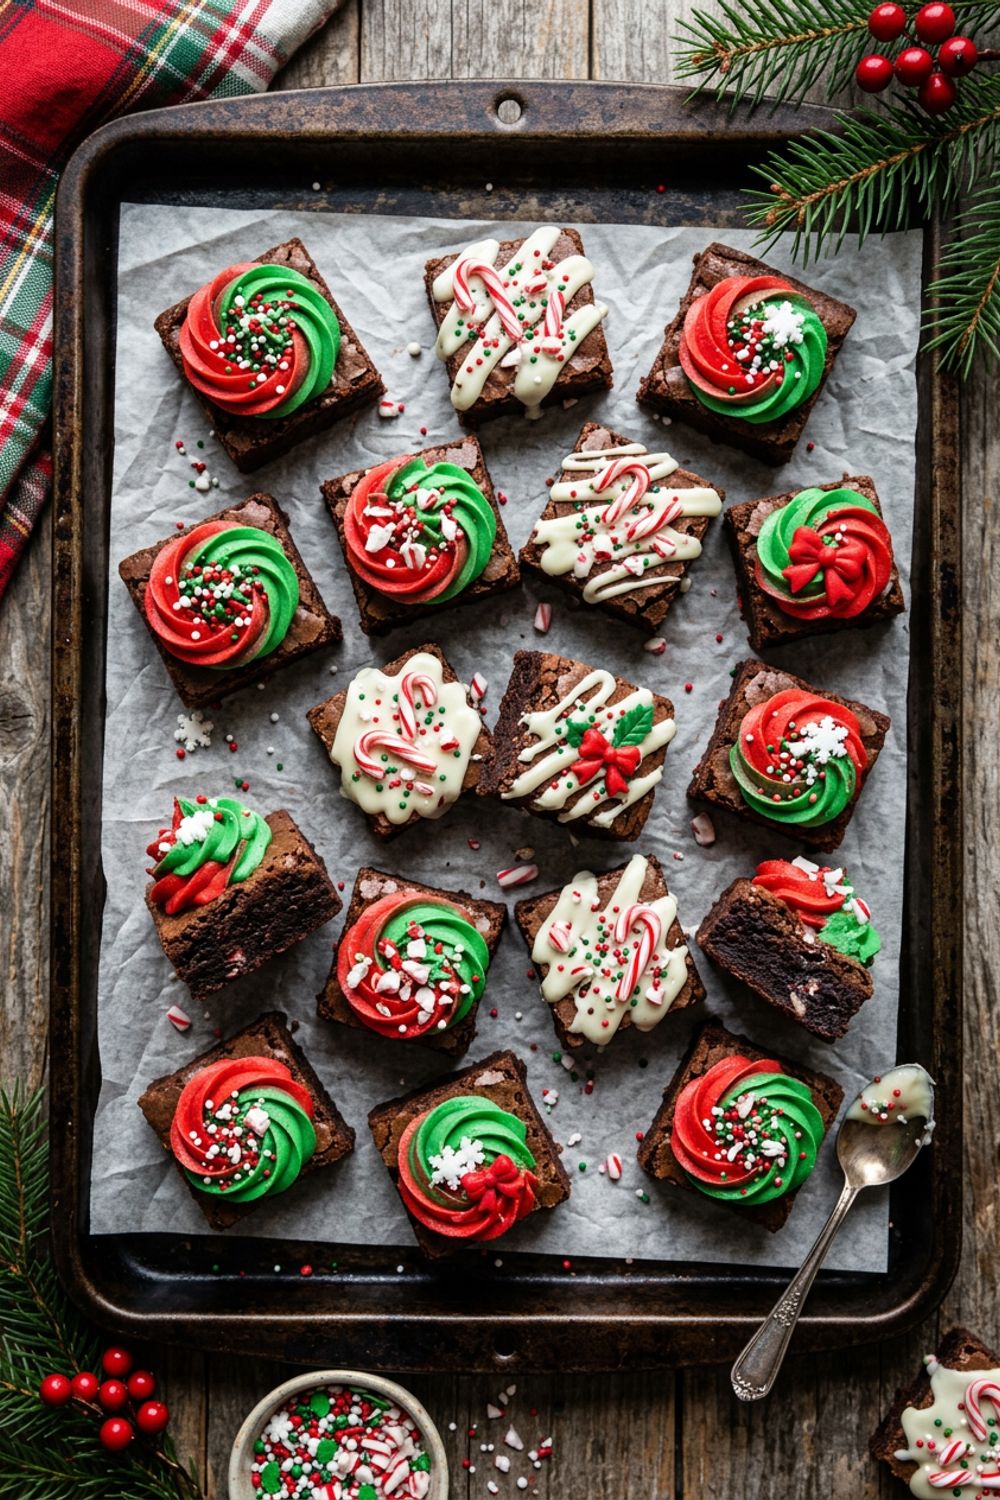
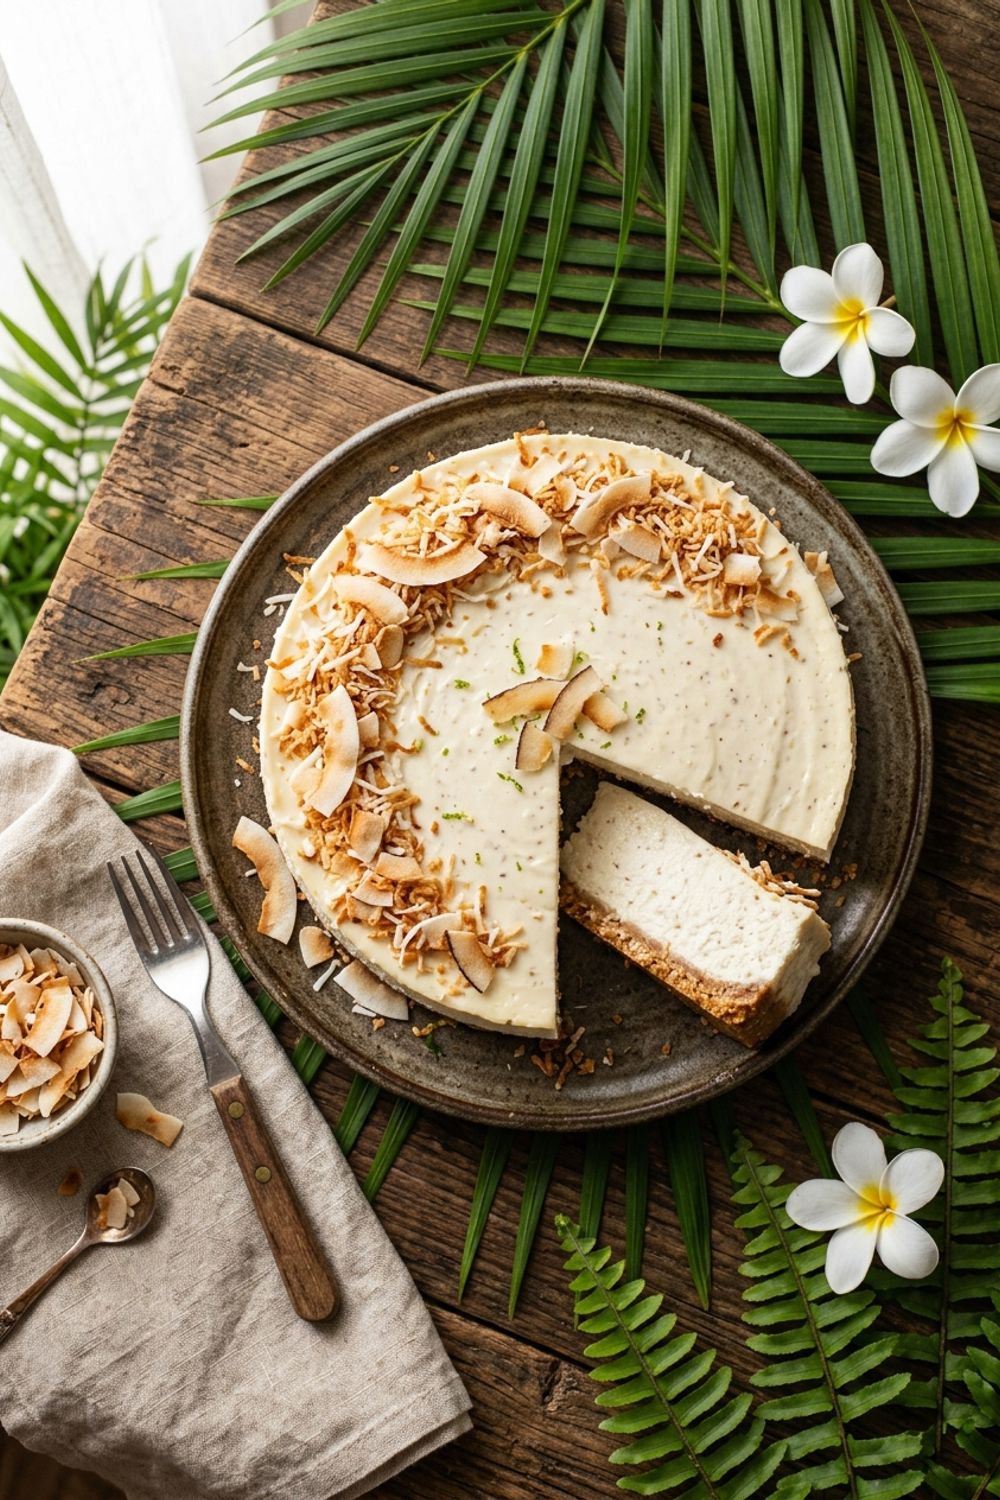
For more holiday desserts, I love pairing these cups with my christmas brownie bites for a chocolate-lover’s dessert table, or serving them after my christmas appetizer skewers as the sweet finale. And if you are a cheesecake fan, my churro cheesecake recipe takes the cream cheese flavor in a completely different, equally delicious direction.
Never Miss a Recipe
Join 5,000+ home cooks and get new recipes straight to your inbox.
Ingredients
Cookie Crumble Layer
Cream Cheese Mousse Layer
Berry Topping
Garnish
Instructions
- 1
Make the Cookie Crumble
Place the chocolate sandwich cookies in a large resealable bag and crush them with a rolling pin until you have a mix of fine crumbs and small chunks. You want some texture, not a uniform powder. Transfer the crushed cookies to a bowl and stir in the melted butter until every crumb is moistened. The butter helps the crumble hold together slightly at the bottom of the cup.
- 2
Prepare the Berry Topping
Combine the raspberries, diced strawberries, granulated sugar, and lemon juice in a bowl. Gently toss to coat. Let the berries macerate for at least 15 minutes while you prepare the mousse. The sugar draws out the berry juices and creates a naturally sweet, ruby-red sauce that will pool beautifully on top of the mousse.
- 3
Make the Cream Cheese Mousse
In a large bowl, beat the softened cream cheese with an electric mixer on medium speed until smooth and fluffy, about 2 minutes. Add the powdered sugar and vanilla extract and beat until fully incorporated with no lumps remaining. In a separate chilled bowl, whip the heavy cream and almond extract to stiff peaks, about 3 to 4 minutes. Gently fold the whipped cream into the cream cheese mixture in three additions, being careful not to deflate the whipped cream. The mousse should be light, airy, and cloud-like.
- 4
Layer the Cookie Crumble
Spoon 2 to 3 tablespoons of the buttered cookie crumble into the bottom of each serving cup or glass (8-ounce clear glasses work best). Press down gently with the back of the spoon to create a compact, even layer about 1/2 inch thick. The clear glass will show off all the beautiful layers, so try to keep the crumble level and clean on the sides.
- 5
Layer the Mousse and Berries
Spoon or pipe the cream cheese mousse over the cookie layer, filling each cup about two-thirds full. Smooth the top with the back of a spoon. Spoon the macerated berries and their juices over the mousse. The red berries against the white mousse creates a stunning Christmas color contrast. If any berry juice drips down the side of the glass, wipe it clean with a damp paper towel for the neatest presentation.
- 6
Garnish and Chill
Top each cup with white chocolate shavings, a few extra fresh raspberries, and a small mint leaf. Dust lightly with powdered sugar for a snowy effect. Refrigerate for at least 30 minutes before serving to allow the layers to set and the flavors to meld. The cups can be made up to 8 hours ahead and kept covered in the refrigerator.
Nutrition Information
Per serving (serves 8). Values are approximate.
| Calories | 320 calories |
| Total Fat | 21g |
| Saturated Fat | 12g |
| Carbohydrates | 30g |
| Sugar | 20g |
| Protein | 4g |
| Sodium | 230mg |
| Fiber | 2g |
* Percent Daily Values are based on a 2,000 calorie diet. Your daily values may be higher or lower depending on your calorie needs. Nutritional information is an estimate and may vary.
Frequently Asked Questions
Can I make these dessert cups the day before?
Yes, but with a small adjustment. Assemble the cookie crumble and mousse layers the night before and refrigerate. Add the berry topping and garnishes within 2 hours of serving. If you add the berries too early, their juices will soak into the mousse and make it pink, which still tastes fine but loses the clean layered look.
What can I use instead of chocolate sandwich cookies?
Graham crackers, vanilla wafers, ginger snaps, or shortbread cookies all work beautifully. Graham crackers give a more subtle, honey-like base. Ginger snaps add a warm, spicy note that is very festive. Shortbread creates a rich, buttery crumble. Adjust the melted butter amount — drier cookies may need a bit more.
Can I use frozen berries instead of fresh?
Yes, but thaw them completely and drain off excess liquid before using. Frozen berries will be softer and release more juice, which can make the topping slightly more saucy. This is not necessarily a bad thing — the extra sauce can look beautiful pooling over the mousse.
Can I make these dairy-free?
Yes. Use a plant-based cream cheese and coconut whipping cream. Make sure the plant-based cream cheese is at room temperature for the smoothest texture. Coconut whipping cream whips best when the can has been refrigerated overnight and you use only the solid cream, not the liquid.

Hi, I'm Lisa!
I create simple, tested recipes from around the world that anyone can make at home.
Learn More →Reader Reviews
Based on 89 reviews