Holiday & Christmas
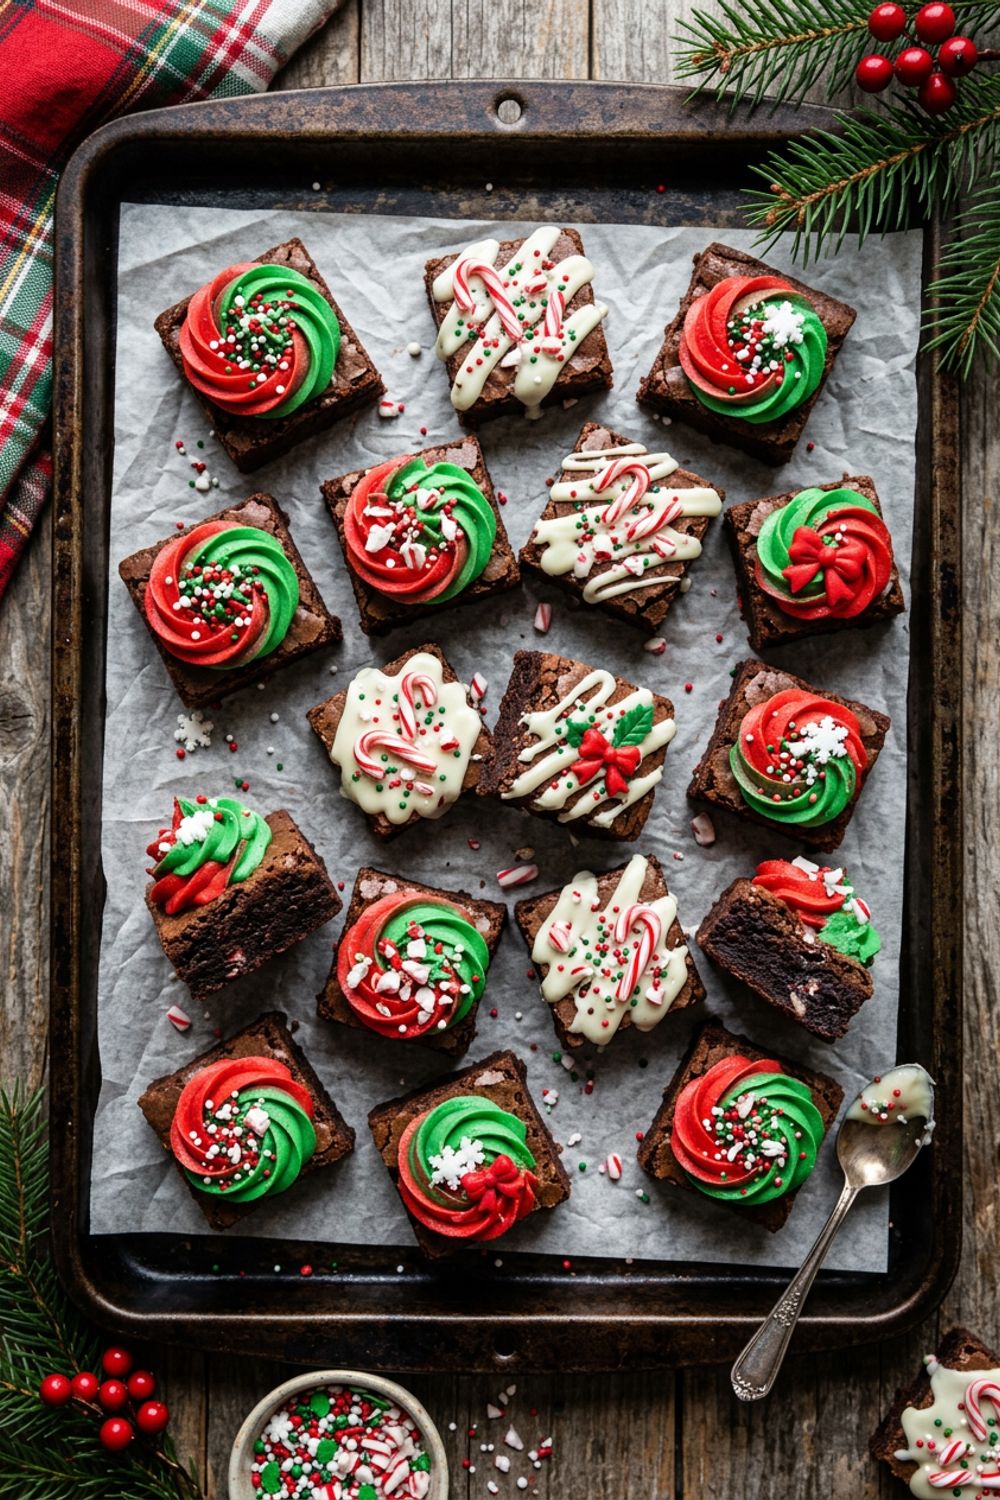
Christmas Brownie Bites
Why These Christmas Brownie Bites Are Special
I have a theory that brownies are the most universally loved baked good in existence. I have never once met a person who said “no thanks” to a brownie. Not once. And when you take that universally adored fudgy brownie, shrink it down into an adorable bite-sized portion, top it with a swirl of cool peppermint buttercream, and finish it with festive holiday sprinkles, you have created what I believe is the perfect Christmas dessert. Bold claim, I know, but these brownie bites earn it every single time I make them.
What makes these brownie bites truly special is the contrast of textures and flavors in every single bite. The brownie itself is dense, fudgy, and intensely chocolatey — made with real melted chocolate plus cocoa powder for a double-chocolate punch that coats your mouth in rich, bittersweet flavor. The peppermint buttercream on top is light, airy, and refreshing — it cuts through the richness of the brownie with a cool, minty sweetness that makes you immediately want another one. And the crunch of the holiday sprinkles and crushed candy canes adds a textural surprise that keeps each bite interesting from the first crunch to the last fudgy chew.
I designed this recipe specifically for holiday entertaining because the bite-sized format solves so many problems. There is no cutting required, no plates or forks needed, and guests can grab one or two without committing to a full dessert portion. They are perfect for cookie exchanges because they stand out from the usual sugar cookies and gingerbread that everyone else brings. They look impressive enough for a formal holiday party but are casual enough for a family movie night. And they freeze beautifully, which means you can make a massive batch in November and pull them out throughout December whenever you need a quick dessert for an unexpected gathering.
The Secret to Fudgy (Not Cakey) Brownie Bites
The eternal brownie debate — fudgy versus cakey — is one I have strong feelings about. I am firmly in the fudgy camp, and these brownie bites are designed to be as dense, moist, and chocolatey as possible. Achieving that fudgy texture in a mini muffin tin requires understanding what makes a brownie fudgy versus cakey, because the small format amplifies any textural mistakes.
Fudgy brownies get their texture from a high ratio of fat to flour. In this recipe, you have 1/2 cup of butter plus 4 ounces of chocolate (which contains cocoa butter) against only 1/2 cup of flour. That means fat dominates the structure, creating a dense, moist crumb rather than a light, airy one. If you add more flour, the brownie becomes more cake-like because the additional gluten provides lift and structure. Stick to the exact flour measurement for the fudgiest result.
The mixing technique matters enormously. I fold the dry ingredients into the wet with a spatula using as few strokes as possible — ideally 15 to 20 gentle folds. Every additional stroke develops more gluten in the flour, which creates a chewier, tighter, more cake-like texture. Under-mixing is not really a concern here — even if you see a few small streaks of flour, they will disappear during baking. Over-mixing, however, will cost you that melt-in-your-mouth fudginess.
The baking time is the most critical variable with brownie bites because their small size means the margin between fudgy and overbaked is very thin. In a standard brownie pan, you have several minutes of buffer. In a mini muffin tin, you might have only 1 to 2 minutes between perfectly fudgy and disappointingly dry. I start checking at 14 minutes and pull them the moment a toothpick comes out with moist, sticky crumbs attached. If the toothpick comes out clean, they have already gone too far. Better to err on the side of slightly underdone — the residual heat in the tin will continue cooking them for another minute or two as they rest.
Mastering Peppermint Buttercream
The peppermint buttercream is the crown that transforms a simple brownie bite into a show-stopping holiday dessert. Getting it right — smooth, fluffy, and perfectly flavored — requires attention to a few key details that I have learned through years of frosting cakes and cupcakes.
The butter must be genuinely softened, not cold and not melted. Softened butter means it yields to gentle pressure from a finger but still holds its shape. If it is too cold, the buttercream will be lumpy and stiff. If it is too warm or melted, it will be greasy and soupy. I leave my butter on the counter for a full hour, or I cut it into small pieces to speed up the process. The butter should be about 65 to 68°F — cool to the touch but easily smushable.
Beating the butter for a full 3 minutes before adding the sugar is a step most people rush. During those 3 minutes, air is being whipped into the butter, which is what gives the frosting its light, fluffy texture. Under-beaten butter produces a dense, heavy frosting. I beat on medium-high speed and watch the butter transform from pale yellow to nearly white — that color change tells you enough air has been incorporated.
Sifting the powdered sugar is not optional. Unsifted powdered sugar contains lumps that will not dissolve during mixing, leaving your frosting grainy with tiny hard bits. I sift the sugar directly into the beating butter, one cup at a time, which also prevents the sugar from flying everywhere and coating your kitchen in a white cloud. Adding it gradually gives you better control over the final sweetness too — you can taste after the first cup and decide if you need the full amount.
The peppermint extract is potent, so use it carefully. I start with 1/2 teaspoon, which provides a noticeable but balanced peppermint flavor. If you want a stronger mint punch, add 1/4 teaspoon more and taste again. It is much easier to add more peppermint than to fix an overly minty frosting. If you accidentally over-mint the frosting, you can dilute the flavor by beating in an extra 2 tablespoons of butter and 1/4 cup of powdered sugar.
Tips for Perfect Christmas Brownie Bites
Grease the mini muffin tin thoroughly. Even with nonstick spray, brownie batter has a tendency to grip the sides of mini muffin cups. I spray each cup, then use a paper towel to wipe a thin, even layer into every surface, including the rim. For the easiest release, use mini cupcake liners — the brownie bites pop right out and the liners add a festive presentation element if you choose red or green holiday-themed liners.
Use a cookie scoop for even portioning. A tablespoon-sized cookie scoop (about 1 tablespoon capacity) gives you perfectly even brownie bites every time. Scoop the batter, level it off, and drop it into each cup. Even portioning means even baking, which means every brownie bite on the batch is fudgy and perfect rather than some being done and others being raw. It also speeds up the filling process dramatically compared to spooning batter into 24 tiny cups.
Cool completely before frosting. I know it is tempting to frost while the brownie bites are still warm, but warm brownies will melt the buttercream, creating a soupy mess instead of a beautiful swirl. Let the brownie bites cool in the tin for 10 minutes, then transfer to a wire rack for another 20 to 30 minutes. They should be completely room temperature before a single dot of frosting touches them.
Pipe for the prettiest presentation. A piped swirl looks infinitely more professional than a spread or dolloped frosting. Use a large star tip (I love the Wilton 1M) and pipe in a spiral motion starting at the outer edge and working up to a peak in the center. Apply steady, even pressure and lift quickly at the top to create a clean point. Practice on a piece of parchment paper first if you are new to piping — you can scrape the frosting up and re-pipe.
Add decorations while the frosting is still soft. Sprinkles, crushed candy canes, and drizzled white chocolate need to adhere to the frosting surface, which only works when the buttercream is still slightly tacky. Decorate each brownie bite within a minute or two of piping. If the frosting crusts over before you finish, the decorations will slide off. Work in small batches — pipe and decorate six at a time rather than piping all 24 and then going back to decorate.

Variations to Try
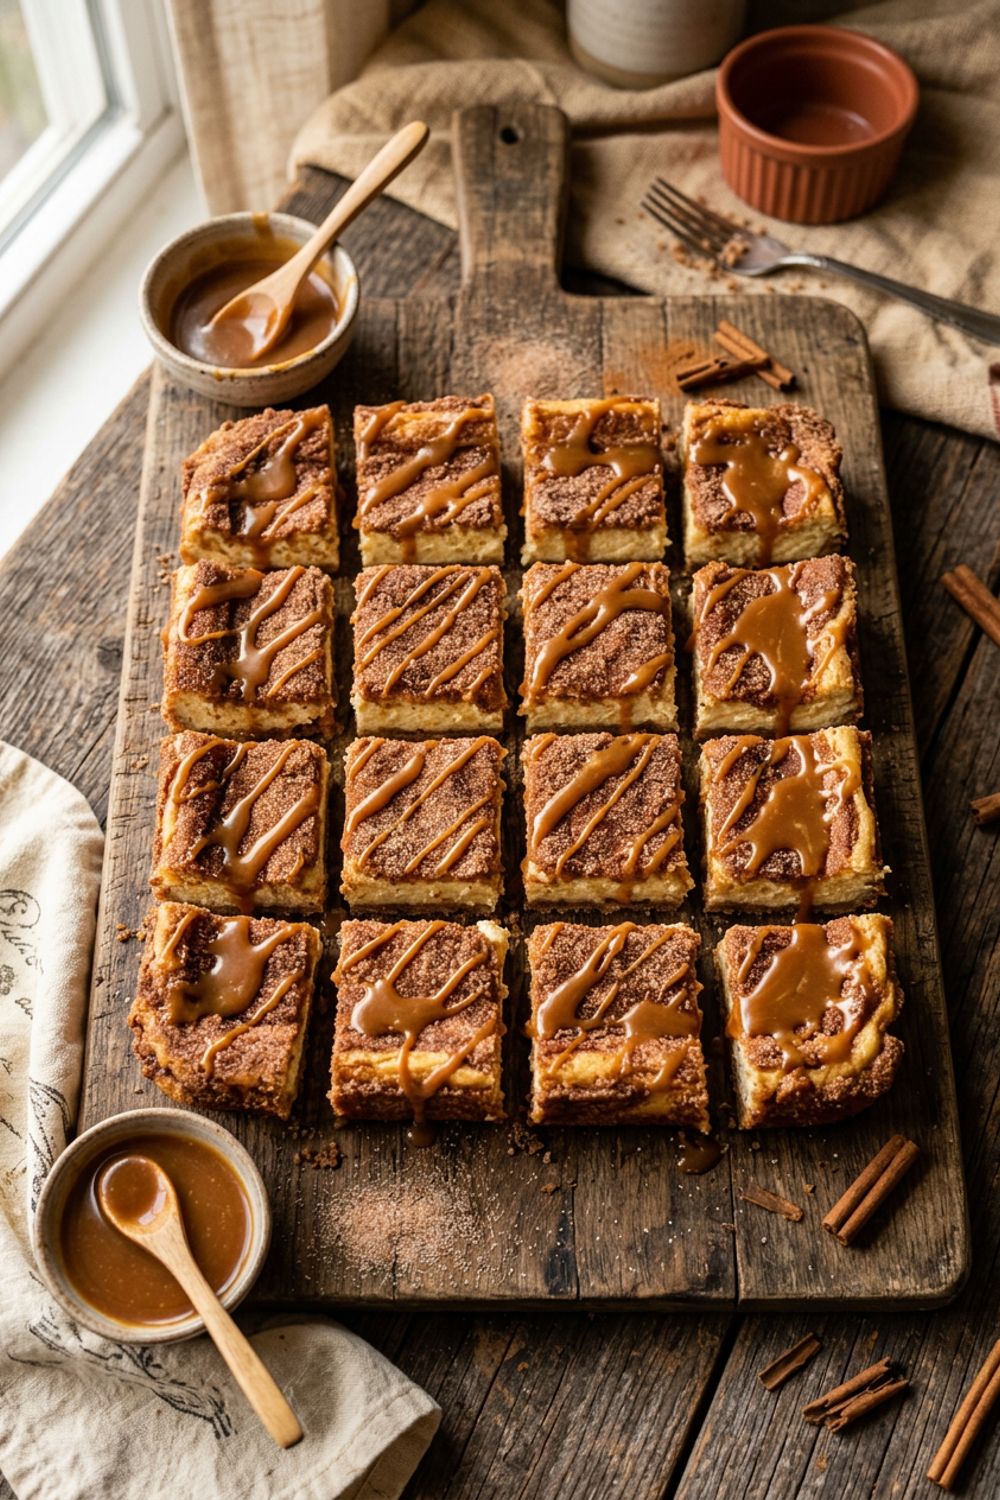
Salted Caramel Brownie Bites. Skip the peppermint frosting and top each brownie bite with a drizzle of store-bought or homemade salted caramel sauce and a sprinkle of flaky sea salt. The sweet-salty combination with the rich chocolate is absolutely addictive. For an extra indulgent version, press a small caramel candy into the center of each cup before baking so it melts into a gooey pocket inside the brownie.
Red Velvet Brownie Bites. Add 1 tablespoon of red food coloring and 1 teaspoon of white vinegar to the brownie batter, and reduce the cocoa powder to 2 tablespoons. Top with a cream cheese frosting made from 4 oz cream cheese, 1/4 cup butter, 1.5 cups powdered sugar, and 1 teaspoon vanilla. The red brownie with white cream cheese frosting is a stunning Christmas color combination.
S’mores Brownie Bites. Press a small piece of graham cracker into the bottom of each muffin cup before adding the brownie batter. After baking, top each brownie bite with a mini marshmallow and broil for 30 to 60 seconds until the marshmallow is golden and puffy. Drizzle with melted milk chocolate. These disappear at parties faster than any other variation I have tried.
Espresso Brownie Bites. Add 2 teaspoons of instant espresso powder to the melted chocolate and butter. Replace the peppermint buttercream with a coffee buttercream by substituting the peppermint extract with 1 tablespoon of cooled espresso and 1 teaspoon of Kahlua. Garnish with a single chocolate-covered espresso bean on top of each frosting swirl.
How to Store Christmas Brownie Bites
Unfrosted brownie bites store differently from frosted ones, and knowing the difference helps you plan your holiday baking schedule. Unfrosted brownie bites can be stored in an airtight container at room temperature for up to 3 days. They keep their fudgy texture best at room temperature — refrigeration can dry out the edges.
Frosted brownie bites should be stored in a single layer in an airtight container in the refrigerator for up to 5 days. The buttercream needs refrigeration to maintain its shape and prevent the butter from softening. Let them sit at room temperature for 10 minutes before serving so the buttercream softens to a creamy consistency rather than being hard and waxy.
For freezing, I recommend freezing the brownie bites and the frosting separately. Freeze unfrosted brownie bites in a single layer on a baking sheet until solid, then transfer to a freezer bag for up to 3 months. Freeze the buttercream in an airtight container for up to 2 months. Thaw both in the refrigerator overnight, re-whip the frosting briefly, and pipe fresh for the best presentation. If you must freeze them fully assembled, freeze in a single layer first, then stack with parchment paper between layers.
Troubleshooting Common Issues
The brownie bites are dry and crumbly. They were overbaked. Mini muffin tins conduct heat very efficiently, and the small portions dry out quickly. Check at 14 minutes and pull as soon as you see moist crumbs on a toothpick. Also verify your oven temperature with an oven thermometer — an oven that runs even 15 degrees hot can overbake these tiny treats.
The frosting is grainy or gritty. The powdered sugar was not sifted, or the butter was too cold when you started mixing. If the frosting is already made and feels grainy, beat it on high speed for an additional 3 to 4 minutes. The friction and warmth from the mixer can sometimes smooth it out. Adding an extra teaspoon of heavy cream and beating vigorously can also help.
The frosting is too stiff to pipe. Add heavy cream, one teaspoon at a time, beating after each addition, until the frosting reaches piping consistency. It should be firm enough to hold a peak but soft enough to flow smoothly through the piping tip without excessive squeezing force. Temperature matters too — if your kitchen is cold, the frosting will be stiffer. Let it sit at room temperature for 5 minutes and re-beat.
The brownie bites are sticking to the muffin tin. Allow them to cool in the tin for a full 10 minutes before attempting to remove them. Then run a thin offset spatula or butter knife around the edge of each cup to loosen. If they are still stuck, place the tin on a warm, damp towel for 1 minute — the steam loosens the bottom. For future batches, use mini cupcake liners for foolproof release.
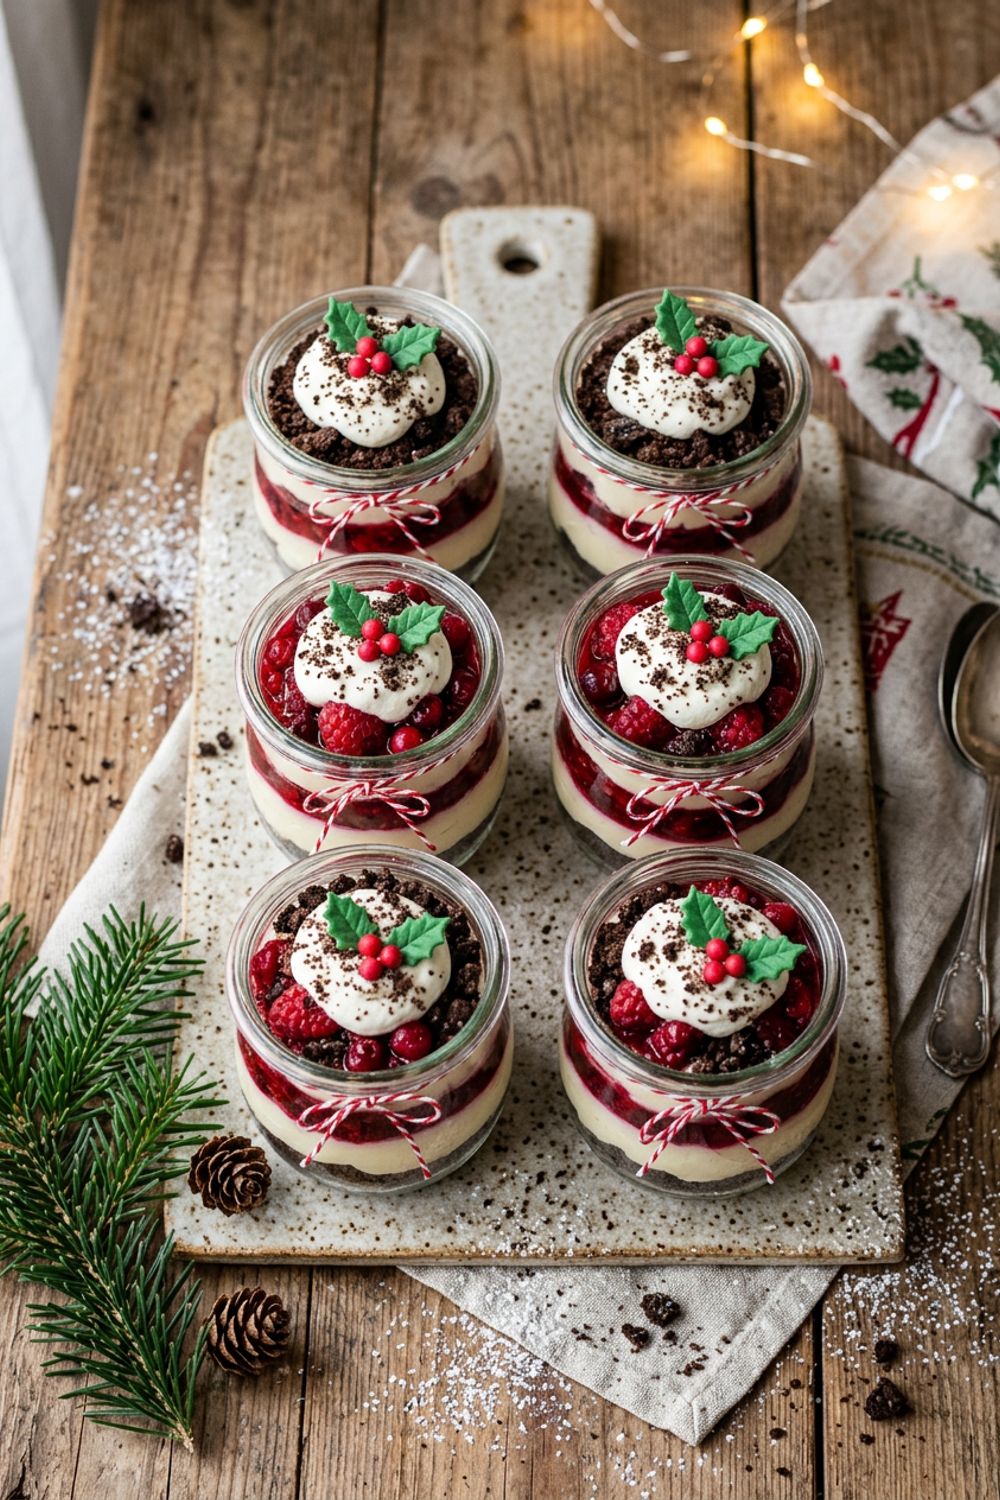
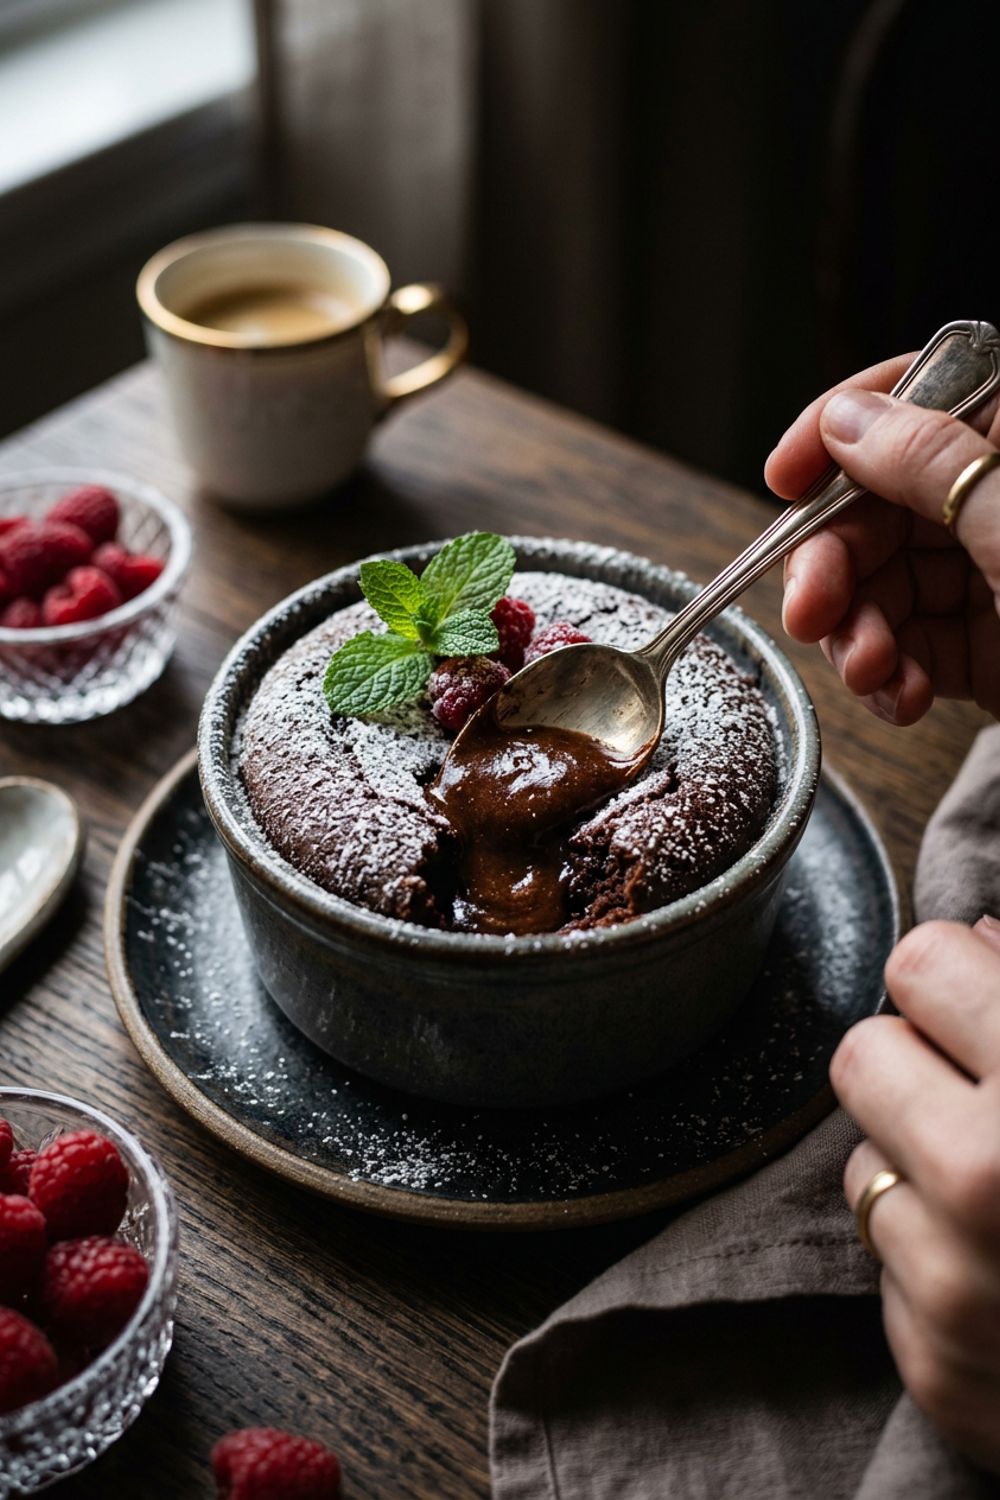
For more holiday dessert inspiration, try my no-bake christmas dessert cups for an elegant no-bake option, my chocolate lava cake for a dramatic warm dessert, or my coconut cheesecake for a creamy, tropical twist on holiday dessert.
Never Miss a Recipe
Join 5,000+ home cooks and get new recipes straight to your inbox.
Ingredients
Brownie Bites
Peppermint Buttercream Frosting
Decoration
Instructions
- 1
Melt the Chocolate and Butter
Preheat your oven to 350°F (175°C). Grease a 24-count mini muffin tin with nonstick spray or line with mini cupcake liners. In a medium saucepan over low heat, melt the butter and chopped chocolate together, stirring constantly until smooth and glossy. Remove from heat and let cool for 5 minutes.
- 2
Mix the Brownie Batter
Whisk the sugar into the melted chocolate mixture until combined. Add the eggs one at a time, whisking well after each addition. Stir in the vanilla extract. In a small bowl, whisk together the flour, cocoa powder, salt, and baking powder. Add the dry ingredients to the chocolate mixture and fold with a spatula until just combined. Do not overmix — a few streaks of flour are fine and will disappear during baking.
- 3
Fill and Bake
Spoon or pipe the batter into the prepared mini muffin tin, filling each cup about three-quarters full. Each cup should get about 1 tablespoon of batter. Bake at 350°F (175°C) for 14 to 18 minutes, until a toothpick inserted into the center comes out with a few moist crumbs (not wet batter). The brownie bites should be fudgy, not cakey, so do not overbake. Let them cool in the tin for 10 minutes, then transfer to a wire rack to cool completely.
- 4
Make the Peppermint Buttercream
In a large bowl, beat the softened butter with an electric mixer on medium-high speed until light and fluffy, about 3 minutes. Add the sifted powdered sugar one cup at a time, beating on low speed after each addition until incorporated. Add the heavy cream, peppermint extract, vanilla extract, and salt. Beat on medium-high speed for 2 to 3 minutes until the frosting is smooth, creamy, and fluffy. Taste and adjust the peppermint extract if needed — it should be noticeable but not overpowering.
- 5
Frost the Brownie Bites
Transfer the frosting to a piping bag fitted with a large star tip (Wilton 1M or similar). Pipe a generous swirl of peppermint buttercream on top of each cooled brownie bite, starting from the outer edge and spiraling upward to create a classic cupcake-style peak. If you do not have a piping bag, use a zip-top bag with the corner snipped off, or simply spread the frosting with a small offset spatula.
- 6
Decorate and Serve
While the frosting is still soft, sprinkle red and green holiday sprinkles over each brownie bite. Add a pinch of crushed candy cane pieces to every third or fourth bite for variety. Drizzle the melted white chocolate over the finished brownie bites in thin, zigzag lines using a fork or a small piping bag. Let the white chocolate set for 5 minutes before serving or packaging.
Nutrition Information
Per serving (serves 24). Values are approximate.
| Calories | 175 calories |
| Total Fat | 10g |
| Saturated Fat | 6g |
| Carbohydrates | 21g |
| Sugar | 17g |
| Protein | 2g |
| Sodium | 55mg |
| Fiber | 1g |
* Percent Daily Values are based on a 2,000 calorie diet. Your daily values may be higher or lower depending on your calorie needs. Nutritional information is an estimate and may vary.
Frequently Asked Questions
Can I make these brownie bites without a mini muffin tin?
Yes. Bake the batter in an 8x8-inch baking pan for 22 to 25 minutes, then cut into 24 small squares once cooled. The shapes will be different but the flavor is identical. You can also use silicone mini muffin molds, which release the brownie bites more easily than metal.
How do I store frosted brownie bites?
Store in a single layer in an airtight container in the refrigerator for up to 5 days. The buttercream firms up when chilled, so let the brownie bites sit at room temperature for 10 minutes before serving for the softest texture. They can also be frozen for up to 2 months — freeze in a single layer first, then stack with parchment paper between layers.
Can I skip the peppermint and make plain chocolate frosting?
Of course. Replace the peppermint extract with an additional 1/2 teaspoon of vanilla extract and add 3 tablespoons of unsweetened cocoa powder to the frosting. You will need an extra tablespoon of heavy cream to compensate for the dry cocoa. This gives you a rich chocolate-on-chocolate brownie bite.
Why are my brownie bites cakey instead of fudgy?
Cakey brownie bites usually result from overbaking or over-mixing the batter. Pull them from the oven when a toothpick shows moist crumbs, not when it comes out clean. Also, mix the dry ingredients into the wet ingredients with minimal strokes — 15 to 20 folds is plenty. Over-mixing develops gluten, which creates a cakey rather than fudgy texture.

Hi, I'm Lisa!
I create simple, tested recipes from around the world that anyone can make at home.
Learn More →Reader Reviews
Based on 73 reviews