Desserts & Baking
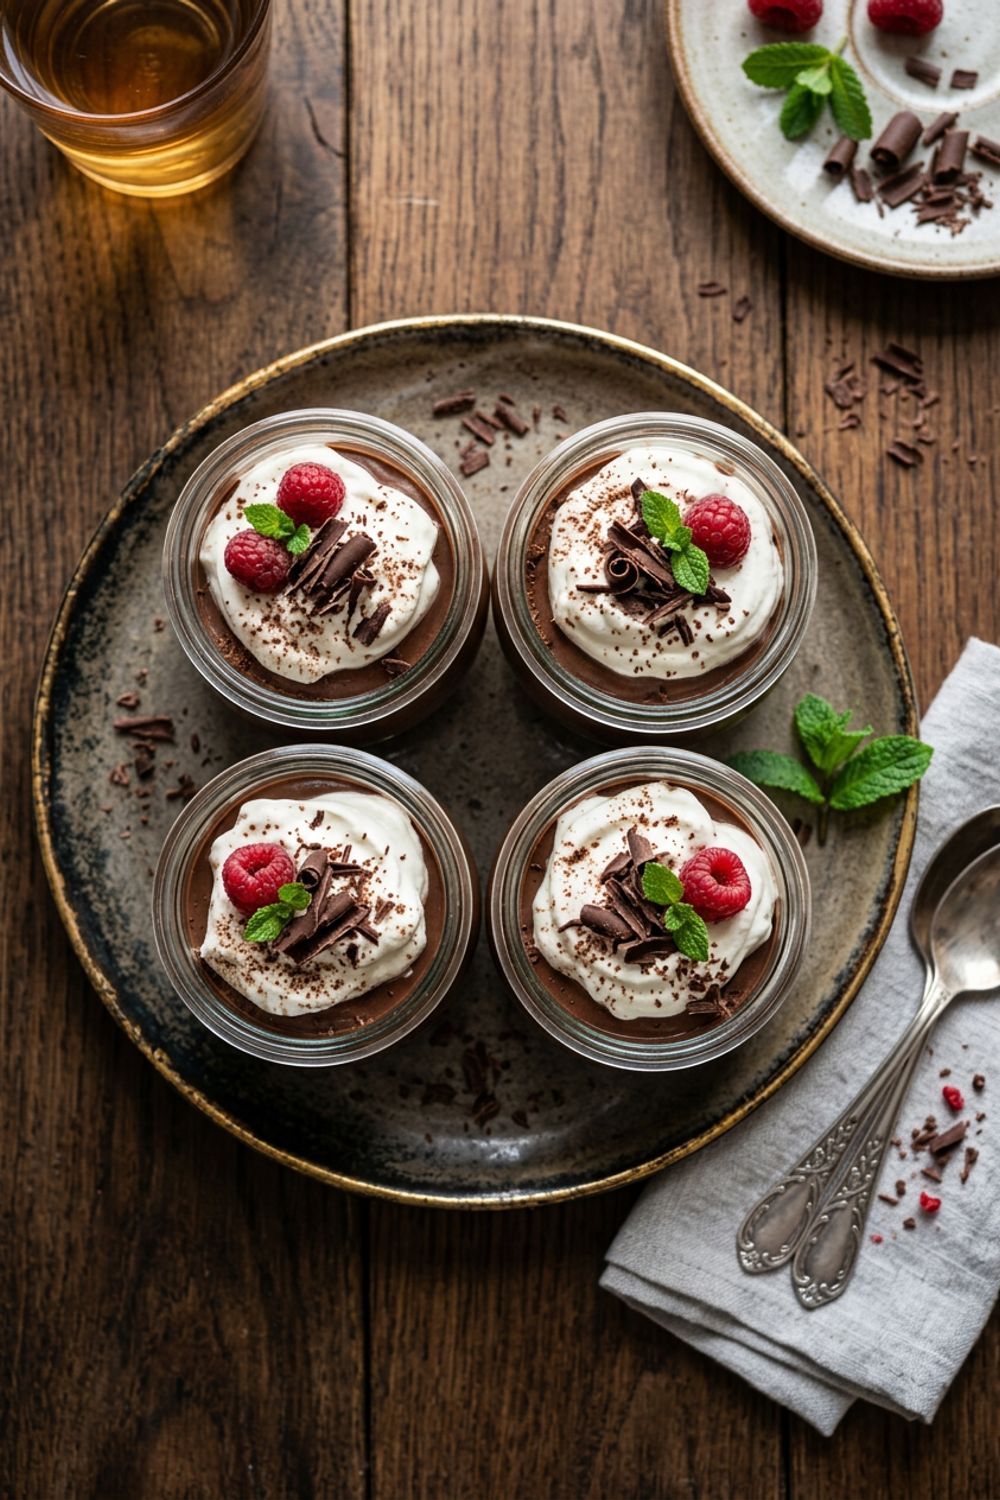
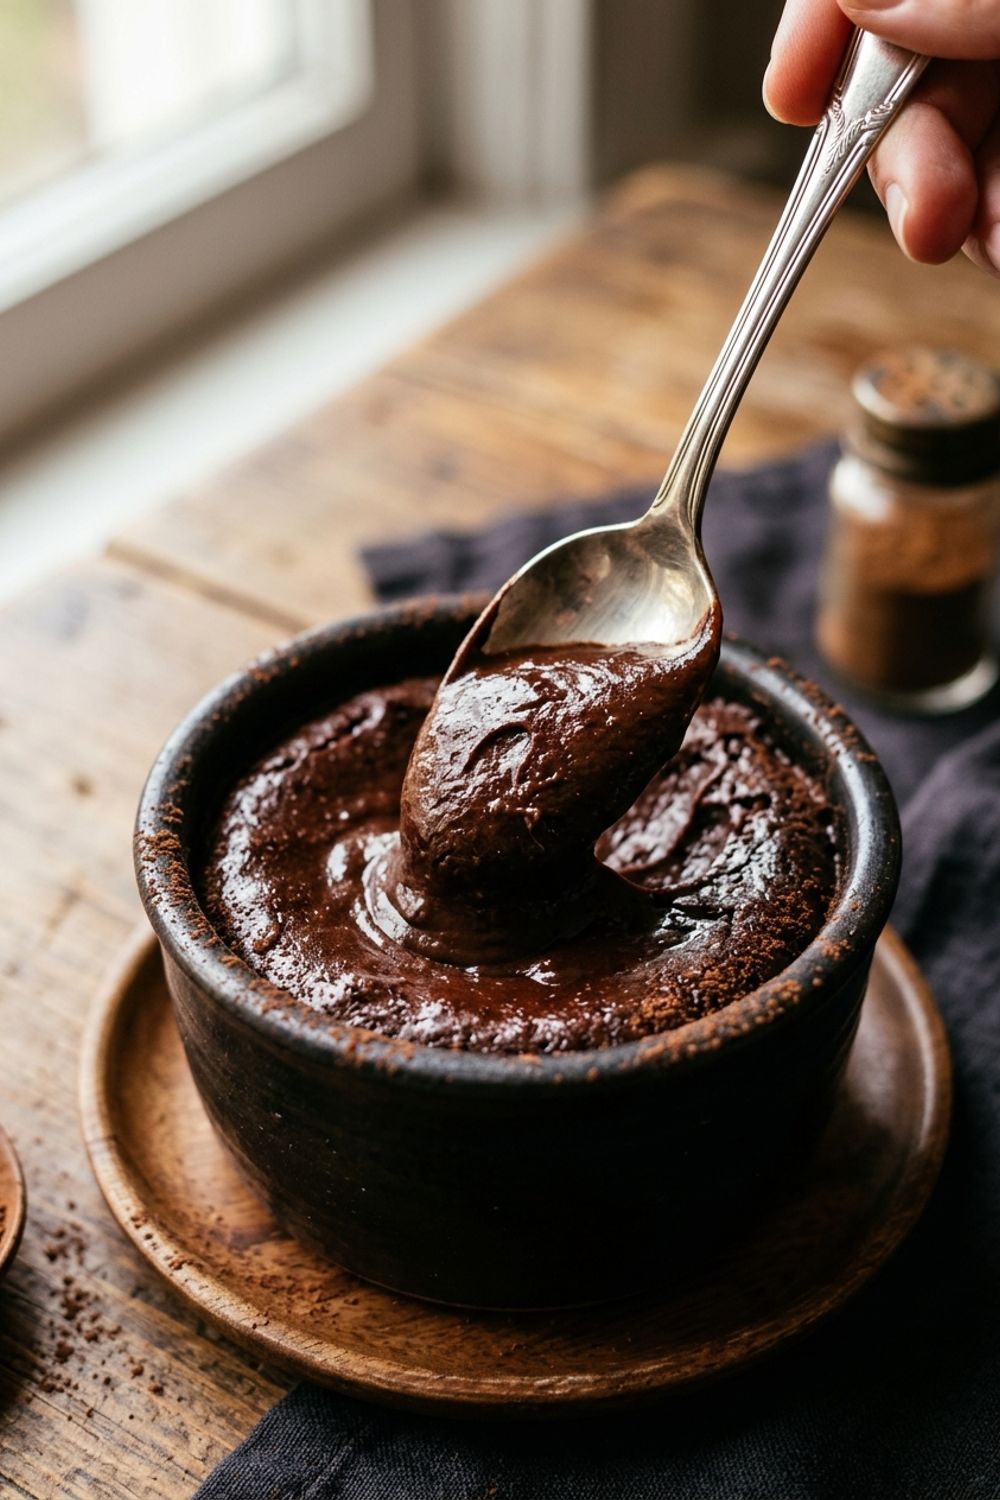
Chocolate Pudding Pots
Why This Chocolate Pudding Pots Recipe Is Special
I have a confession to make: I used to be a pudding cup snob — in the wrong direction. For years I thought pudding meant those little plastic cups from the grocery store, and I genuinely liked them. Then one rainy afternoon, I decided to try making pudding from scratch, mostly out of curiosity. I stood at the stove, whisking milk and cocoa powder together, and when I took that first taste of homemade chocolate pudding, I realized I had been living a lie. Store-bought pudding is fine. Homemade pudding is an entirely different dessert.
This recipe produces the most luxurious, silky chocolate pudding you have ever tasted. It is deeply chocolatey — I use both cocoa powder and real chopped chocolate for a double dose of chocolate flavor. The cocoa gives you that rich, roasty depth while the melted chocolate adds body and a glossy, mousse-like quality. A touch of butter rounds everything out with a velvety richness that coats your tongue in the most satisfying way.
The beauty of this recipe is its simplicity. You need one saucepan, one whisk, and about 15 minutes of active cooking. No eggs to temper, no bain-marie to fuss with, no obscure ingredients to hunt down. Everything in this recipe is probably already in your pantry. I serve these in little glass jars with a generous cloud of whipped cream and chocolate shavings on top because we eat with our eyes first, and these pudding pots are absolutely gorgeous. They look like something from a Parisian pâtisserie but take a fraction of the effort. Every time I make these for friends, someone inevitably says, “I had no idea homemade pudding could taste this good.” And every time, I smile knowingly.
The Science of a Perfect Stovetop Pudding
Understanding how pudding thickens helps you make it perfectly every time. The thickening agent in this recipe is cornstarch, and it works through a process called gelatinization. When cornstarch granules are heated in liquid, they absorb water and swell. At around 200°F (93°C), the granules burst open and release long starch molecules that tangle together, creating a thick, creamy matrix that traps water. This is why constant stirring is so important — it distributes heat evenly and prevents the starch from clumping on the bottom of the pan.
The critical moment is when the pudding first starts to bubble. Those bubbles tell you the mixture has reached the temperature needed for full gelatinization. But here is the catch: cornstarch needs a full minute of active boiling to reach its maximum thickening power. If you pull it off the heat at the first bubble, the pudding may seem thick but will thin out as it cools. That extra minute of cooking makes all the difference between a pudding that sets firm and sliceable and one that stays a little too loose.
Whole milk is important here because the fat helps create a creamy, rich mouthfeel. The fat globules in whole milk interfere with the starch network just enough to keep the pudding smooth rather than gummy. Skim milk produces a pudding that can feel slightly sticky or gluey on the tongue, which is not the luxurious texture I am going for.
The chopped chocolate and butter are added off the heat for a reason. Both contain fats that could interfere with the cornstarch thickening if added too early. By stirring them in after the pudding has already thickened and been removed from the stove, you get the full benefit of the cornstarch structure plus all that chocolate richness. The residual heat is more than enough to melt everything smoothly.
Choosing the Best Chocolate and Cocoa
Since this pudding gets its flavor almost entirely from chocolate and cocoa, the quality of these two ingredients matters enormously. For the cocoa powder, I use a Dutch-process cocoa like Droste, Valrhona, or Guittard. Dutch-process cocoa has been treated with an alkalizing agent that neutralizes its natural acidity, resulting in a smoother, mellower chocolate flavor and a darker color. Natural cocoa (like Hershey’s regular cocoa) works too but produces a slightly more tangy, lighter-colored pudding.
For the chopped chocolate, I reach for a bar-style semi-sweet chocolate rather than chocolate chips. As I mentioned in my lava cake recipe, chocolate chips contain stabilizers that can affect the smoothness of your pudding. A good baking bar from Ghirardelli, Lindt, or Guittard melts seamlessly into the hot pudding. I chop it finely so it melts in seconds from just the residual heat of the cooked pudding base.
If you want to go full luxury mode, try using a high-quality 60-65% dark chocolate. The slightly higher cacao percentage gives the pudding a more sophisticated, less sweet flavor profile that adults tend to prefer. For a kid-friendlier version, milk chocolate sweetens things up and creates a creamier, more caramel-like taste. Adjust the sugar accordingly — reduce by a tablespoon for milk chocolate or increase by a tablespoon for bittersweet.
Tips for Flawless Chocolate Pudding Pots
Whisk the dry ingredients together first. This is the single best trick for lump-free pudding. When cornstarch is mixed thoroughly with sugar and cocoa while still dry, the sugar and cocoa particles physically separate the cornstarch granules. When you add the milk, the cornstarch has nowhere to clump because it is already evenly dispersed. Skip this step and you will spend your cooking time desperately trying to whisk out stubborn little starch balls.
Stir constantly and scrape the bottom. I mean constantly. Not mostly. Not frequently. Constantly. Cornstarch settles on the bottom of the pan where the heat is highest, and if it sits there undisturbed for even 30 seconds, it can scorch and form a layer of cooked-on starch that will never incorporate smoothly. I use a flat-edged silicone spatula and make sweeping motions across the bottom of the pan, switching to a whisk if I notice any lumps forming.
Use a heavy-bottomed saucepan. Thin, lightweight pans create hot spots that can scorch the pudding before it thickens evenly. A heavy saucepan distributes heat more uniformly, giving you more control over the cooking process. Stainless steel or enameled cast iron both work beautifully.
Strain the pudding for silk. Even with perfect technique, tiny lumps can form. Pouring the finished pudding through a fine-mesh strainer takes 30 seconds and catches anything that might disrupt that perfectly smooth texture. I do this every single time, even when the pudding looks perfect. It is a small step that guarantees a flawless result.
Press plastic wrap directly onto the surface. This prevents a pudding skin from forming on top as it chills. Now, I know some people love pudding skin — if that is you, leave it uncovered. But if you want that same silky smoothness all the way through from the first spoonful to the bottom of the jar, the plastic wrap trick is essential. Push it right down so it touches the pudding surface with no air gaps.
Variations to Try
Mexican Chocolate Pudding. Add 1 teaspoon of ground cinnamon and 1/4 teaspoon of cayenne pepper to the dry ingredients. The warmth of the cinnamon and the subtle kick of cayenne transform this into a dessert inspired by traditional Mexican hot chocolate. Top with a dollop of cinnamon whipped cream and a tiny pinch of flaky sea salt.
Mocha Pudding Pots. Dissolve 2 tablespoons of instant espresso powder into the milk before adding it to the dry ingredients. The coffee deepens the chocolate flavor without making it taste like a coffee dessert (unless you want it to — in which case, add an extra tablespoon). Serve with coffee-flavored whipped cream for a full mocha experience.
White Chocolate Pudding. Replace the cocoa powder with an additional 2 tablespoons of cornstarch and use 6 ounces of white chocolate instead of semi-sweet. The pudding will be ivory-colored and taste like vanilla cream with buttery white chocolate notes. Top with fresh berries for a beautiful contrast.
Peanut Butter Chocolate Pudding. Stir 3 tablespoons of creamy peanut butter into the hot pudding along with the butter and chocolate. The peanut butter melts into the pudding, creating a flavor combination that tastes like a peanut butter cup in spoonable form. Garnish with chopped peanuts and a drizzle of melted chocolate.
Salted Caramel Chocolate Pudding. Drizzle 1 tablespoon of store-bought or homemade salted caramel sauce into each jar before pouring the pudding on top. As you eat, each spoonful picks up ribbons of salted caramel swirled through the chocolate pudding. Top with an extra drizzle and flaky sea salt.
How to Store Chocolate Pudding Pots
These pudding pots keep beautifully in the refrigerator for up to 4 days. Keep the plastic wrap pressed against the surface to prevent a skin from forming and to keep the pudding from absorbing other flavors from your fridge. The chocolate flavor actually deepens and becomes richer after a day of chilling, so making these a day ahead for a dinner party is a great strategy.
If you plan to add the whipped cream topping, do that just before serving. Whipped cream can deflate and weep moisture after sitting for several hours, so fresh is best. You can make the whipped cream up to 4 hours ahead and store it in the fridge in a covered bowl — give it a quick whisk before spooning onto the puddings.
I do not recommend freezing this pudding. Cornstarch-thickened puddings tend to break down and become watery when frozen and thawed. The starch releases water during freezing, and the once-smooth texture becomes grainy and unpleasant. If you need a freezer-friendly chocolate dessert, my chocolate lava cakes freeze beautifully in their unbaked form.
Troubleshooting Common Pudding Problems
The pudding is lumpy. This happens when the cornstarch clumps in the milk. Prevention is the best cure — always whisk the dry ingredients together first, then add the milk gradually while whisking. If lumps have already formed, strain the finished pudding through a fine-mesh strainer. For stubborn lumps during cooking, switch from a spatula to a whisk and beat vigorously.
The pudding is too thin. You likely did not cook it long enough. Return it to the heat and bring it to a full boil, then cook for 1 minute while stirring constantly. If it still seems thin after cooling, your cornstarch may be old. Cornstarch can lose its thickening power after a few years. Replace it with a fresh box and try again.
The pudding tastes chalky. This is the hallmark of undercooked cornstarch. The full minute of boiling is non-negotiable — it cooks out the starchy raw flavor. If you pulled it off heat too early, return it and cook until it bubbles vigorously for a solid 60 seconds. Taste it — the chalky flavor should be completely gone.
A skin formed on top. Either the plastic wrap was not touching the surface or it was not applied soon enough. Press the wrap directly onto the pudding while it is still warm. If skin has already formed, you can peel it off, though the surface underneath might be slightly uneven. The whipped cream topping will hide any imperfections.
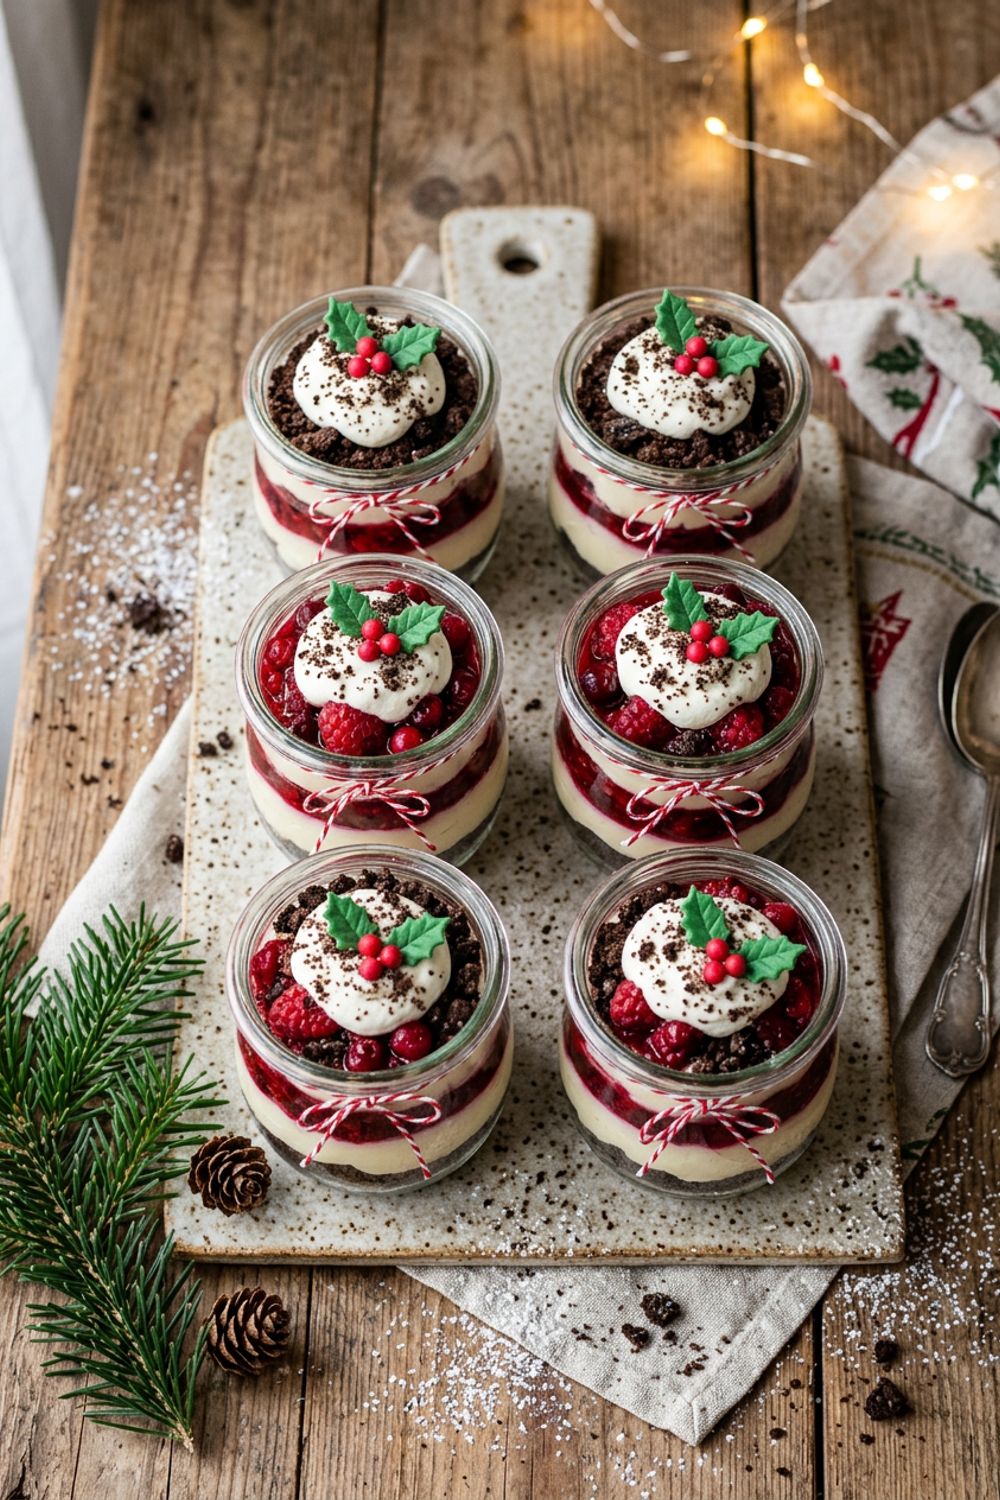
If you love this level of chocolate indulgence, check out my chocolate lava cake for a show-stopping warm chocolate dessert, or my banana chocolate chip bars for a casual chocolate treat. For holiday entertaining, my no-bake christmas dessert cups use a similar layered pudding concept with festive flavors that are perfect for the season.
Never Miss a Recipe
Join 5,000+ home cooks and get new recipes straight to your inbox.
Ingredients
Chocolate Pudding
Topping
Instructions
- 1
Combine Dry Ingredients
In a medium heavy-bottomed saucepan, whisk together the sugar, cocoa powder, cornstarch, and salt until no lumps remain. This dry whisking step is important because it disperses the cornstarch evenly, preventing clumps from forming when you add the milk.
- 2
Cook the Pudding Base
Gradually pour in the milk while whisking constantly. Place the saucepan over medium heat and cook, stirring constantly with a whisk or silicone spatula, until the mixture thickens and begins to bubble, about 6 to 8 minutes. Once it starts bubbling, continue cooking for exactly 1 more minute to fully activate the cornstarch.
- 3
Add Chocolate and Butter
Remove the saucepan from the heat. Add the chopped chocolate and butter and stir until both are completely melted and the pudding is glossy and smooth. Stir in the vanilla extract. The residual heat from the pudding will melt everything — do not return the pan to the burner.
- 4
Strain and Pour
For the silkiest texture, pour the pudding through a fine-mesh strainer into a clean bowl or large measuring cup. This catches any small lumps or bits of cooked egg-like protein from the milk. Divide the pudding evenly among six small jars, ramekins, or dessert cups.
- 5
Chill
Press a piece of plastic wrap directly onto the surface of each pudding to prevent a skin from forming. Alternatively, if you like pudding skin, leave them uncovered. Refrigerate for at least 2 hours until fully set and cold.
- 6
Top and Serve
Whip the heavy cream with powdered sugar until stiff peaks form. Dollop or pipe the whipped cream onto each pudding pot. Garnish with chocolate shavings. Serve cold.
Nutrition Information
Per serving (serves 6). Values are approximate.
| Calories | 310 calories |
| Total Fat | 18g |
| Saturated Fat | 11g |
| Carbohydrates | 35g |
| Sugar | 26g |
| Protein | 6g |
| Sodium | 155mg |
| Fiber | 2g |
* Percent Daily Values are based on a 2,000 calorie diet. Your daily values may be higher or lower depending on your calorie needs. Nutritional information is an estimate and may vary.
Frequently Asked Questions
Can I use milk chocolate instead of semi-sweet?
Yes, but reduce the sugar to 3 tablespoons since milk chocolate is sweeter. The pudding will also be lighter in color and milder in chocolate flavor.
Why did my pudding not thicken?
The most common reason is not cooking it long enough after it starts bubbling. Cornstarch needs a full minute of boiling to reach its full thickening power. Also, acid (like adding lemon juice) can break down cornstarch, so avoid adding any acidic ingredients.
Can I use plant-based milk?
Oat milk and full-fat coconut milk work best. Almond milk can work but produces a slightly thinner pudding. Avoid skim or low-fat milks as the fat content contributes to the creamy texture.
How long does homemade pudding last in the fridge?
The pudding keeps well for up to 4 days in the refrigerator when covered with plastic wrap pressed against the surface. The flavor actually deepens over the first day or two.

Hi, I'm Lisa!
I create simple, tested recipes from around the world that anyone can make at home.
Learn More →Reader Reviews
Based on 142 reviews