Chicken & Poultry
Chicken Pizza Crust Recipe
Why This Recipe Is Special
I discovered chicken pizza crust during a period when I was trying to eat more protein and fewer carbs without giving up the foods I love. Pizza was my biggest struggle — I tried cauliflower crust, zucchini crust, every low-carb crust alternative I could find, and none of them scratched the itch. They were either too mushy, too crumbly, or tasted like vegetables pretending to be bread. Then I stumbled across the concept of a crust made entirely from ground chicken, and I was skeptical but desperate enough to try it.
The first attempt was rough, I will admit. The crust was too thick, too wet, and kind of rubbery. But I could see the potential — the flavor was good, the protein content was amazing, and with some refinement, I knew this could work. After a dozen iterations, adjusting the thickness, the baking method, the binder ratios, and the moisture management, I finally arrived at this recipe. And honestly, it exceeded my expectations.
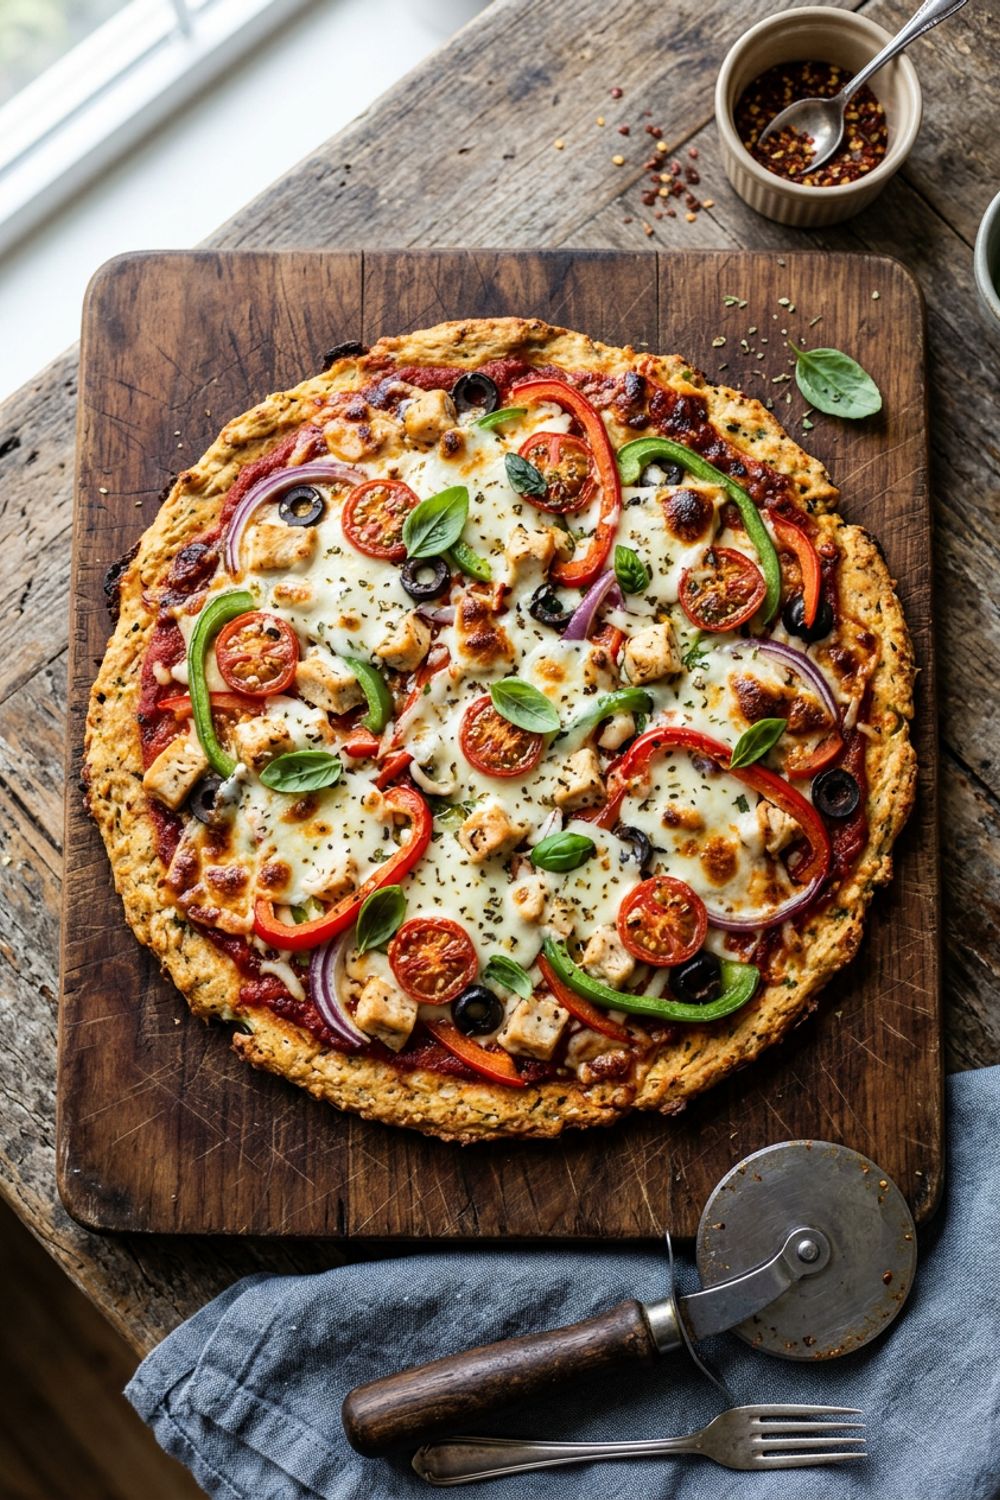
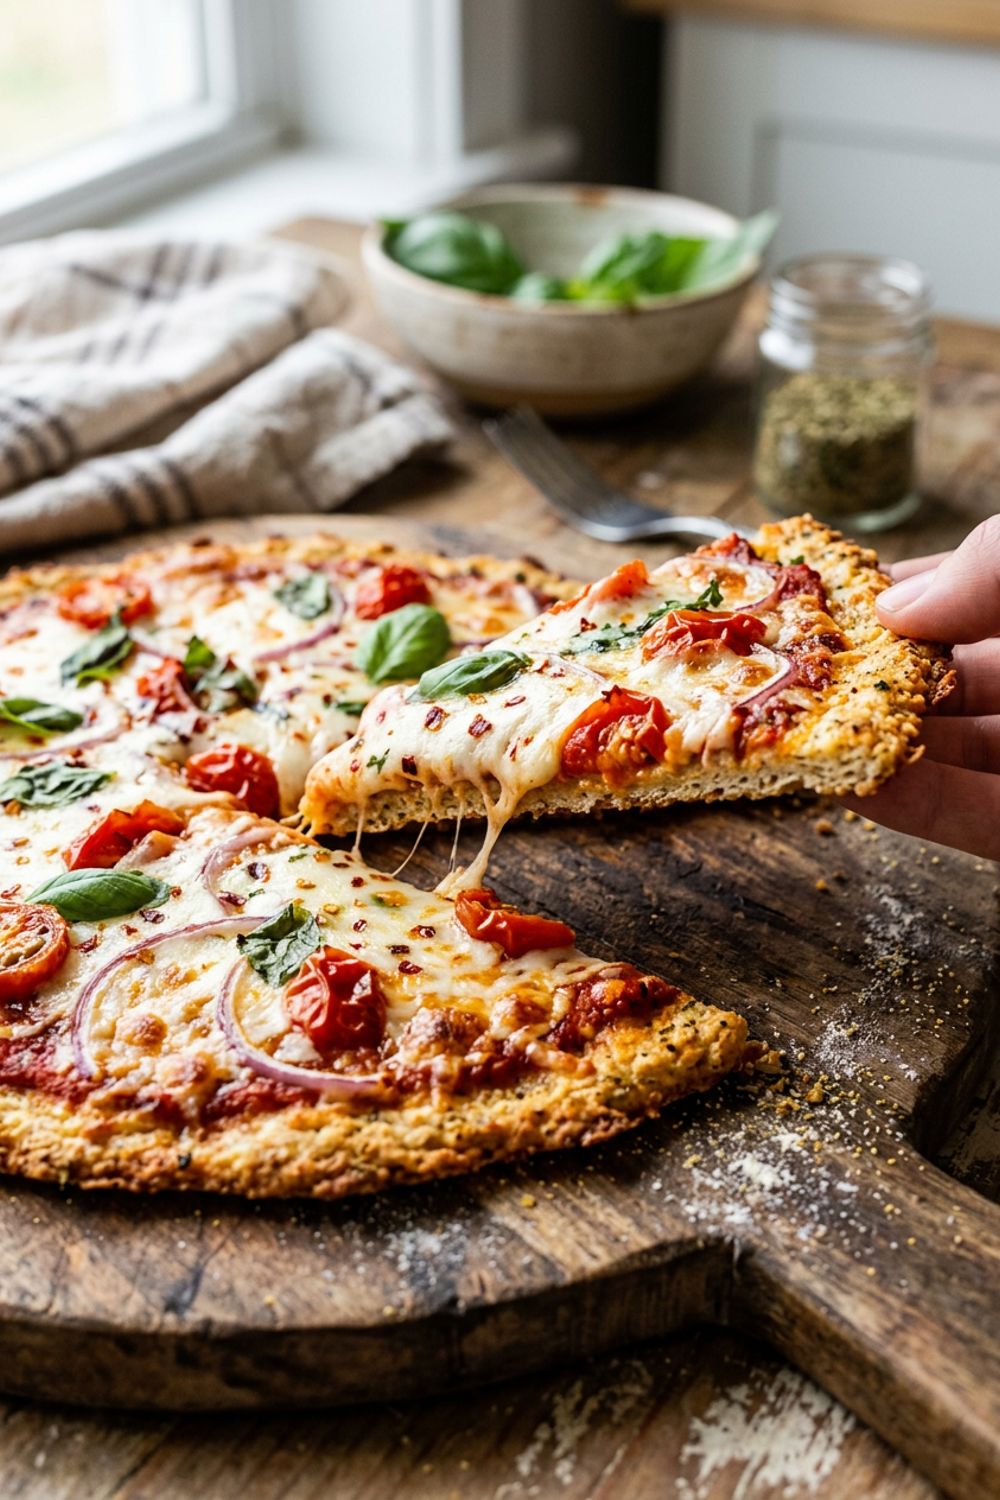
This chicken pizza crust is surprisingly crispy on the bottom, sturdy enough to hold toppings, and packed with 36 grams of protein per serving before you even add toppings. The parmesan and Italian seasoning give it a savory, almost cracker-like quality that works beautifully with traditional pizza toppings. Is it the same as a traditional yeasted pizza dough? No. But it is legitimately delicious in its own right, and it is one of those recipes that makes eating high-protein, low-carb feel effortless rather than restrictive. Whether you are keto, gluten-free, or just looking for a way to pack more protein into dinner, this crust delivers.
The Science Behind Meat-Based Crusts
Understanding why a chicken-based crust works helps you troubleshoot and customize the recipe with confidence. The ground chicken is the structural base, providing protein that firms up during cooking and creates a cohesive, sliceable crust. Unlike bread dough, which relies on gluten networks for structure, a chicken crust relies on protein coagulation — the same process that makes a cooked chicken breast firm and solid.
The egg serves as a crucial binder, connecting the ground chicken with the parmesan and almond flour into a unified mixture. Without the egg, the crust would crumble apart after baking. The proteins in the egg coagulate at around 160°F (71°C), locking everything together. This is why thorough mixing is important — you want the egg distributed evenly throughout the mixture so every section of the crust has enough binding power.
Parmesan cheese pulls double duty. It adds an incredible savory, umami flavor that makes the crust taste more like actual pizza crust than plain chicken would. But it also acts as a secondary binder, contributing its own proteins and fat that help hold the crust together. When the parmesan melts during baking, it creates pockets of crispy, caramelized cheese — especially on the bottom where it contacts the hot baking sheet.
Almond flour is the final structural element. It absorbs excess moisture from the chicken, contributing to a firmer, less wet crust. It also adds a subtle nutty flavor and a touch of fat that improves the mouthfeel. If you have a nut allergy, you can substitute an equal amount of coconut flour, but use only half as much since coconut flour absorbs significantly more moisture. The almond flour keeps the carb count negligible while providing just enough starch-like body to make the crust feel more familiar.
Achieving Maximum Crispiness
The biggest challenge with chicken crust is moisture, and managing it effectively is what separates a soggy, disappointing result from a crispy, satisfying one. Ground chicken contains a lot of water, and as it cooks, that water is released as steam and liquid. If you do not account for this, your crust will be wet on top and mushy in the center.
The first line of defense is thickness — or rather, thinness. I press the crust to just 1/4 inch thick. This might seem impossibly thin, but it is the sweet spot. Thin crusts have more surface area relative to volume, which means moisture evaporates faster and more of the crust gets direct contact with the hot baking sheet. Thick crusts trap moisture in the center, resulting in a soft, almost meatloaf-like texture that nobody wants.
The parchment paper trick is essential for even pressing. Place a sheet of parchment over the chicken mixture and use a rolling pin to create uniform thickness. Without the top parchment, the sticky chicken mixture clings to the rolling pin and creates a frustrating mess. The parchment also makes it easy to see the thickness as you go.
After the initial 20-minute bake, blotting the surface with paper towels is a step you must not skip. As the crust cooks, fat and water are released and pool on the surface. Removing this moisture before adding toppings ensures the toppings go onto a dry surface and the crust can continue to crisp during the final bake rather than steaming under a wet layer.
For the ultimate crispy bottom, try this advanced technique: after the initial bake, carefully flip the crust onto a new sheet of parchment and bake for an additional 5 minutes upside down. This allows the top side (which was touching the pan) to dry out further and gives the other side direct heat exposure. Then flip back, add toppings, and do the final bake.
Tips for Perfect Results
Do not use extra-lean ground chicken. The fat in regular ground chicken is essential for both flavor and texture. Extra-lean chicken makes a crust that is dry, tough, and bland. You need at least some fat to keep the crust moist on the inside while it crisps on the outside. If you can only find lean ground chicken, add a tablespoon of olive oil to the mixture to compensate.
Press the crust as thin and evenly as possible. Uneven thickness means uneven cooking — thin spots will burn while thick spots stay raw and mushy. Take your time with this step. I spend a full 2-3 minutes pressing and rolling, checking the edges and corners to make sure everything is uniform. The edges should be the same thickness as the center, unlike traditional pizza where you want a puffy rim.
Keep your toppings light. This is not a traditional dough that can support the weight of loaded toppings. Too much sauce, cheese, or heavy toppings will weigh down the crust and make it difficult to handle. A thin spread of sauce, a moderate amount of cheese, and one or two lightweight toppings is the sweet spot. Think thin-crust Neapolitan proportions rather than deep-dish overload.
Let the pizza rest before slicing. I know it is tempting to cut into the pizza the second it comes out of the oven, but patience pays off here. A 3-5 minute rest allows the proteins to set further and the cheese to firm up slightly, making slicing much cleaner and preventing the toppings from sliding off. Use a sharp pizza cutter or large chef’s knife for the cleanest cuts.
Experiment with seasonings in the crust. The basic Italian seasoning version is great, but the beauty of a chicken crust is that you can flavor it however you want. For a Mexican-inspired pizza, add cumin, chili powder, and diced green chiles to the crust. For a Mediterranean version, mix in dried oregano, sun-dried tomatoes, and kalamata olives. The crust itself becomes part of the flavor experience.
Variations to Try
BBQ Chicken Pizza Version. Spread the baked crust with sugar-free BBQ sauce instead of marinara. Top with shredded mozzarella, diced cooked chicken (yes, more chicken), thinly sliced red onion, and a few pieces of cooked bacon. After baking, drizzle with a little more BBQ sauce and top with fresh cilantro. The smoky-sweet BBQ against the savory chicken crust is an incredible combination.
Buffalo Chicken Crust Pizza. Mix 2 tablespoons of Frank’s RedHot directly into the crust mixture before pressing. Top the baked crust with ranch dressing instead of marinara, mozzarella cheese, diced celery, and crumbled blue cheese. This creates a buffalo wing experience in pizza form, with the spicy crust adding heat from the foundation up.
Breakfast Pizza. Bake the plain crust, then top with a thin layer of cream cheese mixed with chives. Add cooked crumbled breakfast sausage, shredded cheddar, and crack 2-3 eggs directly onto the pizza. Bake until the egg whites are set but the yolks are still runny, about 8-10 minutes. The runny yolks create a sauce as you eat, and the high-protein crust makes this an incredible start to the day.
Taco Pizza. Season the crust with taco seasoning instead of Italian seasoning. After the initial bake, spread with a thin layer of refried beans, top with taco-seasoned ground beef, cheddar cheese, and jalapenos. After the final bake, add shredded lettuce, diced tomatoes, sour cream, and salsa. It is a taco in pizza form on a protein-packed base.
Pesto and Goat Cheese Version. Spread the baked crust with basil pesto instead of marinara. Top with crumbled goat cheese, sun-dried tomatoes, sliced artichoke hearts, and a light scattering of mozzarella. After baking, top with fresh arugula tossed in lemon vinaigrette. The tangy goat cheese and peppery arugula create a gourmet-feeling pizza that is incredibly low in carbs.
How to Store
Leftover chicken crust pizza stores well in the refrigerator for up to 3 days. Wrap individual slices in aluminum foil or place in an airtight container with parchment paper between layers to prevent sticking. To reheat, place slices directly on a baking sheet and warm in a 375°F (190°C) oven for 7-8 minutes. The oven reheating method re-crisps the bottom beautifully, while microwave reheating will leave the crust soft.
You can also freeze the pre-baked crust (before adding toppings) for up to 2 months. Wrap it tightly in plastic wrap, then in aluminum foil, and place in a freezer bag. To use, thaw in the refrigerator overnight, then add toppings and bake as directed. This makes chicken crust pizza an excellent meal-prep option — batch-bake several crusts on a Sunday and have high-protein pizza bases ready for the week.
The raw crust mixture can be prepared and refrigerated for up to 24 hours before baking. This is convenient for planning ahead. Mix the ingredients, press into a parchment-lined container, cover tightly, and refrigerate. When ready to bake, transfer to a baking sheet and proceed with the recipe.
Troubleshooting
Crust is mushy and soft. The most common issue. Press the crust thinner — 1/4 inch maximum. Make sure you bake the initial crust for the full 20 minutes, and blot away any surface liquid before adding toppings. If your oven runs cool, add 3-5 extra minutes to the initial bake. The crust should be noticeably golden around the edges before you add toppings.
Crust crumbles when sliced. This means the binders are insufficient. Make sure you are using one full egg and at least 1/2 cup of parmesan. Mix the ingredients thoroughly so the egg is evenly distributed. If it still crumbles, try adding an extra egg yolk (not the white, which adds moisture).
Crust tastes bland. Increase the garlic, add more Italian seasoning, or mix in a teaspoon of dried oregano and a half teaspoon of garlic salt. The crust should be well-seasoned on its own, before toppings go on. Do not forget salt — ground chicken is very mild, and without adequate seasoning, the crust will taste like unseasoned meat.
Bottom is burnt but top is not cooked. Your oven rack is too low. Move it to the middle position. Also, make sure your baking sheet is not too thin — a heavy-duty sheet distributes heat more evenly. If the bottom consistently burns, try reducing the oven temperature by 25°F and extending the cooking time.
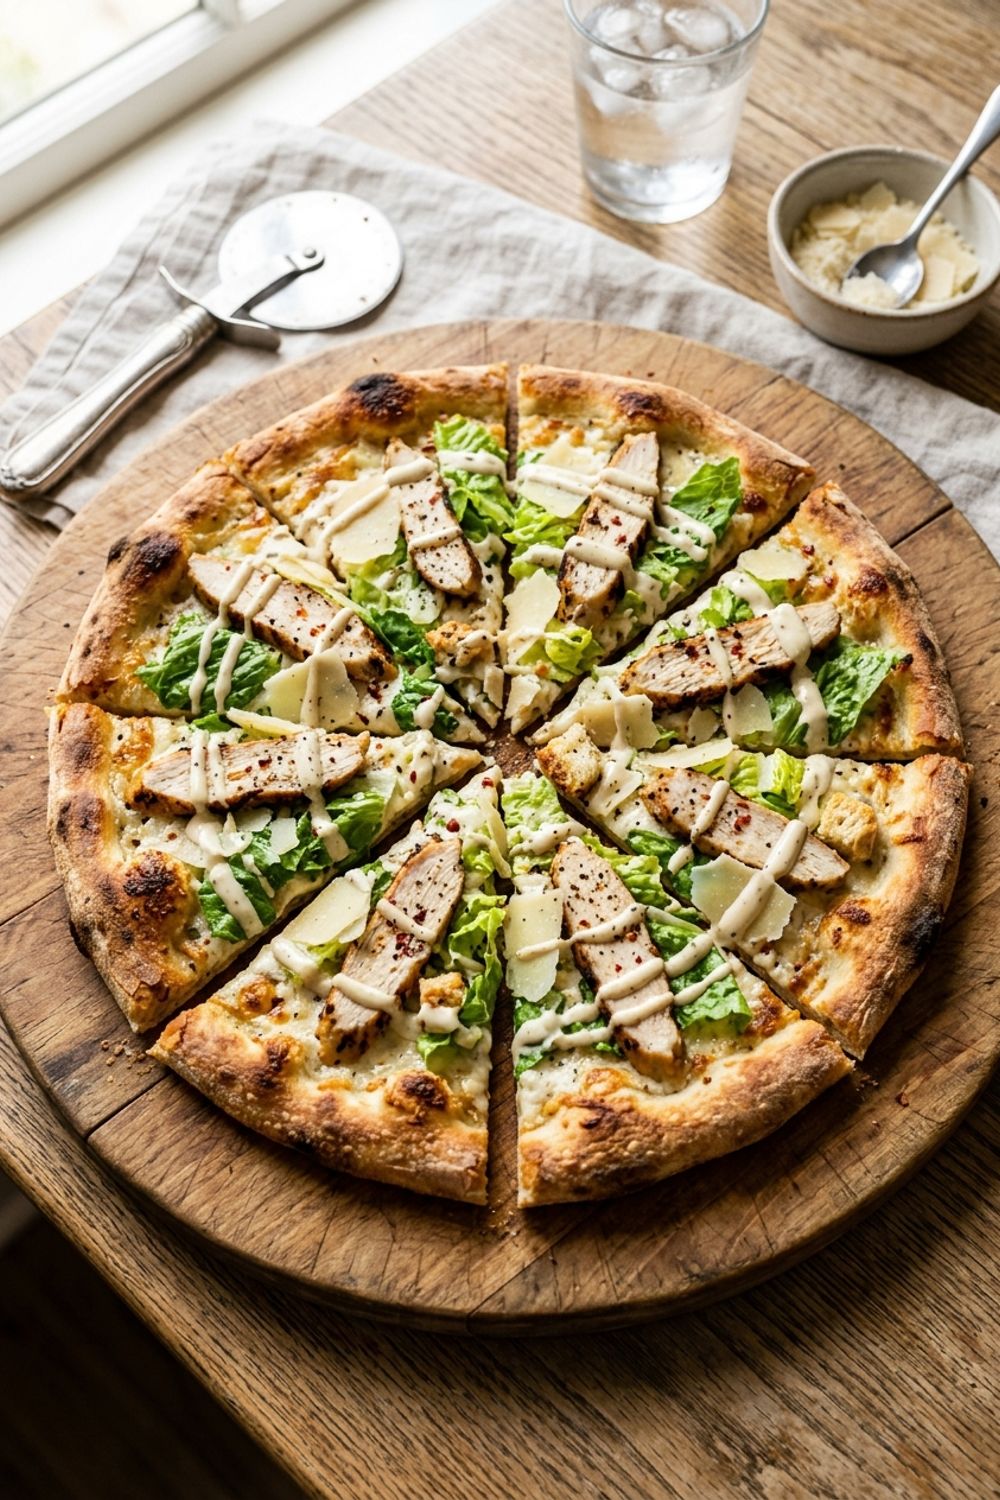
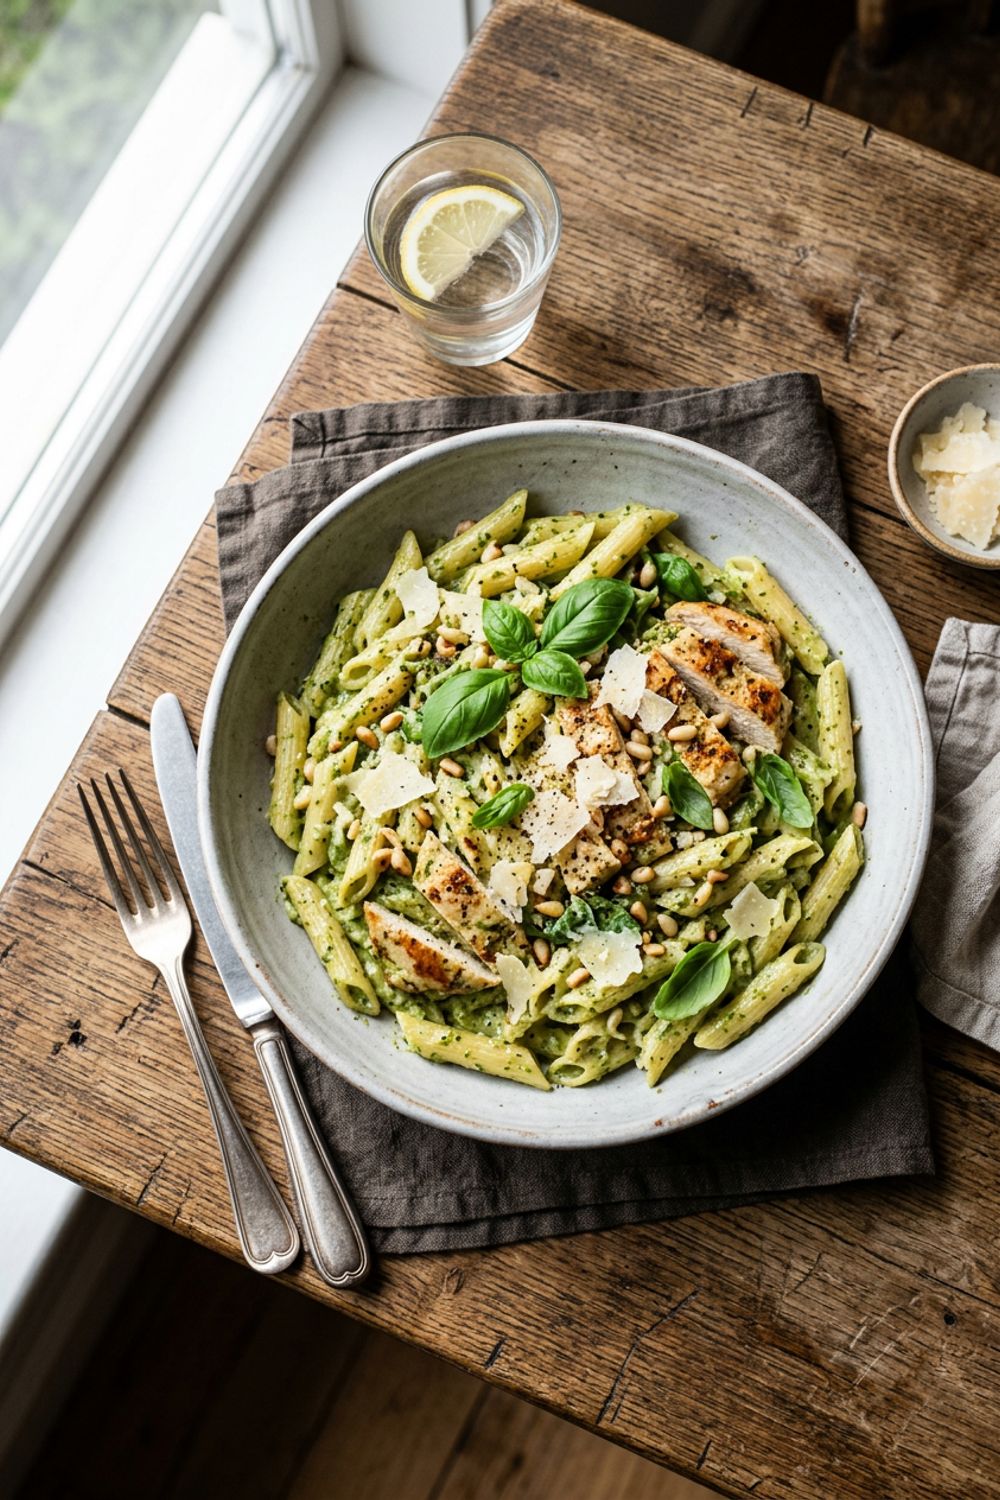
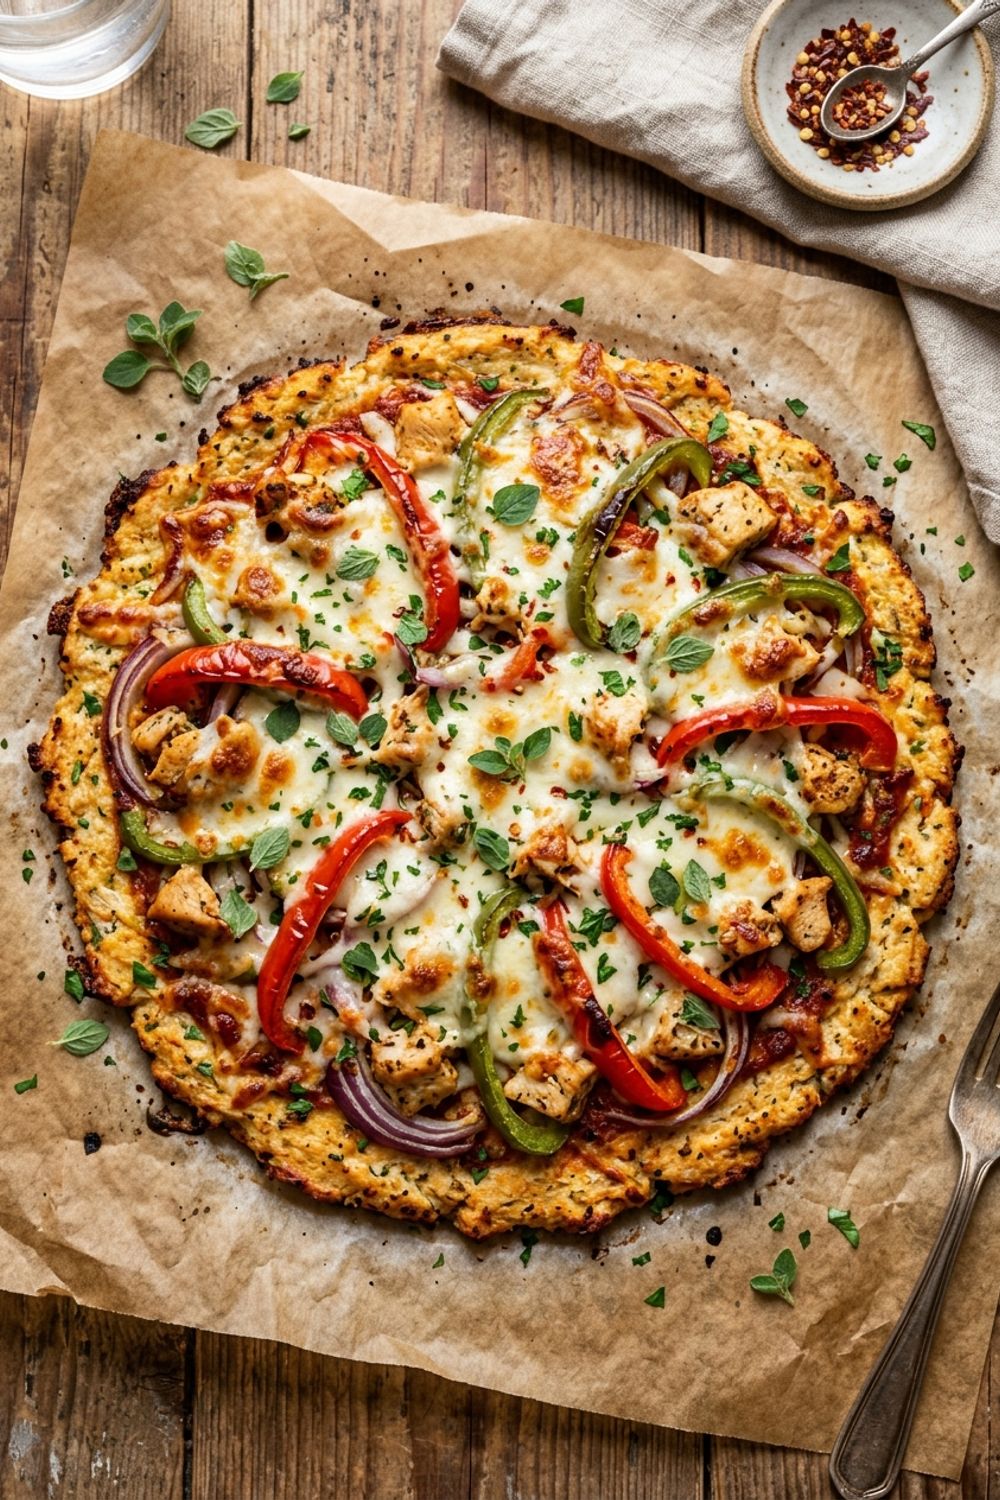
This chicken pizza crust recipe has completely changed my approach to low-carb eating, and I hope it does the same for you. If you want an even easier version of this concept, check out my canned chicken pizza crust recipe that uses pantry ingredients. For a traditional crust topped with Caesar salad flavors, my chicken Caesar pizza is absolutely incredible. And for a protein-rich pasta night instead, try my creamy pesto chicken pasta.
Never Miss a Recipe
Join 5,000+ home cooks and get new recipes straight to your inbox.
Ingredients
Chicken Crust
Pizza Toppings (Suggested)
Instructions
- 1
Prepare the Crust Mixture
Preheat your oven to 400°F (200°C). Line a large baking sheet with parchment paper and lightly spray with cooking spray. In a large bowl, combine the ground chicken, parmesan, almond flour, egg, garlic, Italian seasoning, onion powder, salt, and pepper. Mix with your hands until everything is evenly distributed. Do not overmix.
- 2
Shape the Crust
Transfer the chicken mixture to the prepared baking sheet. Place a sheet of parchment paper on top and use a rolling pin or your hands to press the mixture into a thin, even round or rectangle about 1/4-inch thick. Remove the top parchment. The thinner and more even the crust, the crispier it will be.
- 3
Bake the Crust
Bake the crust for 20 minutes until it is firm, golden on the edges, and has released most of its moisture. Carefully blot any excess liquid from the surface with paper towels. This step is critical for achieving a crispy base.
- 4
Add Toppings
Spread the marinara sauce in a thin layer over the crust. Sprinkle with mozzarella and add your desired toppings — pepperoni, olives, vegetables, or anything you like. Keep toppings light to avoid weighing down the crust.
- 5
Final Bake
Return the topped pizza to the oven and bake for an additional 10 minutes until the cheese is melted, bubbly, and starting to brown in spots. Let the pizza cool for 3-5 minutes on the pan before slicing. This resting time allows the crust to firm up further. Garnish with fresh basil and red pepper flakes.
Nutrition Information
Per serving (serves 4). Values are approximate.
| Calories | 310 calories |
| Total Fat | 16g |
| Saturated Fat | 6g |
| Carbohydrates | 4g |
| Sugar | 1g |
| Protein | 36g |
| Sodium | 680mg |
| Fiber | 1g |
* Percent Daily Values are based on a 2,000 calorie diet. Your daily values may be higher or lower depending on your calorie needs. Nutritional information is an estimate and may vary.
Frequently Asked Questions
Does it actually taste like pizza crust?
The texture is different from traditional dough — it is denser and meatier, as you would expect. But when loaded with sauce, cheese, and toppings, it absolutely satisfies that pizza craving. Think of it as a pizza-flavored protein base rather than a bread substitute.
Can I use ground turkey instead?
Yes, ground turkey works well. Use regular ground turkey (not breast only) for enough fat to keep the crust from being dry. The flavor is very similar, and the macros are almost identical.
Why is my crust falling apart?
The egg and parmesan act as binders. Make sure you mix them in thoroughly. Also, the crust needs the full 20-minute initial bake to set properly. If it still falls apart, try adding an extra egg or 2 tablespoons more parmesan.
Can I make the crust ahead of time?
Yes. Bake the crust through step 3, let it cool completely, then wrap tightly and refrigerate for up to 2 days or freeze for up to 2 months. Add toppings and do the final bake when ready to eat.

Hi, I'm Lisa!
I create simple, tested recipes from around the world that anyone can make at home.
Learn More →Reader Reviews
Based on 134 reviews