Soups & Comfort Food
How to Make a Cartouche (French Parchment Lid)
Why Every Home Cook Should Know the Cartouche
I want to tell you about one of the simplest, most elegant cooking techniques I have ever learned, and one that uses nothing more than a piece of parchment paper. The cartouche — pronounced “car-TOOSH” — is a circle of parchment paper cut to fit inside your pot, placed directly on the surface of whatever you are cooking. That is it. No special equipment, no fancy ingredients, no culinary degree required. Yet this humble piece of paper does something that no pot lid can do: it creates a micro-environment above your food that controls moisture, prevents skin formation, and promotes the most gentle, even cooking imaginable.
I learned about the cartouche in my first week of watching French cooking videos, and I distinctly remember thinking it seemed like an unnecessary fussy step. Why not just use a regular lid? It took me several botched braises and broken sauces to understand the difference. A pot lid sits on the rim of the pot, trapping all the steam and preventing any evaporation. This means your braising liquid never reduces and concentrates, leaving you with thin, watery sauces. On the other hand, cooking with no lid at all allows too much evaporation, which can dry out the food on top while leaving it swimming in liquid below.
The cartouche sits between these two extremes. Because it rests directly on the surface of the food and liquid, it keeps ingredients submerged and moist while allowing a slow, controlled amount of evaporation through the steam vent and around the edges. The liquid reduces gradually, concentrating flavors, while the food stays bathed in moisture. It is the Goldilocks solution, and once you understand what it does, you will start reaching for parchment paper every time you braise, poach, or reduce a sauce. Let me walk you through the technique and show you exactly when and how to use it.
The Folding Technique Step by Step
Making a cartouche takes less than thirty seconds once you know the folding pattern, and it works for any size pot or pan. The goal is to create a circle of parchment that fits just inside the rim of your cooking vessel, sitting on top of the food rather than on the pot’s edge.
Start with a sheet of parchment paper that is at least two inches larger than the diameter of your pot in both directions. You can eyeball this — precision is not critical. Fold the sheet in half to form a rectangle, then fold that rectangle in half to create a square with four layers. Now fold the square diagonally to create a triangle. You should be holding a multi-layered triangle with one sharp point that represents the center of the original sheet.
Here is the key step: hold the triangle with the sharp point and place that point directly over the center of your pot. Let the wide base of the triangle extend past the edge. Using scissors, cut the wide end of the triangle in a gentle curve right where it meets the inside edge of your pot. Cut about half an inch inside the rim so the finished circle will be slightly smaller than the pot opening. This is important because the cartouche should float on the food, not press against the pot walls.
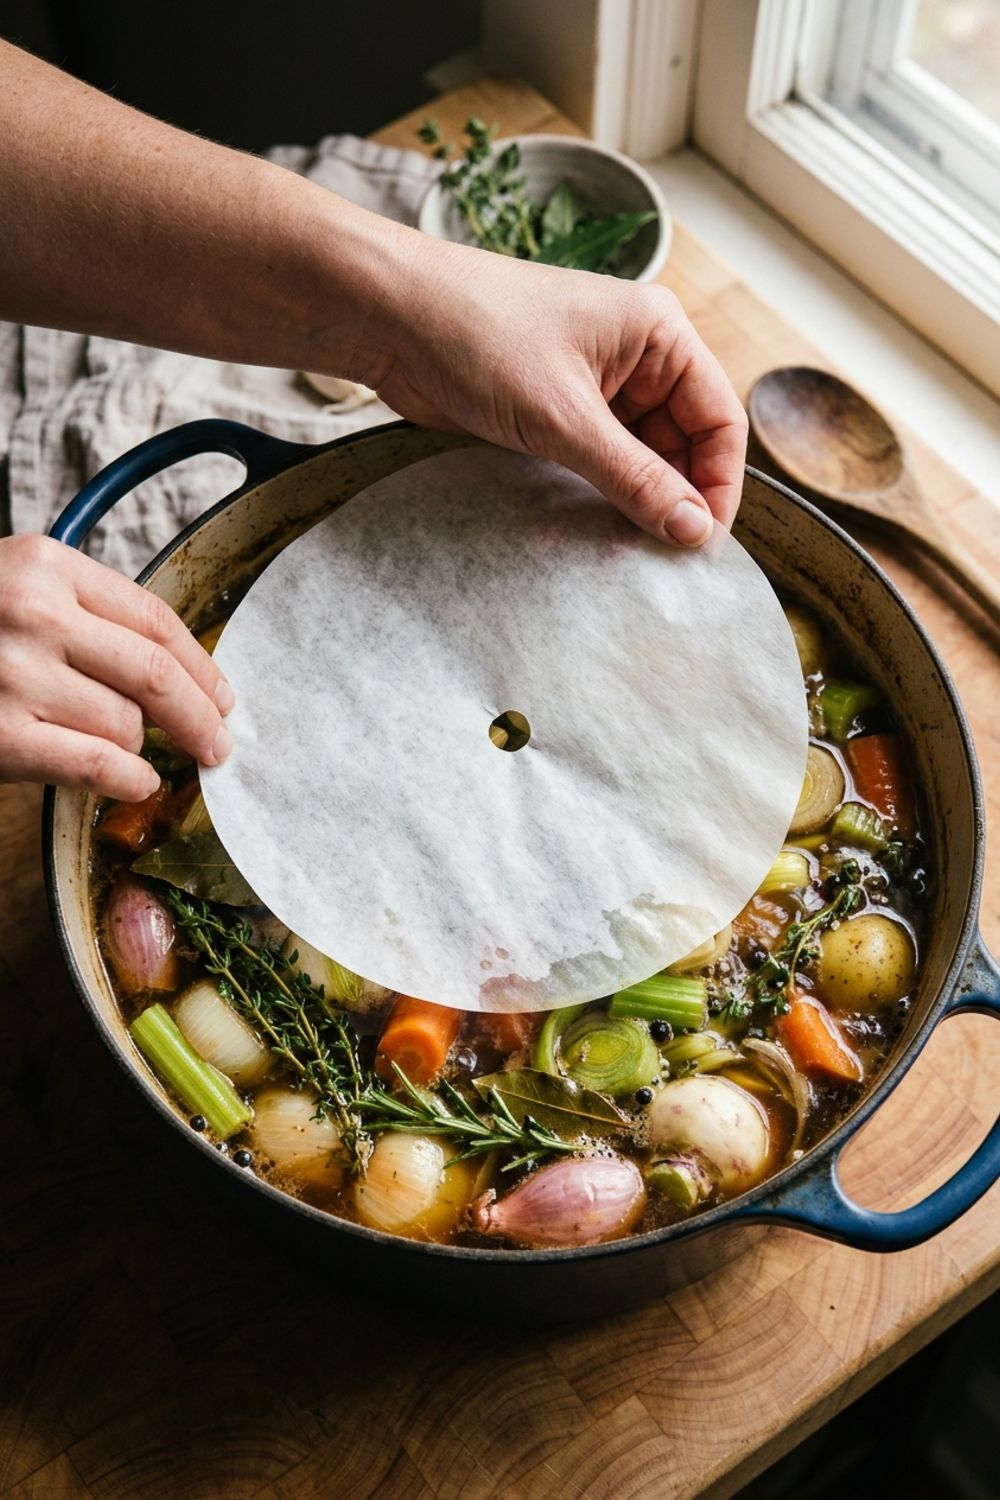
Before unfolding, snip a small piece off the very tip of the triangle — about a quarter to a half inch. When you unfold the paper, this creates a small steam vent hole in the center of the circle. This vent prevents pressure buildup that would cause the parchment to balloon up and float away from the food. Unfold your cartouche, press it gently onto the surface of your simmering liquid, and admire how perfectly it fits. The edges will curve down slightly, keeping the parchment in contact with the food.
When to Use a Cartouche
Understanding when to reach for a cartouche versus a pot lid versus no cover at all is one of those kitchen skills that separates good cooks from great ones. I use a cartouche in four primary situations, and each one takes advantage of the parchment’s unique properties in a slightly different way.
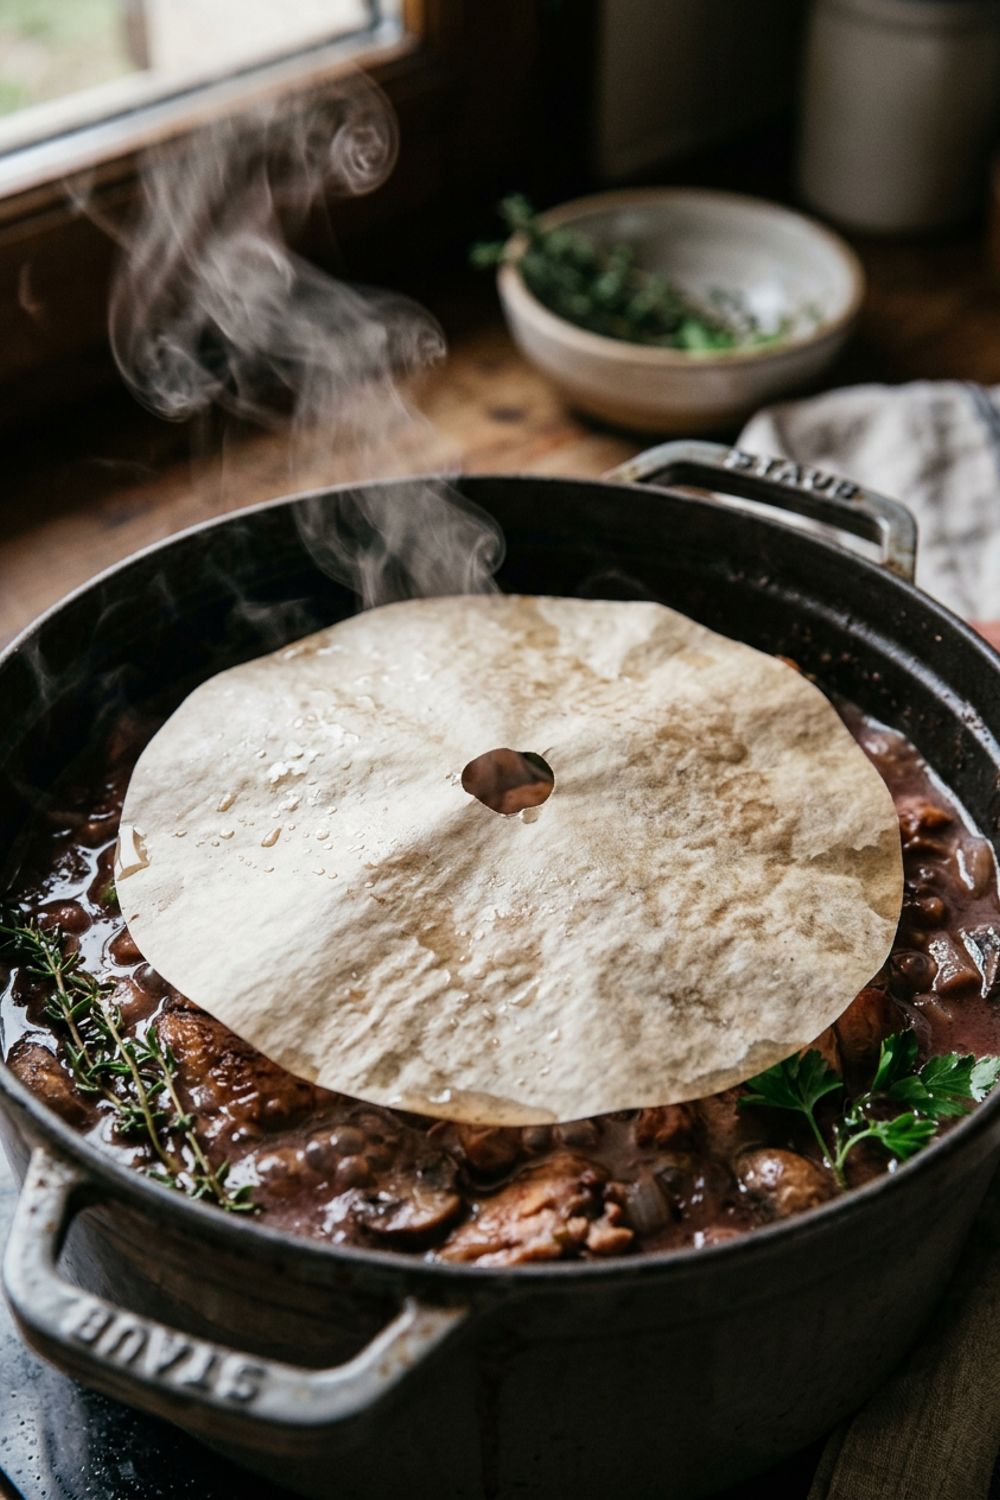
The first and most classic use is for braises. When braising meat or vegetables in liquid, a cartouche allows the braising liquid to reduce slowly while keeping the food moist. This is why French recipes for coq au vin, boeuf bourguignon, and braised short ribs so often call for a cartouche. The sauce concentrates as it cooks, developing deep flavor and body, while the meat stays bathed in liquid and never dries out. If you use a full lid, the sauce stays thin and watery. If you use nothing, the exposed top of the meat dries out and the liquid evaporates too quickly.
The second use is for poaching fruit. When you poach pears, apples, or stone fruit in wine or syrup, the fruit tends to float. A cartouche pressed onto the surface keeps the fruit submerged so it cooks evenly on all sides and absorbs the poaching liquid uniformly. Without it, the tops of the fruit stay pale and uncooked while the bottoms become mushy.
The third use is for sauces that need to reduce without forming a skin. Béchamel, custards, and cream-based sauces develop a thick skin on top when exposed to air. A cartouche prevents this by blocking air contact while still allowing gentle evaporation. Press it directly onto the surface of your sauce when resting between uses.
The fourth use is for stock and consommé. Professional kitchens use a cartouche when simmering stock to keep the ingredients submerged and prevent the surface from roiling, which can make stock cloudy. The gentle barrier encourages a calm, clear simmer.
Tips for Mastering the Cartouche
Use real parchment paper, not wax paper. This might seem obvious, but I have seen people make this mistake. Wax paper has a coating that melts at low temperatures and can leach into your food. Parchment paper is treated with silicone, which is heat-resistant to over 400°F and completely food-safe. Only parchment paper should touch hot food.
Size matters more than shape. Do not worry if your cartouche is not a perfect circle. As long as it covers the surface of the food with the edges curving down slightly inside the pot, it is doing its job. An slightly irregular shape works just as well as a geometrically perfect circle. The function is what matters, not the aesthetics.
Press out the air bubbles. After placing the cartouche on the food, use a spoon or your fingers to gently press it down so it makes full contact with the liquid surface. Air pockets between the parchment and the food create uneven cooking and can cause the paper to lift off during simmering. The cartouche should look like it is floating on the liquid with no gaps.
Replace if it tears. Parchment paper becomes more fragile as it absorbs moisture and heat over long cooking times. If your cartouche tears during a long braise, simply make a fresh one and replace it. This takes thirty seconds and ensures consistent coverage for the rest of the cooking time. I keep a roll of parchment paper within arm’s reach of my stove for exactly this reason.
Adjust the vent size for different purposes. A larger vent hole (about one inch) allows more evaporation and is ideal for braises where you want the sauce to reduce significantly. A smaller vent (quarter inch) retains more moisture and is better for poaching or gentle simmering where you want to preserve liquid volume. Think of the vent as a dimmer switch for evaporation — you can fine-tune it to your needs.
Recipe Applications — Honey-Glazed Braised Carrots
To demonstrate the cartouche in action, let me share one of my favorite simple recipes that showcases the technique perfectly. These honey-glazed braised carrots are a classic French side dish that relies entirely on the cartouche for their signature texture — tender all the way through with a glossy, concentrated glaze.
Peel one pound of carrots and cut them into two-inch pieces on a diagonal. In a wide sauté pan or skillet, melt two tablespoons of butter over medium heat. Add the carrots in a single layer and cook for two minutes without stirring to get a light golden sear on one side. Add the honey, chicken broth, salt, thyme sprigs, and a few grinds of black pepper. The liquid should come about halfway up the sides of the carrots.
Bring to a simmer, then place your prepared cartouche directly on top of the carrots. Reduce heat to medium-low and let the carrots braise gently for 20 to 25 minutes, checking occasionally, until they are completely tender when pierced with a knife. Remove the cartouche and thyme sprigs, increase heat to medium-high, and let the remaining liquid reduce for 3 to 4 minutes until it becomes a thick, syrupy glaze that coats the carrots beautifully. Toss the carrots in the glaze and serve.
Without the cartouche, this recipe does not work properly. The carrots would dry out on top while swimming in liquid below, and the broth would evaporate too quickly, leaving you with unevenly cooked vegetables. The cartouche ensures every piece cooks gently in the braising liquid while allowing just enough evaporation to concentrate the flavors. When you remove it and reduce the liquid at the end, you get a glaze that tastes deeply of butter, honey, and carrot rather than watery broth.
Variations and Advanced Uses
Butter Cartouche. For an even richer version used in classic French cuisine, rub a thin layer of softened butter onto the parchment before placing it food-side down. As the butter melts during cooking, it bastes the surface of the food continuously. This technique is traditional for poached fish and gives the top of the fish a beautiful silky richness.
Herb Cartouche. Press fresh herb leaves (thyme, rosemary, bay leaves) onto the underside of the buttered parchment. As the cartouche sits on the food, the herbs infuse their flavor directly into the surface. This is particularly lovely for poached chicken breasts or braised fennel.
Double Cartouche. For very long braises (four hours or more), some chefs use two layers of parchment for extra durability. The double layer is also useful for oven braises where the higher heat can dry out a single sheet of parchment more quickly.
Foil-Backed Cartouche. For recipes that go from stovetop to oven, back the parchment circle with a matching circle of aluminum foil. The parchment stays in contact with the food (safe and non-reactive) while the foil provides structural support that prevents the parchment from disintegrating during long oven cooking times.
The Cartouche Lid Combo. For the slowest, most controlled braises, use a cartouche on the food surface and then place the pot lid on top, leaving it slightly ajar. This creates a double barrier that is between a cartouche alone and a fully sealed pot. I use this technique for delicate dishes like veal blanquette where maintaining a barely-there simmer is critical.
How to Store
Since a cartouche is simply a piece of parchment paper, storage is straightforward. If your cartouche is clean and intact after use, you can let it dry flat and reuse it once or twice. However, most cartouches absorb food flavors and become fragile after a single use, so I typically discard them. Keep a full roll of parchment paper in your kitchen and you will always be ready to make a fresh cartouche in seconds.
For meal prep purposes, you can pre-cut several cartouches for your most commonly used pot sizes and store them flat in a kitchen drawer or between the pages of a large cookbook. Label each one with the pot size if you have multiple sizes. This saves you even the thirty seconds of folding and cutting during a busy cooking session, though honestly, making them fresh is so fast that I rarely bother with this step.
Troubleshooting
The cartouche keeps floating up. The steam vent may be too small or missing entirely. Make sure you cut the vent hole at the center and that it is at least a quarter inch in diameter. Also, reduce the heat slightly — if the liquid is simmering too aggressively, the steam can puff up the parchment. A gentle simmer with lazy bubbles is all you need.
The cartouche disintegrated during cooking. Extended cooking times (over two hours) and high temperatures can break down parchment paper. For long braises, check the cartouche periodically and replace it if it becomes too fragile. Using higher-quality parchment paper (thicker weight) also helps with durability.
The food is still drying out on top. Your cartouche may be too small and not covering the full surface of the food. Make a new one that is slightly larger, ensuring the edges curve down to meet the liquid surface. Also check that the cartouche is in direct contact with the food — any air gap allows moisture to escape.
The sauce is not reducing. Your cartouche may be too large, essentially acting as a lid. Trim it so it sits inside the pot with a small gap between the parchment edge and the pot wall. You can also enlarge the center vent hole to allow more steam to escape.
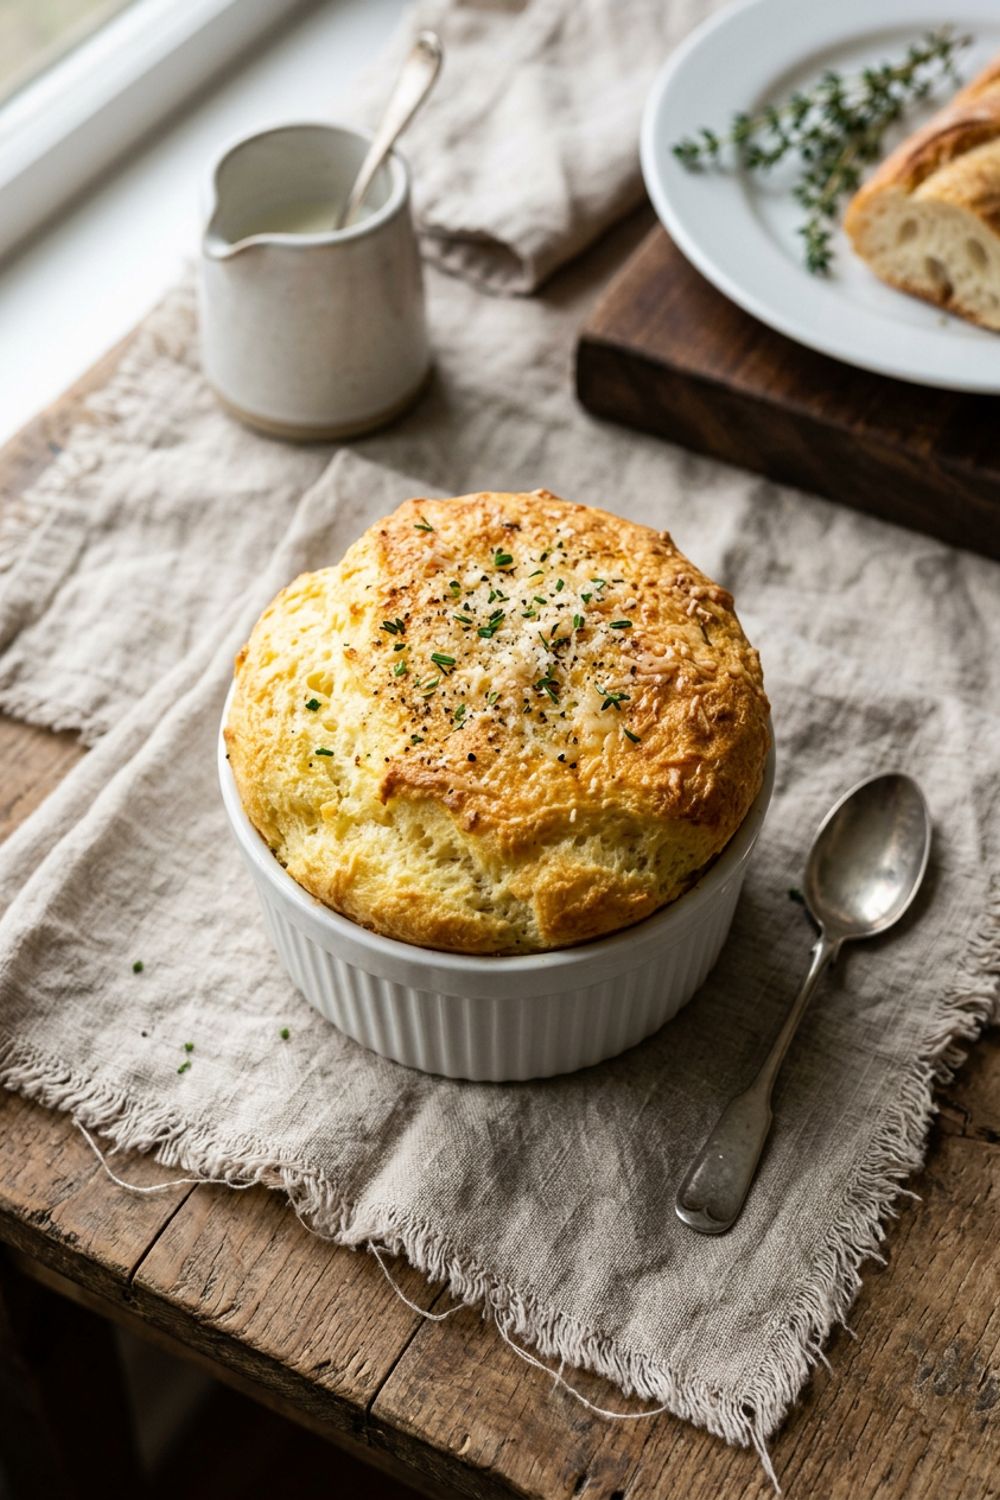
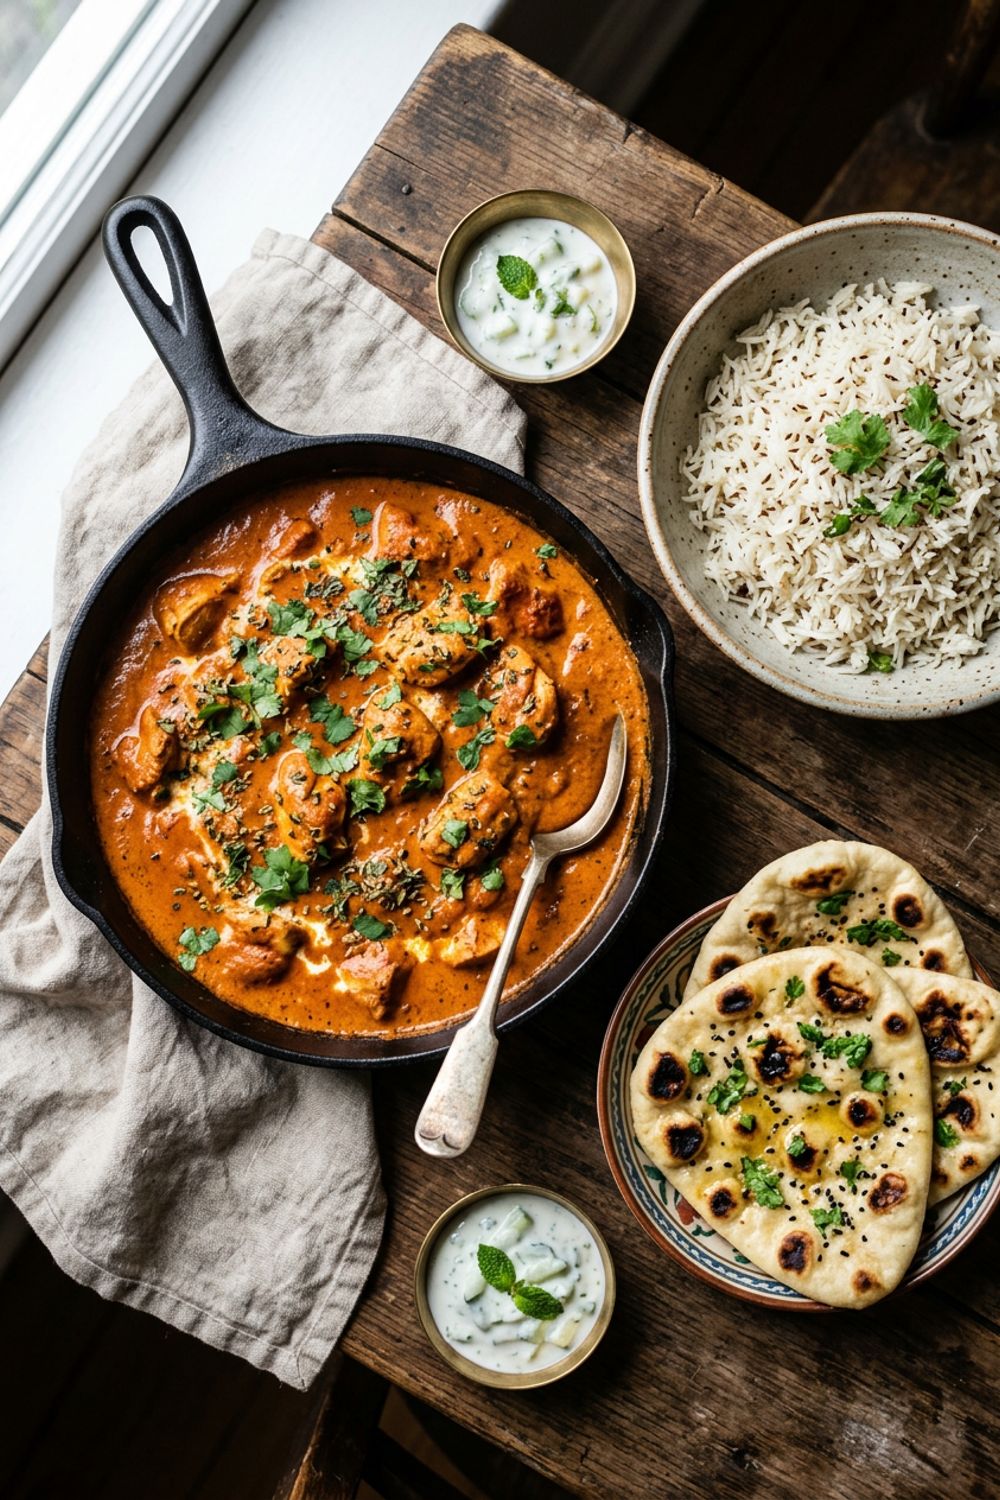
The cartouche is proof that the best cooking techniques are often the simplest. A piece of paper, properly placed, can transform the way you braise, poach, and simmer. If you are exploring French cooking fundamentals, my guide to clarified butter is another essential technique that will elevate everything you make. For a classic that uses a béchamel foundation, try my cheese soufflé — it is more approachable than you think. And for a dish from another tradition that benefits beautifully from slow, careful cooking, my homemade butter chicken is a wonderful place to start.
Never Miss a Recipe
Join 5,000+ home cooks and get new recipes straight to your inbox.
Ingredients
Main
For the Demo Braised Carrots
Instructions
- 1
Cut a Square
Tear off a piece of parchment paper that is slightly larger than your pot or pan. Fold it in half to form a rectangle.
- 2
Fold into a Triangle
Fold the rectangle in half again to form a square, then fold the square diagonally to create a triangle. You now have a multi-layered triangle.
- 3
Find the Center Point
Hold the triangle with the point (which represents the center of the paper) facing away from you. Place the pointed tip over the center of your pot to estimate the radius.
- 4
Trim to Size
Using scissors, cut the wide end of the triangle in a curve at the point where it meets the edge of your pot. Cut about half an inch smaller than the pot diameter so the cartouche sits on top of the food, not against the pot walls.
- 5
Cut a Steam Vent
Snip a small hole (about 1/2 inch) at the pointed tip of the folded triangle. When unfolded, this creates a small vent in the center of the circle that allows just enough steam to escape.
- 6
Unfold and Place
Unfold the parchment to reveal a circle with a small hole in the center. Press it gently directly onto the surface of the food in the pot, tucking the edges down slightly. The cartouche should rest on the food itself, not on the rim of the pot.
Nutrition Information
Per serving (serves 1). Values are approximate.
| Calories | 0 calories |
| Total Fat | 0g |
| Saturated Fat | 0g |
| Carbohydrates | 0g |
| Sugar | 0g |
| Protein | 0g |
| Sodium | 0mg |
| Fiber | 0g |
* Percent Daily Values are based on a 2,000 calorie diet. Your daily values may be higher or lower depending on your calorie needs. Nutritional information is an estimate and may vary.
Frequently Asked Questions
What is a cartouche in cooking?
A cartouche is a circle of parchment paper placed directly on the surface of food while it simmers. It traps moisture, controls evaporation, and prevents a skin from forming on sauces. French chefs have used this technique for centuries in braises, poaching, and sauce-making.
Can I use aluminum foil instead of parchment paper?
You can, but parchment is preferred because it does not react with acidic foods like wine or tomatoes. Foil can also create too tight a seal, whereas parchment's slight flexibility allows the ideal amount of steam exchange.
When should I use a cartouche instead of a lid?
Use a cartouche when you want gentle, controlled evaporation — braises that need to reduce slightly, poached fruits that need to stay submerged, or sauces that should thicken slowly. A full lid traps all steam and prevents any reduction.
Can I reuse a cartouche?
If the parchment is not torn or heavily stained, you can reuse it once or twice. However, parchment paper is inexpensive and a fresh cartouche takes 30 seconds to make, so I usually make a new one each time.
Does the steam vent matter?
Yes. Without the vent, pressure can build under the parchment and cause it to puff up and float off the food. The small hole allows just enough steam to escape to keep the cartouche sitting flat on the surface.

Hi, I'm Lisa!
I create simple, tested recipes from around the world that anyone can make at home.
Learn More →Reader Reviews
Based on 87 reviews