Chicken & Poultry
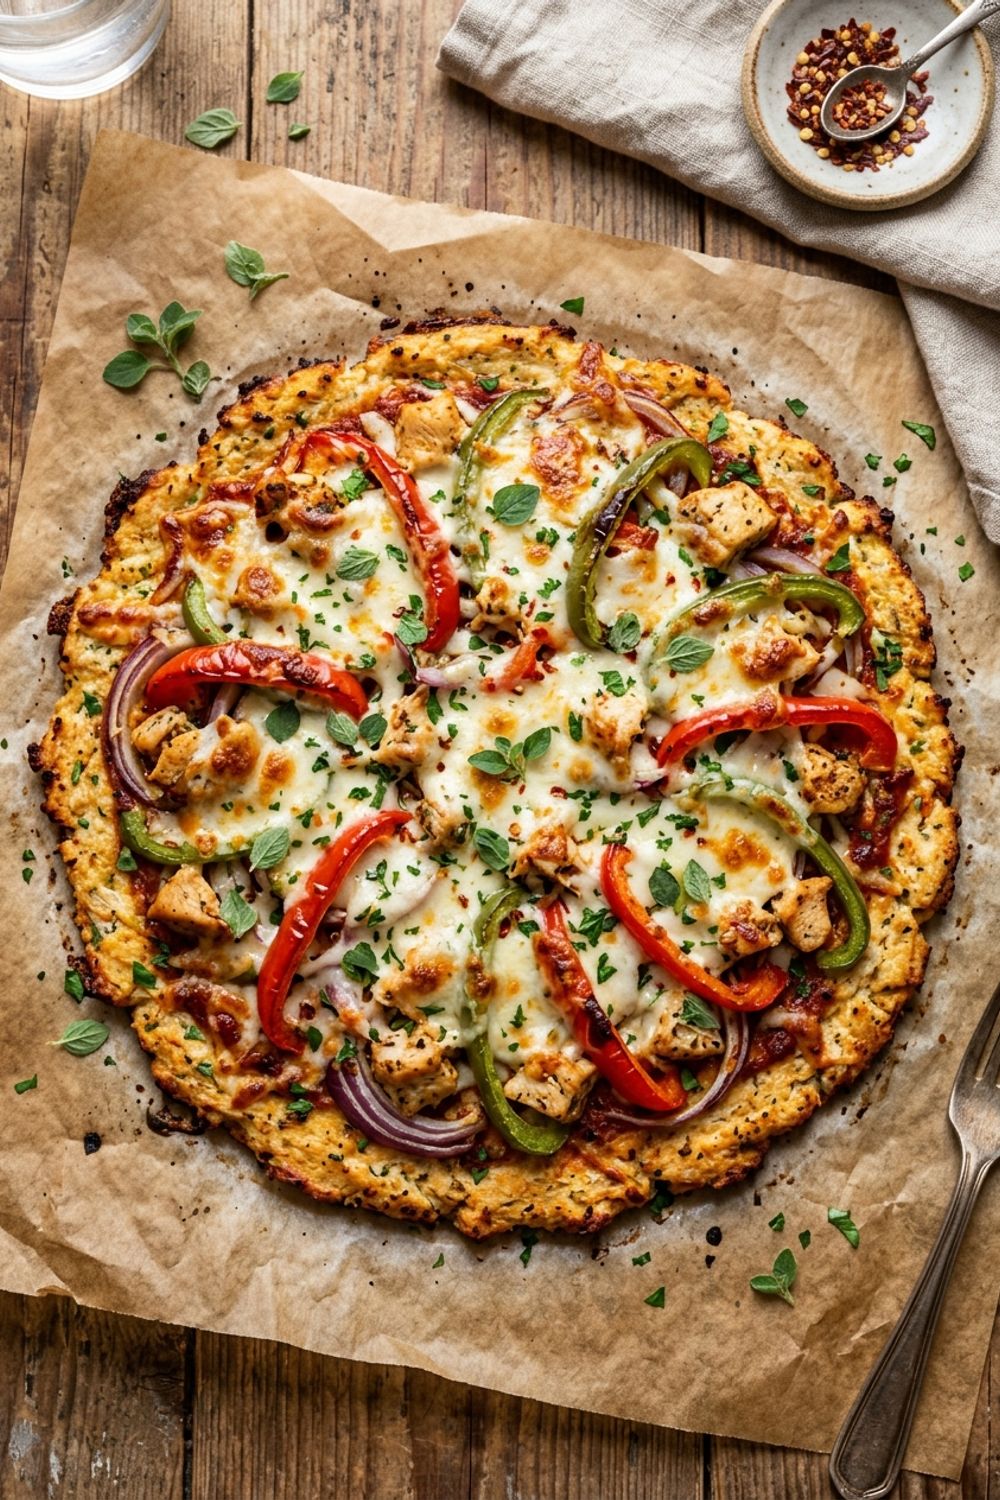
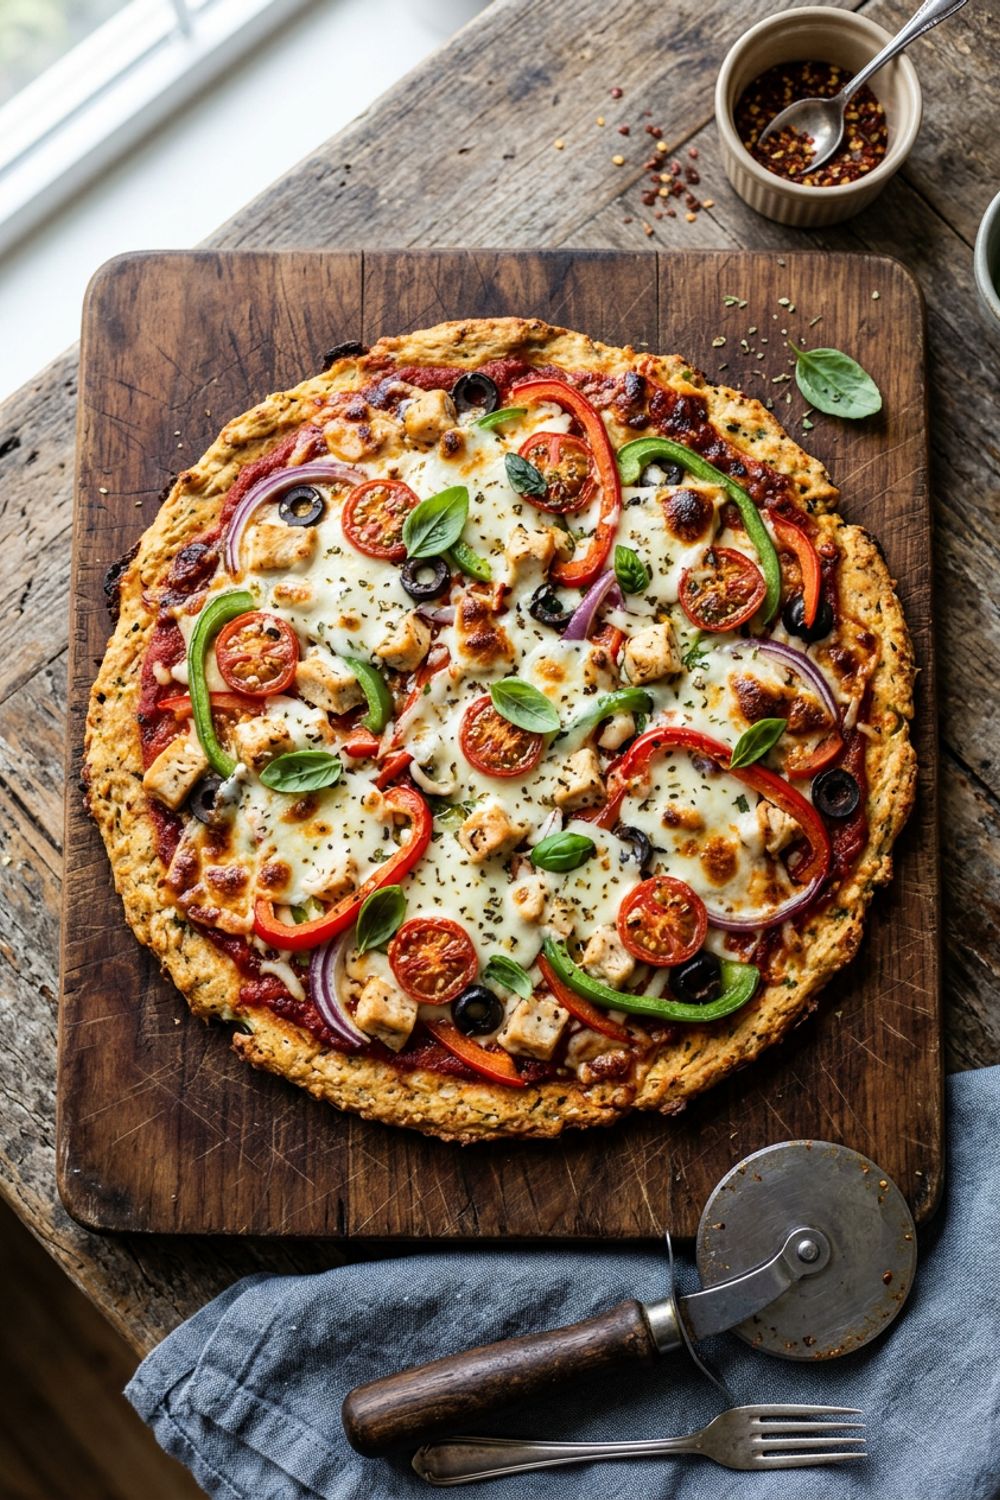
Canned Chicken Pizza Crust Recipe
Why This Recipe Is Special
I know what you are thinking — canned chicken on a pizza crust? Stay with me, because this recipe is genuinely one of the most surprising things I have ever made. I first saw this concept floating around keto communities online, and like most people, I was deeply skeptical. Canned chicken has a reputation for being mushy, bland, and vaguely depressing. But desperate for a quick low-carb pizza fix on a lazy Sunday, I gave it a shot. And it completely blew my expectations out of the water.
The beauty of this recipe is its absurd simplicity. You need three main ingredients — canned chicken, parmesan cheese, and an egg — plus a few basic seasonings. That is it. No special flour, no yeast, no rising time, no kneading. From opening the cans to pulling a bubbling, cheesy pizza out of the oven takes about 35 minutes, and most of that is hands-off baking time. For anyone who has struggled with more complicated low-carb crust alternatives, this is a revelation.
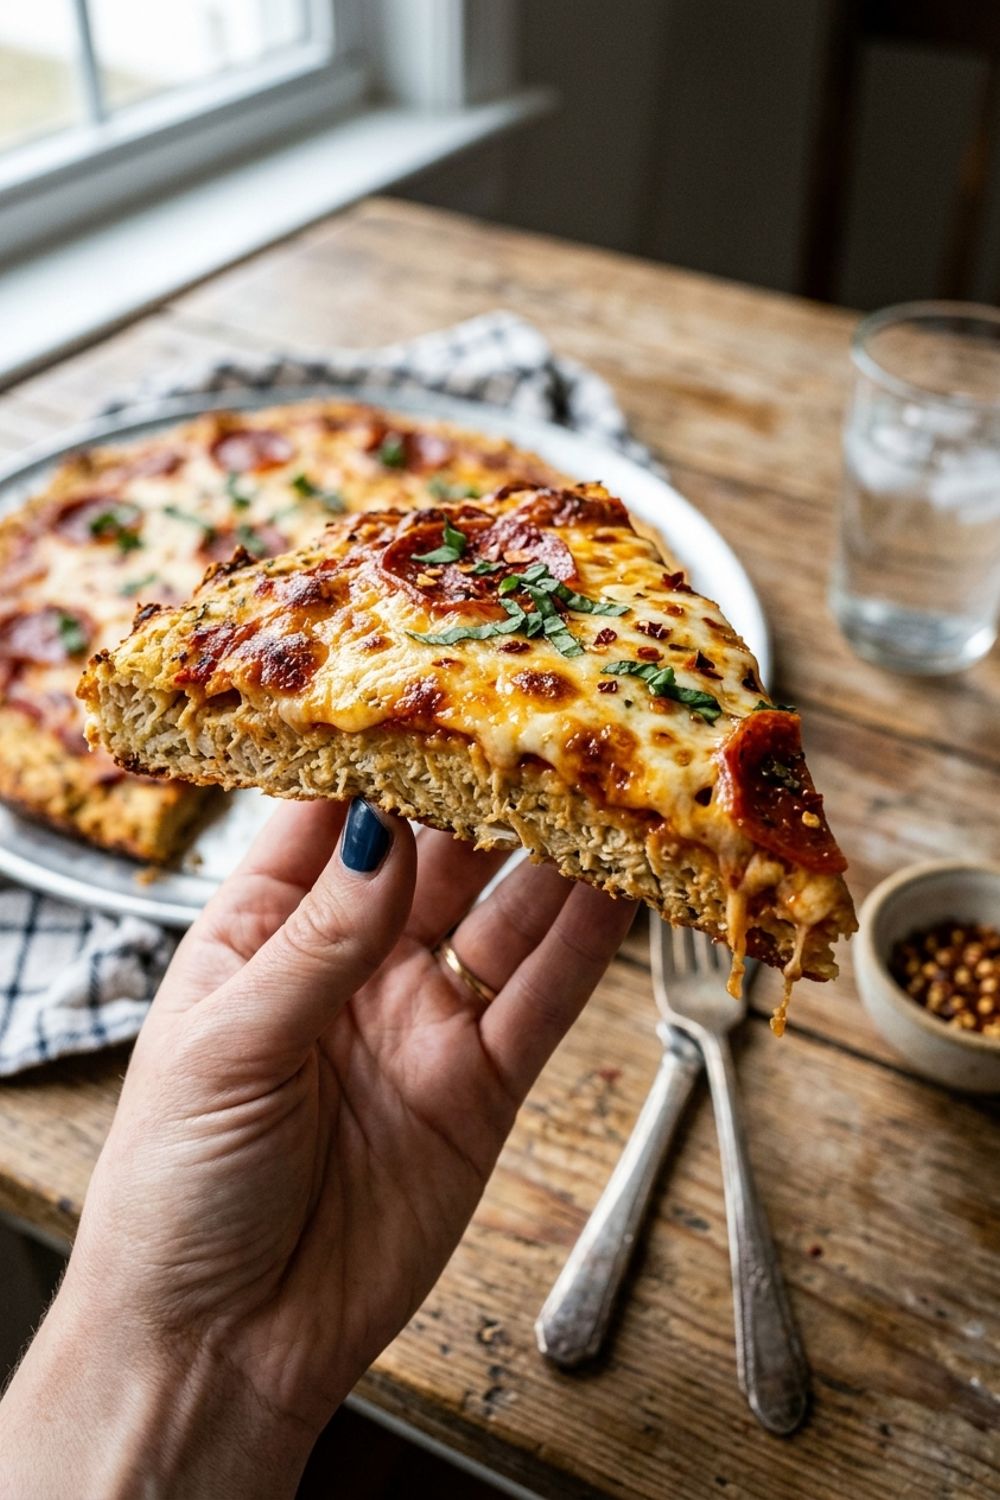
Now, I want to be honest: this crust does not taste like traditional pizza dough. Nothing made from chicken will. But what it does taste like is a crispy, savory, protein-packed base that carries pizza toppings beautifully. The parmesan gives it a salty, umami punch, the egg holds everything together, and when it bakes up golden and firm, it genuinely feels like eating pizza rather than eating chicken with toppings on it. The texture is somewhere between a thin cracker and a chicken patty, and it is far more satisfying than it has any right to be. This recipe has become my go-to for those nights when I want pizza but do not want to blow my nutrition goals, and I make it at least twice a month.
The Critical Art of Draining Canned Chicken
If there is one thing that determines whether your canned chicken pizza crust succeeds or fails spectacularly, it is how thoroughly you drain the chicken. I cannot overstate this: excess moisture is the enemy of a crispy crust, and canned chicken is absolutely loaded with liquid. Skip this step and you will end up with a sad, soggy, falling-apart mess that cannot support any toppings.
Here is my foolproof draining method. First, open the cans and dump the chicken into a fine-mesh strainer set over the sink. Press down firmly with a spoon to squeeze out as much liquid as possible. Then — and this is the crucial part — transfer the chicken to a clean, thin kitchen towel. Gather the towel into a ball around the chicken and squeeze hard over the sink. You will be amazed at how much additional liquid comes out, even after straining. I typically get another 2-3 tablespoons of liquid from the towel squeeze alone.
If you do not have a kitchen towel you want to sacrifice to canned chicken duty, several layers of paper towels work too, though you may need to repeat the process since paper towels tear when wet. The goal is to get the chicken as dry as humanly possible. When you press a paper towel against the drained chicken, it should come away nearly dry.
After draining, mash or shred the chicken with a fork until it has a fine, uniform consistency. You do not want large chunks, which create weak spots in the crust. Think of the texture of tuna salad — fine and fairly even, but not pureed into a paste. This uniform texture ensures the crust holds together evenly and bakes consistently across its entire surface.
Getting Maximum Flavor From Minimal Ingredients
With only a handful of ingredients, every single one needs to pull its weight in the flavor department. Let me walk you through how to maximize the taste of this deceptively simple crust.
Parmesan is the biggest flavor contributor, so use the good stuff. Freshly grated Parmigiano-Reggiano has a complex, nutty, salty flavor that the pre-grated kind simply cannot match. The real cheese also melts better, creating crispy spots on the crust that add incredible texture. Half a cup seems like a lot, but remember — this is doing the work of an entire dough’s worth of seasoning.
The garlic powder and Italian seasoning are essential. They transform the crust from “chicken patty” to “pizza base.” I use a full half teaspoon of garlic powder, which adds that unmistakable pizzeria aroma. The Italian seasoning — typically a blend of oregano, basil, thyme, and rosemary — creates an herby backdrop that tricks your brain into tasting pizza before you even add toppings.
Here is a bonus tip that took my crust from good to great: add a teaspoon of nutritional yeast to the mixture. Nutritional yeast has a cheesy, slightly nutty flavor that enhances the parmesan and adds a depth that is hard to describe but immediately noticeable. It is optional, but once I started adding it, I never went back. You can find nutritional yeast in the health food section of most grocery stores.
One more flavor trick: brush the edges of the crust with a thin layer of garlic butter (melted butter mixed with a pinch of garlic powder) right after the initial bake, before adding toppings. Those edges crisp up beautifully in the final bake and taste like garlic bread. For a crust with essentially zero carbs, that is a pretty incredible bonus.
Tips for Perfect Results
Spray the parchment paper even though it is non-stick. The chicken mixture releases fat and moisture during baking, and without a light coating of cooking spray, the crust can stick to the parchment in spots. A quick spray creates an extra insurance layer that guarantees easy removal. I use olive oil spray for a bit of extra flavor, but any cooking spray works.
Press the crust thin and even using damp hands. The chicken mixture is sticky and will cling to dry hands. Dampen your hands with water before pressing, and re-wet them as needed. This small trick makes shaping the crust dramatically easier and faster. Aim for 1/4-inch thickness and make sure the center is not thicker than the edges. Thick spots will be soft and bendy, while the thin edges get perfectly crispy.
Do not overload the toppings. This crust is strong for what it is, but it is not bread dough. A thin layer of sauce, a modest amount of cheese, and one or two lightweight toppings is ideal. Heavy toppings like thick sausage slices or mounds of vegetables will cause the crust to buckle. Think of it as a thin-crust pizza with elegant, restrained toppings rather than a loaded deep-dish situation.
Watch the sodium content of your toppings. Canned chicken already contains significant sodium, and parmesan adds more. When choosing toppings, be mindful of additional salt. Skip heavily salted meats like pepperoni if sodium is a concern, and opt for fresh vegetables and low-sodium sauce. Taste the crust before adding salty toppings — you might find it does not need any additional salt at all.
Use a pizza cutter for the cleanest slices. Let the pizza rest for 3-4 minutes after the final bake, then use a sharp pizza cutter or large chef’s knife. Rocking a pizza cutter back and forth works better than trying to roll it through in one motion. If the crust seems fragile, slide the entire pizza onto a cutting board first, which provides a stable surface for cutting.
Variations to Try
Everything Bagel Crust. Mix 1 tablespoon of everything bagel seasoning into the crust mixture instead of the Italian seasoning. Top the baked crust with cream cheese (instead of pizza sauce), smoked salmon, capers, thin red onion slices, and fresh dill. This transforms the humble canned chicken crust into a fancy brunch pizza that tastes incredible and is insanely high in protein.
Mexican Pizza Version. Add 1 teaspoon of cumin and 1/2 teaspoon of chili powder to the crust mixture. Top with salsa instead of marinara, a blend of cheddar and Monterey Jack cheese, seasoned ground beef or black beans, diced jalapenos, and a dollop of sour cream after baking. Garnish with fresh cilantro and a squeeze of lime. This is like a tostada on a protein-packed base.
Pizza Margherita Style. Keep the crust classic with Italian seasoning. Top with a very thin layer of San Marzano tomato sauce (just crushed tomatoes with a pinch of salt), fresh mozzarella slices (not shredded), and fresh basil leaves added after baking. A drizzle of good olive oil finishes it off. The simplicity of the toppings lets the crust shine and keeps the total time minimal.
White Pizza with Ricotta. Skip the pizza sauce entirely. Spread the baked crust with a mixture of 1/2 cup ricotta, 1 minced garlic clove, and a pinch of salt. Top with shredded mozzarella, thinly sliced zucchini, and a sprinkle of lemon zest. After baking, drizzle with olive oil and add fresh arugula. This elegant white pizza version is surprisingly sophisticated for something made from canned chicken.
Spicy Chicken Crust. Add 1 teaspoon of smoked paprika and 1/2 teaspoon of cayenne pepper to the crust mixture. Top with a spicy arrabbiata sauce, mozzarella, banana pepper rings, and crumbled cooked Italian sausage. The spiced crust adds heat from the base up, creating a pizza that is warm and spicy in every component.
How to Store
The baked crust (without toppings) stores well in the refrigerator for up to 3 days. Wrap it tightly in plastic wrap or aluminum foil and place on a flat surface — do not stack heavy items on top, as it can crack. When ready to use, add toppings and bake at 425°F (220°C) for 8-10 minutes. The crust may be slightly less crispy than fresh, but it still holds up well.
For longer storage, freeze the pre-baked crust. Let it cool completely on the baking sheet, then wrap tightly in plastic wrap followed by aluminum foil. It will keep in the freezer for up to 2 months. Thaw in the refrigerator overnight before adding toppings and doing the final bake. You can also freeze topped but unbaked pizza — add all toppings to the pre-baked crust, freeze flat until solid, then wrap and store. Bake directly from frozen at 400°F (200°C) for 15-18 minutes.
The assembled and baked pizza keeps in the refrigerator for 2 days. Reheat in the oven at 375°F (190°C) for 5-7 minutes for the best texture. Microwave reheating softens the crust significantly, which I do not recommend unless you are in a rush.
Troubleshooting
Crust is too wet and will not hold together. Not enough moisture was removed from the canned chicken. Next time, spend extra time squeezing the chicken in a towel. You can also try pressing the formed crust with paper towels before baking to wick away surface moisture. If the crust is already in the oven and looking wet, extend the initial bake by 3-5 minutes.
Crust has a strong canned chicken taste. Increase the parmesan to 3/4 cup and add an extra 1/4 teaspoon of garlic powder. Topping with bold-flavored ingredients like pepperoni, olives, and a flavorful sauce also helps mask any residual canned taste. Over time, as you perfect your draining technique, the canned flavor becomes much less noticeable.
Crust fell apart when I tried to slice it. The egg and parmesan may not have been mixed in thoroughly enough. Make sure every bit of the chicken mixture has contact with the egg. Also, the crust must rest for at least 3 minutes after the final bake — cutting too soon, while the cheese is still liquid, causes everything to slide apart.
Crust burned on the bottom. Your oven rack was too low or the temperature too high. Move the rack to the middle position and make sure your oven is calibrated correctly. If your oven runs hot, reduce the temperature by 25°F. Using a light-colored baking sheet instead of a dark one also helps prevent bottom burning, as dark pans absorb more heat.
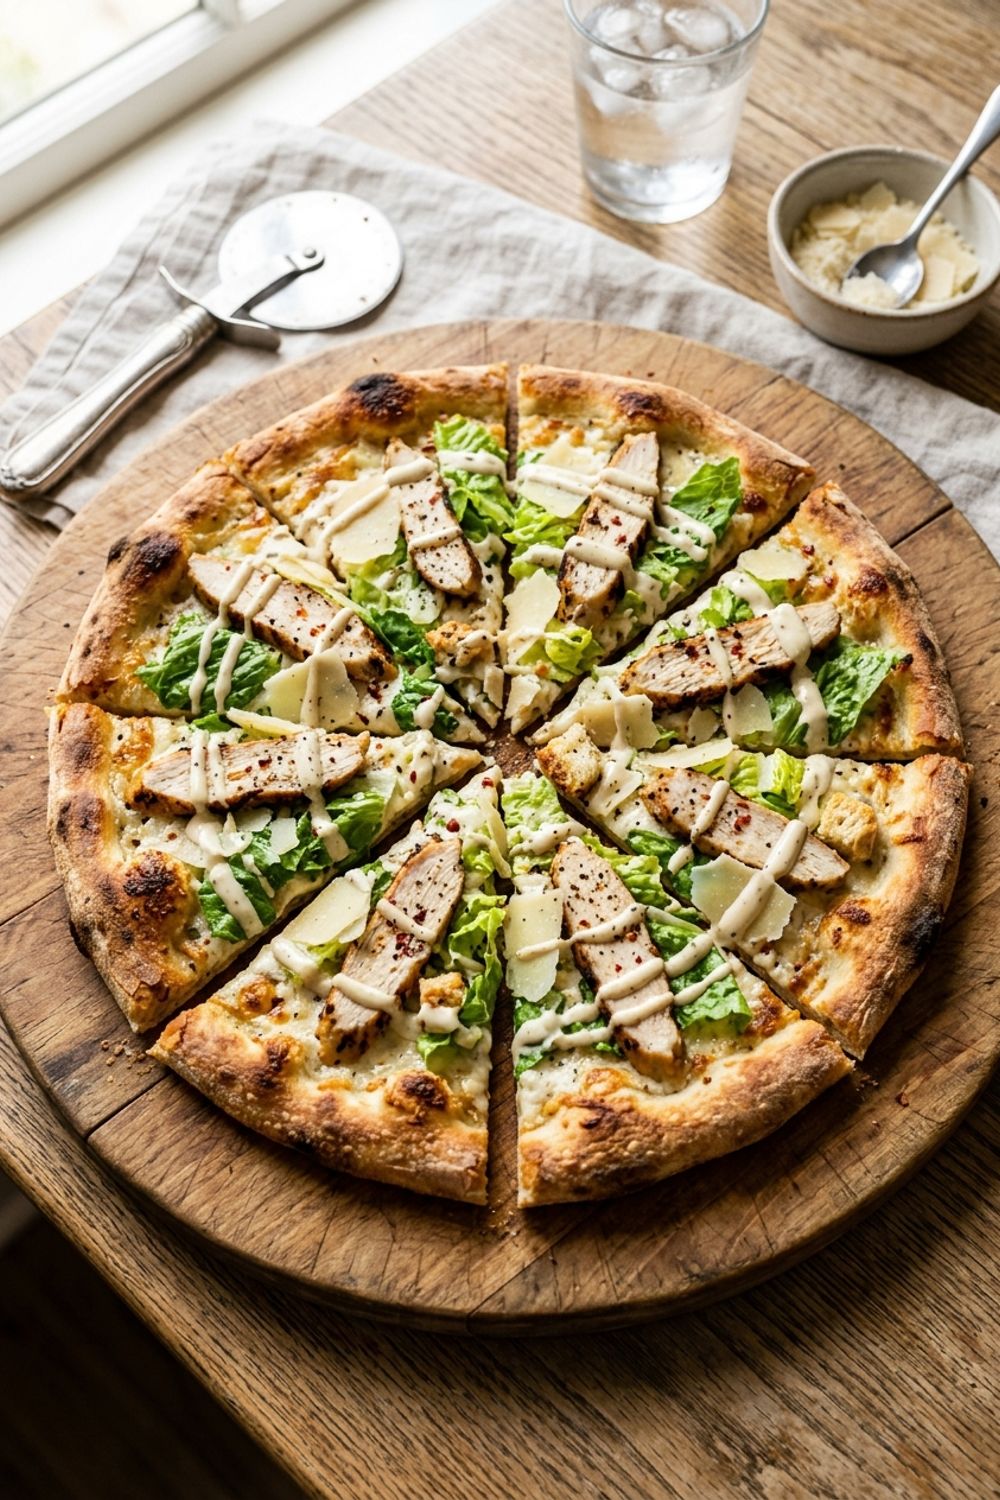
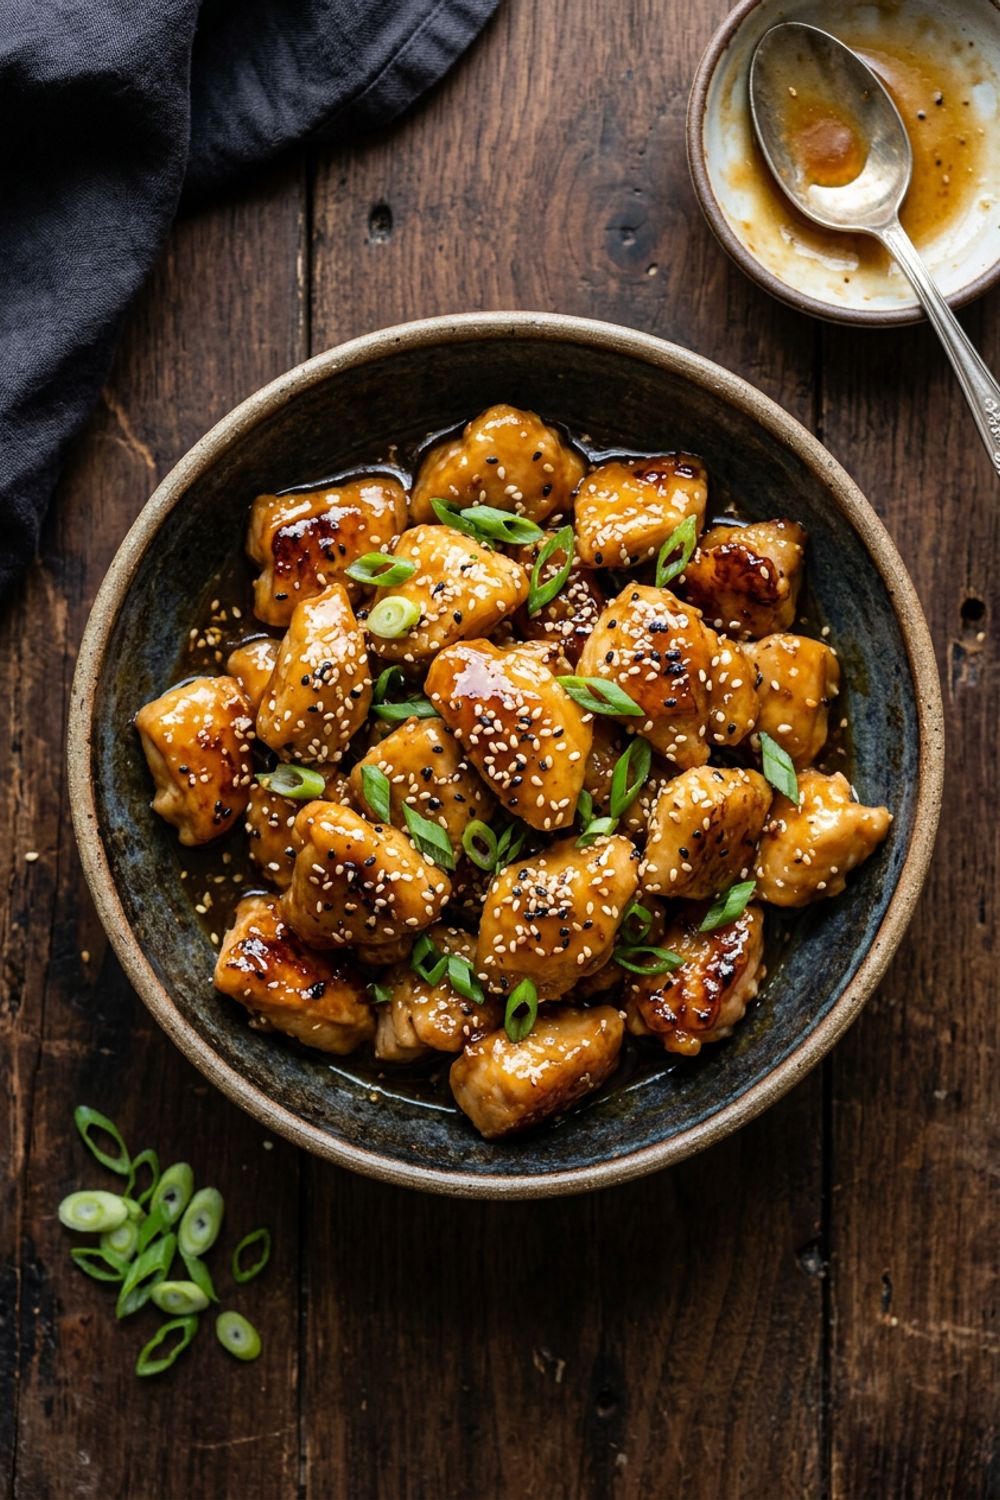
This canned chicken pizza crust has become a staple in my kitchen, and I love how it proves that healthy eating does not have to be complicated or taste like cardboard. If you want a version with more texture and flavor depth, try my chicken pizza crust recipe using ground chicken. For a traditional dough-based chicken pizza, my chicken Caesar pizza is a family favorite. And for another creative way to use chicken, check out my honey garlic chicken bites — the perfect appetizer to serve alongside pizza night.
Never Miss a Recipe
Join 5,000+ home cooks and get new recipes straight to your inbox.
Ingredients
Chicken Crust
Pizza Toppings (Suggested)
Instructions
- 1
Drain and Prepare the Chicken
Open the cans of chicken and drain as much liquid as possible. Transfer to a clean kitchen towel or several layers of paper towels and squeeze firmly to remove all excess moisture. This is the most important step — the drier the chicken, the crispier the crust. Shred or mash the chicken with a fork until it has a fine, uniform texture.
- 2
Mix the Crust Ingredients
Preheat the oven to 425°F (220°C). Line a baking sheet with parchment paper and spray lightly with cooking spray. In a bowl, combine the well-drained chicken, parmesan, egg, garlic powder, Italian seasoning, onion powder, and pepper. Mix thoroughly with your hands or a fork until everything is evenly incorporated.
- 3
Shape and Bake the Crust
Transfer the mixture to the prepared baking sheet. Using your hands (dampening them helps prevent sticking), press the mixture into a thin, even circle about 10-11 inches in diameter and 1/4 inch thick. Make sure the edges are not thinner than the center. Bake for 15 minutes until the crust is golden, firm, and pulls away slightly from the parchment.
- 4
Blot and Add Toppings
Remove the crust from the oven and carefully blot the surface with paper towels to absorb any released moisture or fat. Spread pizza sauce in a thin, even layer. Add mozzarella and your chosen toppings, keeping them light.
- 5
Final Bake and Serve
Return to the oven and bake for 8-10 minutes until the cheese is melted, bubbly, and golden in spots. Let rest on the pan for 3-4 minutes before slicing with a pizza cutter. Garnish with fresh basil and dried oregano.
Nutrition Information
Per serving (serves 2). Values are approximate.
| Calories | 290 calories |
| Total Fat | 14g |
| Saturated Fat | 6g |
| Carbohydrates | 3g |
| Sugar | 1g |
| Protein | 38g |
| Sodium | 820mg |
| Fiber | 0g |
* Percent Daily Values are based on a 2,000 calorie diet. Your daily values may be higher or lower depending on your calorie needs. Nutritional information is an estimate and may vary.
Frequently Asked Questions
Which brand of canned chicken works best?
I prefer Kirkland (Costco) or Valley Fresh canned chicken breast. They have larger chunks and less liquid than budget brands. Avoid any canned chicken packed in broth — you want the ones packed in water for easier draining.
Can I use canned tuna instead?
Technically yes, but the flavor will be very different and quite fishy. If you enjoy tuna, it works with Mediterranean toppings like olives, capers, and feta. Drain the tuna just as thoroughly as you would the chicken.
Why does my crust taste like canned chicken?
Two things help: first, make sure you squeeze out every drop of liquid. Second, the parmesan and seasonings mask the canned flavor. Adding extra garlic powder and a teaspoon of dried oregano to the crust mixture also helps. The toppings further disguise any residual canned taste.
How many carbs does this crust have?
The crust alone has about 3g net carbs total for the entire pizza, or about 1.5g per serving. This makes it one of the lowest-carb pizza options available, even lower than cauliflower crust.

Hi, I'm Lisa!
I create simple, tested recipes from around the world that anyone can make at home.
Learn More →Reader Reviews
Based on 97 reviews