World Cuisine
Cabbage Dumplings Gyoza
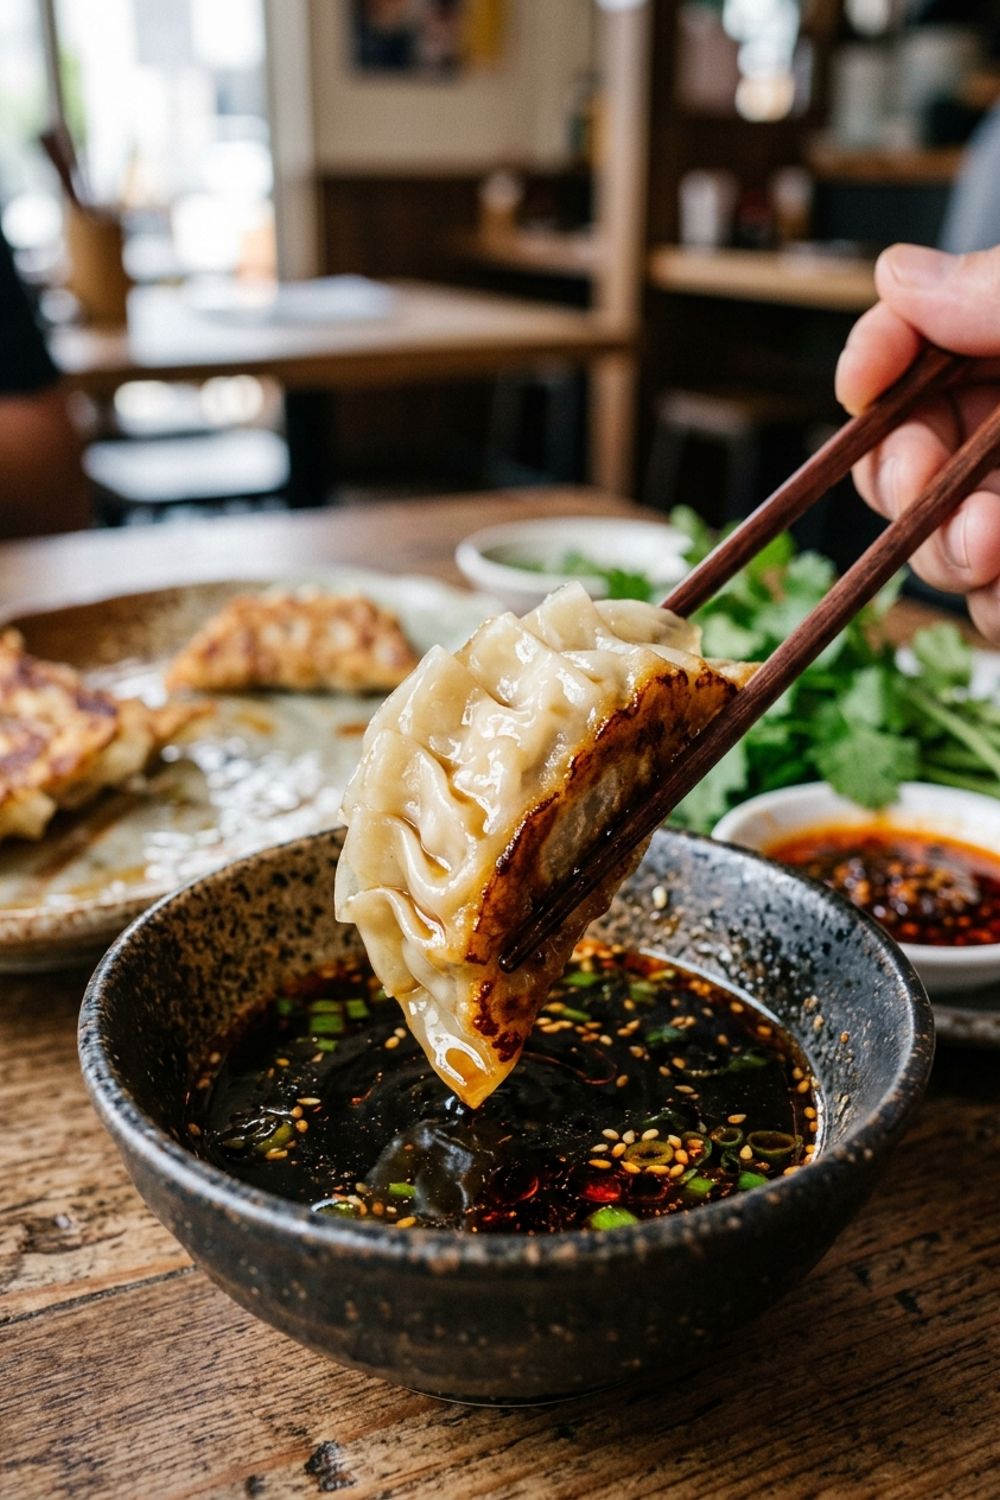
Why Japanese Gyoza Became My Dumpling Obsession
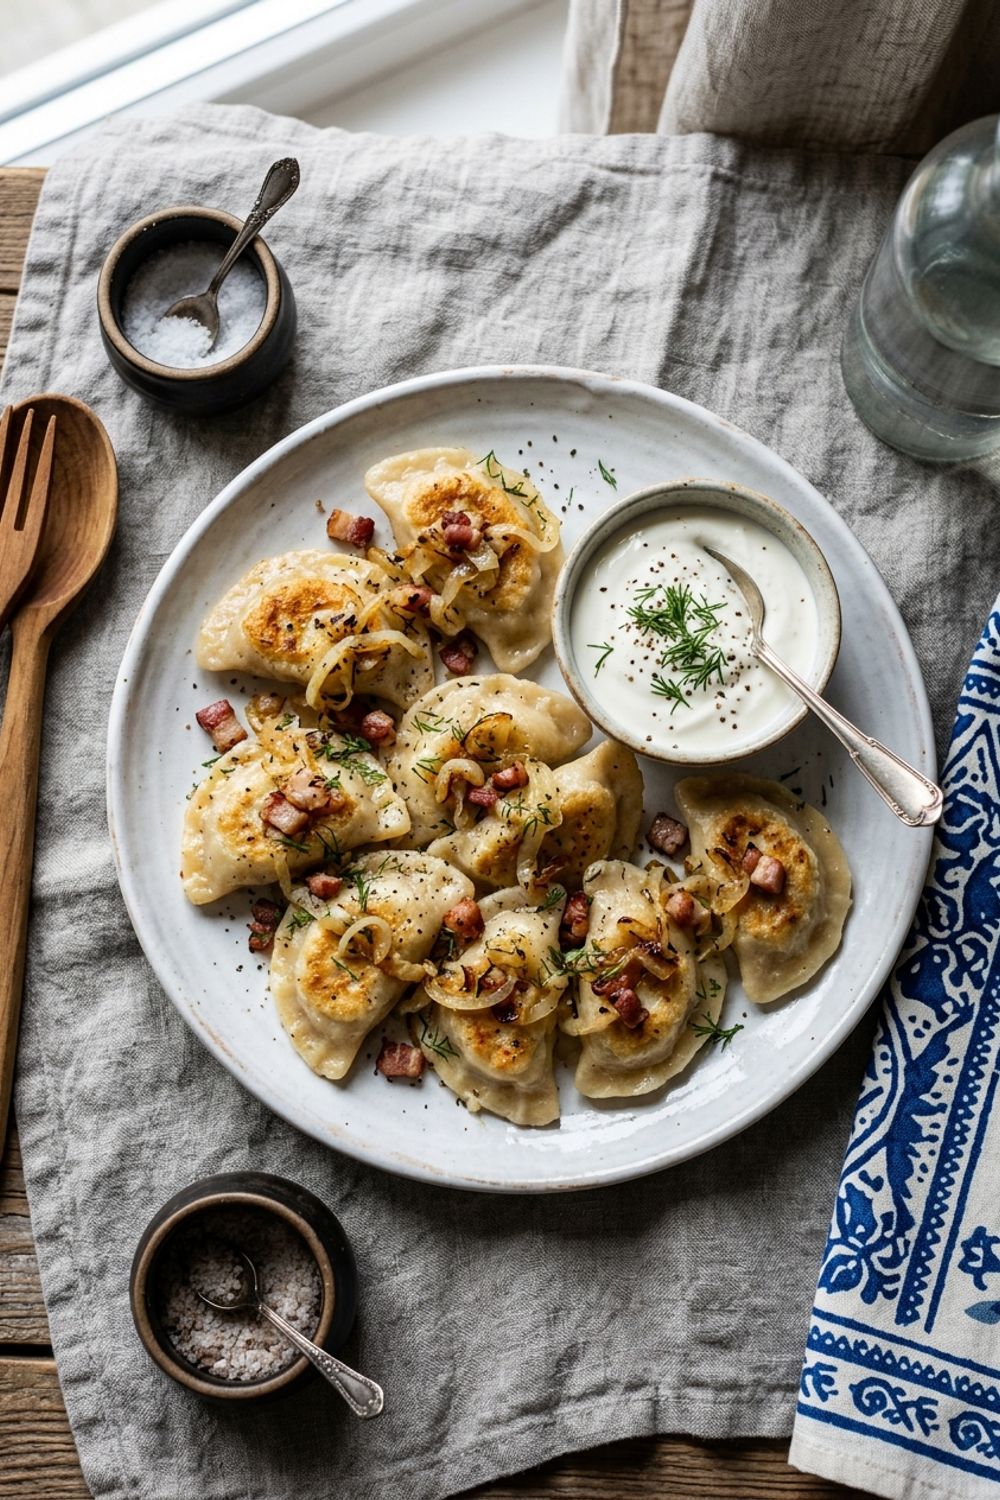
I have made dumplings from dozens of culinary traditions — Polish pierogi, Chinese jiaozi, Nepali momos, Georgian khinkali — but Japanese gyoza hold a special place in my heart. There is something about the way they combine an impossibly thin, crispy bottom with a juicy, ginger-laced filling that makes them irresistibly addictive. I first fell in love with gyoza at a tiny counter restaurant in Tokyo’s Shibuya district, where an older gentleman cooked nothing but gyoza all day long, turning out plate after plate of perfectly golden crescents with machine-like precision.
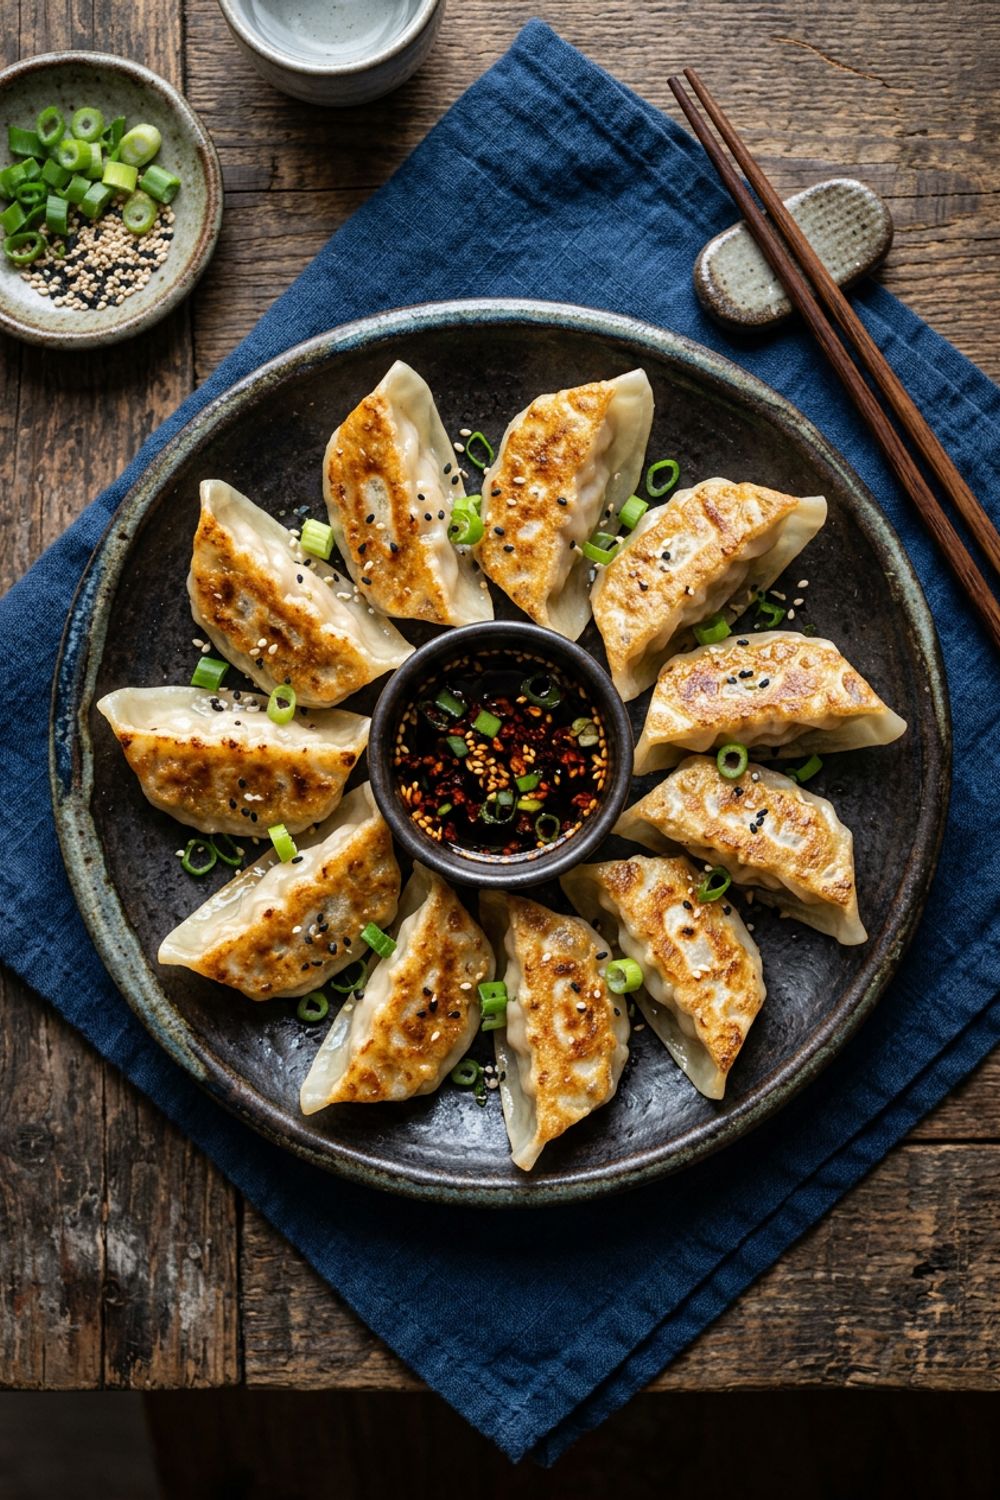
What makes gyoza distinct from other dumpling styles is the cooking method. That magical combination of frying, steaming, and then frying again creates what the Japanese call the “hane” — a delicate lacy crust that connects all the dumplings in the pan like a golden web. When you flip the entire batch onto a plate and see that shatteringly crispy skirt surrounding a circle of plump dumplings, the sense of accomplishment is incredible. It never gets old, even after making thousands of them.
The filling in these gyoza is deliberately simple because the beauty lies in the balance of flavors rather than complexity. Cabbage provides sweetness and moisture, pork adds richness and body, and the aromatics — ginger, garlic, scallion — give each bite a bright, clean punch that keeps you reaching for one more. I have learned over the years that the best gyoza are the ones where no single ingredient dominates. Every component should be in harmony, with the dipping sauce acting as the final conductor that brings the whole orchestra together.
I want to emphasize that gyoza-making is one of the most therapeutic kitchen activities I have ever discovered. Once you get into the rhythm of filling and pleating, it becomes almost meditative. I put on my favorite playlist, set up my workstation, and before I know it, I have a tray full of beautiful little dumplings ready for the pan. This recipe makes about 40 gyoza, which is perfect for a family dinner with leftovers or a casual gathering with friends.
The Art of Preparing Gyoza Cabbage
The cabbage preparation is arguably the single most important step in making great gyoza, and it is the step that most home cooks underestimate. Raw cabbage contains a tremendous amount of water, and if that water is not removed before mixing with the meat, it will seep out during cooking and turn your beautiful dumplings into a soggy, steamed mess. My method involves two stages of moisture removal that guarantee a filling with perfect texture every single time.
First, I shred the cabbage as finely as possible. I am talking about pieces no wider than a matchstick — this is important because large cabbage pieces create air pockets in the filling and make the gyoza difficult to pleat closed. I use a sharp chef’s knife and take my time, cutting the cabbage into thin ribbons and then running my knife through them once more. Some cooks use a food processor, but I find it releases too much moisture prematurely and creates an unpleasant mushy texture.
The salting step draws out moisture through osmosis, collapsing the cell walls of the cabbage and concentrating its natural sweetness. After ten minutes with salt, the cabbage will have released a surprising amount of liquid. I then wrap it in a clean kitchen towel and squeeze with all my strength. This is a workout for your hands, but every drop of water you remove is a step closer to perfect gyoza. The goal is cabbage that feels almost dry to the touch but still has a slight tenderness from the salt treatment. This prepared cabbage will release just enough moisture during cooking to keep the filling juicy without making it wet.
Mastering the Classic Gyoza Pleat
The gyoza pleat is the technique that separates casual dumpling makers from dedicated enthusiasts, and I am going to break it down so simply that you will be making beautiful pleats on your very first try. The most important thing to understand is that the pleats are functional, not just decorative. They create a sealed edge that can withstand the vigorous steaming process, and they give the gyoza its signature crescent shape that allows it to sit upright in the pan.
I start by holding the wrapper flat on my non-dominant hand with the filling in the center. After moistening the edges with water, I pinch the top center of the half-moon closed. Then, using my dominant hand, I create small folds on the front side of the wrapper only, pressing each fold against the smooth back side. The key is to always pleat toward the center from both sides, creating a symmetrical look. I typically make five to six pleats per gyoza, but even three or four pleats will create a secure seal.
If pleating feels overwhelming at first, there is absolutely no shame in simply folding the wrapper in half and pressing the edges firmly to seal. These simple half-moon gyoza will taste exactly the same and cook identically. As you gain confidence and speed, you can gradually introduce the pleats. I always tell my friends that the filling is what matters most — a perfectly seasoned gyoza in an imperfect wrapper will always beat a beautifully pleated gyoza with a bland filling.
Tips for Perfect Gyoza Every Time
Get Your Pan Screaming Hot Before Adding Oil. The secret to that gorgeous golden crust starts with proper heat management. I preheat my non-stick skillet over medium-high heat for a full two minutes before adding the oil. When the oil shimmers and a drop of water flicked into the pan sizzles and evaporates immediately, the pan is ready. Place the gyoza flat side down and resist the overwhelming urge to move them. They need uninterrupted contact with the hot surface to develop that caramelized crust.
Use the Right Amount of Water for Steaming. Too little water and the gyoza will not cook through; too much and they will be waterlogged and the bottoms will lose their crispiness. I use exactly one-third cup of water for a standard 12-inch skillet holding about 20 gyoza. The water should sizzle violently when it hits the pan — stand back and add it quickly, then immediately cover with the lid. The steam cooks the tops and filling while the residual oil on the pan bottom protects the crust.
Listen to Your Gyoza. Seriously, your ears are one of the best tools for cooking gyoza. During the initial fry, you should hear a steady sizzle. When you add water and cover, the sizzling will be replaced by the sound of aggressive steaming. As the water evaporates, you will hear the sizzle return — this is your signal that the steaming is complete and the crust is re-crisping. When the sizzle becomes loud and rapid with occasional crackling, the gyoza are done. This entire audio journey takes about 8 to 10 minutes.
Mix the Filling in One Direction Only. This might sound like an old wives’ tale, but stirring the meat mixture consistently in one direction creates a protein network that makes the filling cohesive and bouncy rather than crumbly and dry. In Japanese and Chinese dumpling-making traditions, this technique is considered essential. I mix vigorously in a clockwise direction for about two full minutes until the mixture becomes noticeably sticky and pulls away from the bowl cleanly.
Do Not Overfill Your Wrappers. I know the temptation to stuff each gyoza to the breaking point is strong, but restraint is key. A heaping teaspoon is the perfect amount for a standard 3.5-inch wrapper. Overfilled gyoza are nearly impossible to seal properly, and they tend to burst during cooking, releasing their precious juices into the pan. It is much better to have a few extra wrappers than to ruin an entire batch with overstuffing.
Variations to Try
Shrimp and Chive Gyoza. Replace the pork with 1/2 pound of raw shrimp, peeled and finely minced with a knife (do not use a food processor — you want small chunks, not paste). Substitute the scallions with Chinese garlic chives for a more delicate, slightly garlicky flavor. Add a teaspoon of mirin to the filling for a subtle sweetness that complements the natural sweetness of the shrimp. These lighter gyoza are absolutely incredible dipped in ponzu sauce with grated daikon.
Vegetable and Mushroom Gyoza. For a fully plant-based version, replace the pork with a mixture of finely diced shiitake mushrooms, drained and crumbled firm tofu, and grated carrot. The mushrooms provide umami depth that mimics the savory quality of the pork. Add an extra tablespoon of soy sauce and a teaspoon of miso paste to boost the flavor. I also add a small handful of finely chopped water chestnuts for a pleasant crunch that keeps the texture interesting.
Cheese Gyoza (Inspired by Hakata Style). This might sound unusual, but cheese-filled gyoza are a beloved bar snack in Japan. Mix the standard pork and cabbage filling with 1/2 cup of shredded mozzarella cheese. When pan-fried, the cheese melts into a gooey, stretchy center that is absolutely addictive. Serve with a dipping sauce that includes a touch of Worcestershire sauce for an izakaya-worthy appetizer that will disappear within seconds at any party.
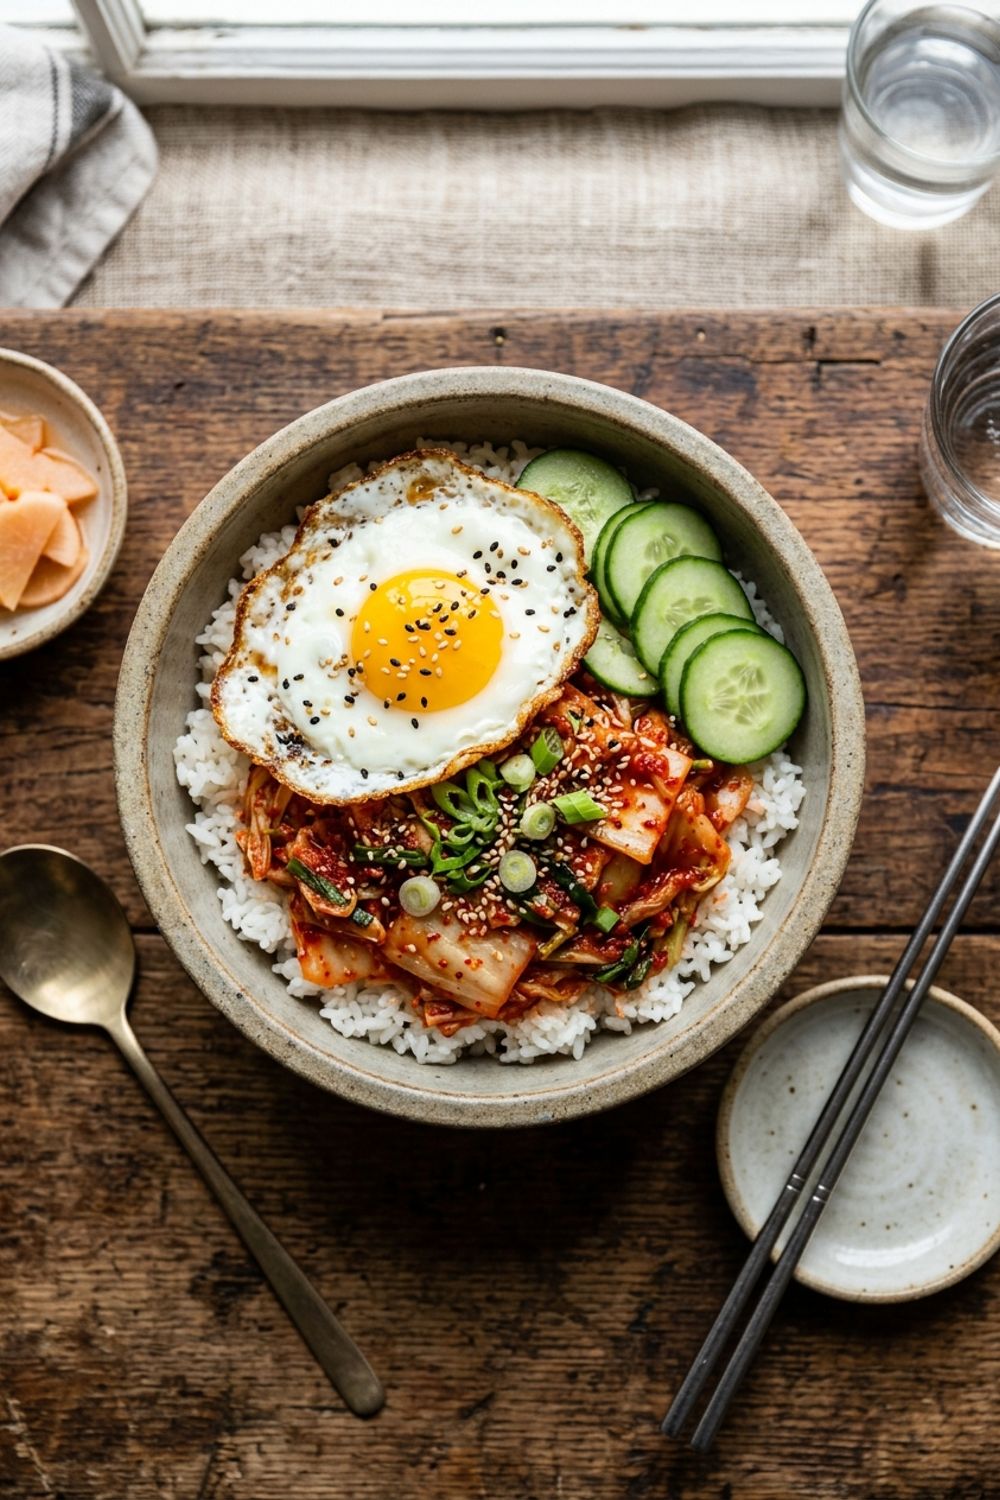
Spicy Kimchi Gyoza. Combine the best of Korean and Japanese flavors by adding 1/2 cup of finely chopped kimchi (well-drained) to the standard filling. Reduce the soy sauce by half since the kimchi adds its own saltiness. The fermented funk of the kimchi adds an incredible depth of flavor, and the subtle heat from the gochugaru creates a warm tingle that makes these gyoza completely irresistible. These pair beautifully with an ice-cold Japanese beer.
How to Store Your Gyoza
Uncooked gyoza freeze beautifully, making them one of the best make-ahead meals in my kitchen arsenal. Arrange them on a parchment-lined baking sheet in a single layer, making sure no dumplings are touching each other. Freeze until completely solid, about 2 hours, then transfer to freezer-safe bags or containers. Press out as much air as possible before sealing. Properly stored frozen gyoza will keep for up to 2 months without any loss in quality.
To cook frozen gyoza, do not thaw them — go straight from freezer to pan. Follow the same pan-frying method but increase the steaming time by 2 to 3 minutes and use slightly more water (about half a cup instead of one-third). The extra time and water ensure the filling cooks through completely from its frozen state. Cooked gyoza are best eaten immediately but can be stored in the refrigerator for up to 2 days. Reheat them in a dry pan over medium heat to re-crisp the bottoms.
Troubleshooting Common Gyoza Problems
If your gyoza wrappers are tearing during filling and pleating, they have likely dried out. Store-bought wrappers dry out very quickly once opened, so always keep unused wrappers covered with a damp towel while you work. If they are already dried, lightly mist them with water from a spray bottle and let them rest under the damp towel for a few minutes. Working quickly is essential — I aim to fill and pleat each gyoza in about 15 to 20 seconds.
If the bottoms of your gyoza are not getting crispy, the pan is not hot enough or there is too much water remaining when you remove the lid. Make sure to let all the water evaporate completely before expecting a crispy crust. You can also drizzle a small amount of additional oil around the edges of the gyoza after the water evaporates to encourage extra crispiness. If you are using a stainless steel pan instead of non-stick, you will need more oil and a higher initial temperature.
If the filling is falling apart and not holding together when you bite into the gyoza, the meat was not mixed enough. That vigorous two-minute mixing creates the protein bonds needed for a cohesive filling. The cornstarch also plays an important role as a binder — do not skip it. Make sure the filling is chilled before assembling, as cold filling holds its shape better during the pleating process.
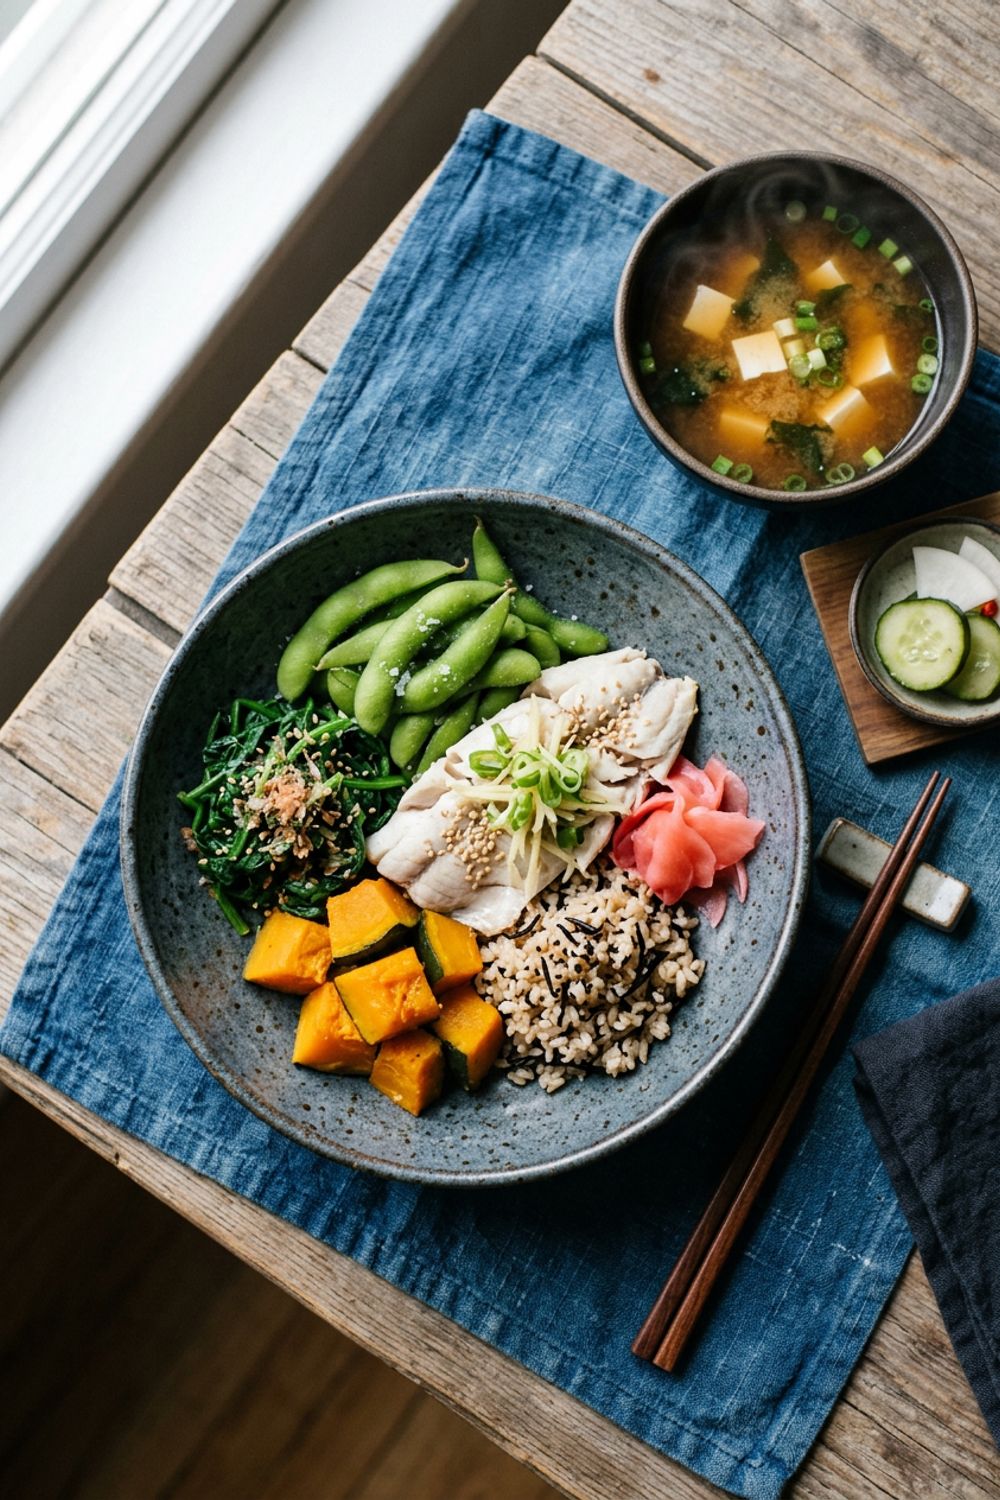
These Japanese cabbage gyoza are one of my most cooked recipes, and every single batch brings a smile to my face. For more dumpling adventures, check out my Cabbage Dumplings Polish Style, which offers a completely different but equally delicious take on the concept. If you love Japanese flavors, my Japanese-Inspired Healthy Portion-Control Meal is a wonderful light dinner option, and for a completely different cuisine, my Homemade Butter Chicken never disappoints.
Never Miss a Recipe
Join 5,000+ home cooks and get new recipes straight to your inbox.
Ingredients
Filling
Assembly and Cooking
Dipping Sauce
Instructions
- 1
Prepare the Cabbage
Finely shred the cabbage and place it in a large bowl. Sprinkle with 1/2 teaspoon of salt, toss to combine, and let sit for 10 minutes. Transfer the cabbage to a clean kitchen towel and squeeze out as much moisture as possible. This step is crucial — wet cabbage leads to soggy gyoza. You should be able to squeeze out at least 2-3 tablespoons of liquid.
- 2
Make the Filling
In a large bowl, combine the squeezed cabbage with the ground pork, minced scallions, garlic, grated ginger, soy sauce, sesame oil, sake, sugar, white pepper, and cornstarch. Mix vigorously in one direction with a fork or chopsticks for about 2 minutes until the mixture becomes slightly sticky and cohesive. Cover and refrigerate for 15 minutes to firm up.
- 3
Fold the Gyoza
Place a gyoza wrapper on your palm. Dip your finger in water and moisten the entire edge of the wrapper. Place a heaping teaspoon of filling in the center. Fold the wrapper in half, pinching the top center to seal. Create 5-6 pleats on the front side of the wrapper, pressing each pleat against the smooth back side to seal. The gyoza should have a crescent shape that sits flat on a surface. Place on a parchment-lined tray and repeat.
- 4
Pan-Fry the Gyoza
Heat 1 tablespoon of vegetable oil in a large non-stick skillet over medium-high heat. Arrange half the gyoza in tight rows, flat side down, in the pan. Cook without moving for 2-3 minutes until the bottoms are golden brown. Add 1/3 cup of water and immediately cover with a lid. Reduce heat to medium and steam for 4-5 minutes until the water has almost completely evaporated.
- 5
Create the Crispy Crust
Remove the lid and increase heat to medium-high. Continue cooking for another 1-2 minutes until all remaining moisture evaporates and the bottoms become deeply golden and crispy. You should hear a crackling, sizzling sound. Carefully slide a spatula under the gyoza and flip them onto a plate, crispy side up. Repeat with the remaining gyoza.
- 6
Make the Dipping Sauce
While the gyoza cook, whisk together the soy sauce, rice vinegar, sesame oil, chili oil, and sugar in a small bowl until the sugar dissolves. Serve alongside the hot gyoza immediately.
Nutrition Information
Per serving (serves 4). Values are approximate.
| Calories | 350 calories |
| Total Fat | 16g |
| Saturated Fat | 4g |
| Carbohydrates | 36g |
| Sugar | 4g |
| Protein | 18g |
| Sodium | 920mg |
| Fiber | 2g |
* Percent Daily Values are based on a 2,000 calorie diet. Your daily values may be higher or lower depending on your calorie needs. Nutritional information is an estimate and may vary.
Frequently Asked Questions
Can I make gyoza wrappers from scratch?
Yes! Mix 2 cups of all-purpose flour with 3/4 cup of boiling water and a pinch of salt. Knead for 10 minutes until smooth, rest for 30 minutes, then divide into 40 pieces and roll each into a thin 3.5-inch circle. Homemade wrappers have a slightly chewier texture that many people prefer.
How do I prevent gyoza from sticking to the pan?
Use a well-seasoned or non-stick pan and make sure the oil is hot before placing the gyoza. Do not move them during the initial frying phase. If they stick when you try to flip them, slide a thin spatula gently underneath. A splash of additional oil around the edges can help release stubborn spots.
Can I use a different protein instead of pork?
Absolutely. Ground chicken or turkey work well with the same seasonings. For a vegetarian version, replace the pork with extra-firm tofu (pressed and crumbled) plus finely diced shiitake mushrooms. Add an extra tablespoon of soy sauce to compensate for the reduced umami.
What is the best way to freeze gyoza?
Arrange uncooked gyoza on a parchment-lined sheet in a single layer without touching. Freeze for 2 hours until solid, then transfer to freezer bags. Cook from frozen by adding 2 extra minutes to the steaming time. They keep for up to 2 months.

Hi, I'm Lisa!
I create simple, tested recipes from around the world that anyone can make at home.
Learn More →Reader Reviews
Based on 287 reviews