Desserts & Baking
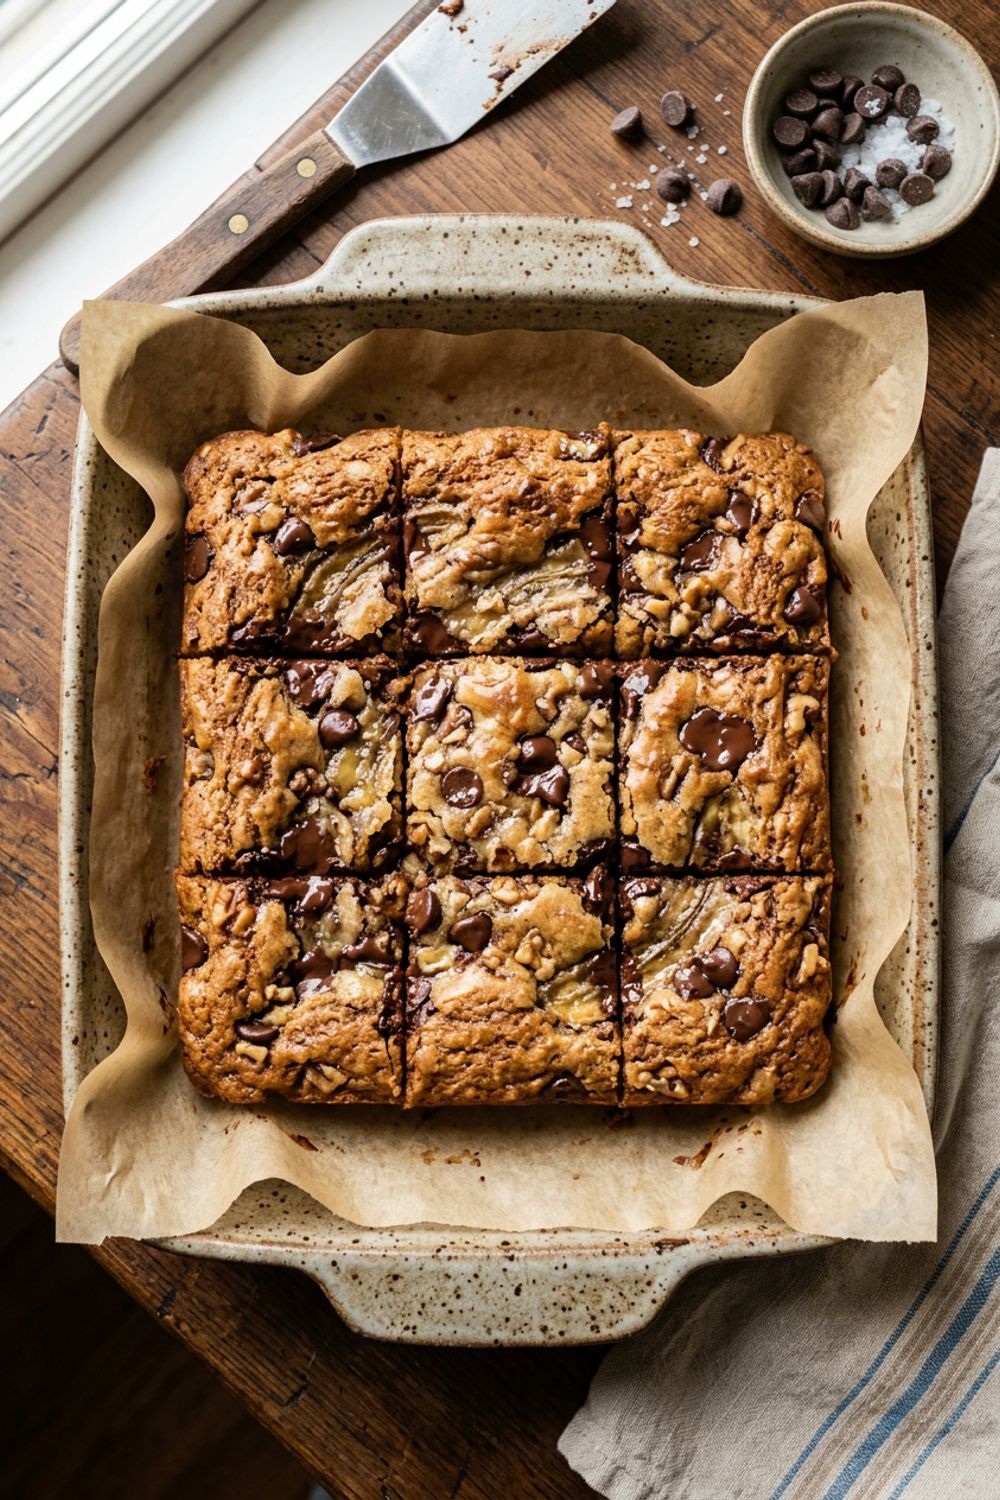
Banana Chocolate Chip Bars
Why This Banana Chocolate Chip Bars Recipe Is Special
I developed these bars for a very specific reason: I always have overripe bananas and I do not always want to make a full loaf of banana bread. Sometimes I want something faster, flatter, and more portable — something I can cut into squares and toss in a lunchbox or stack on a plate for an after-school snack. These bars are the answer to that exact need, and they have become one of the most-made recipes in my kitchen.
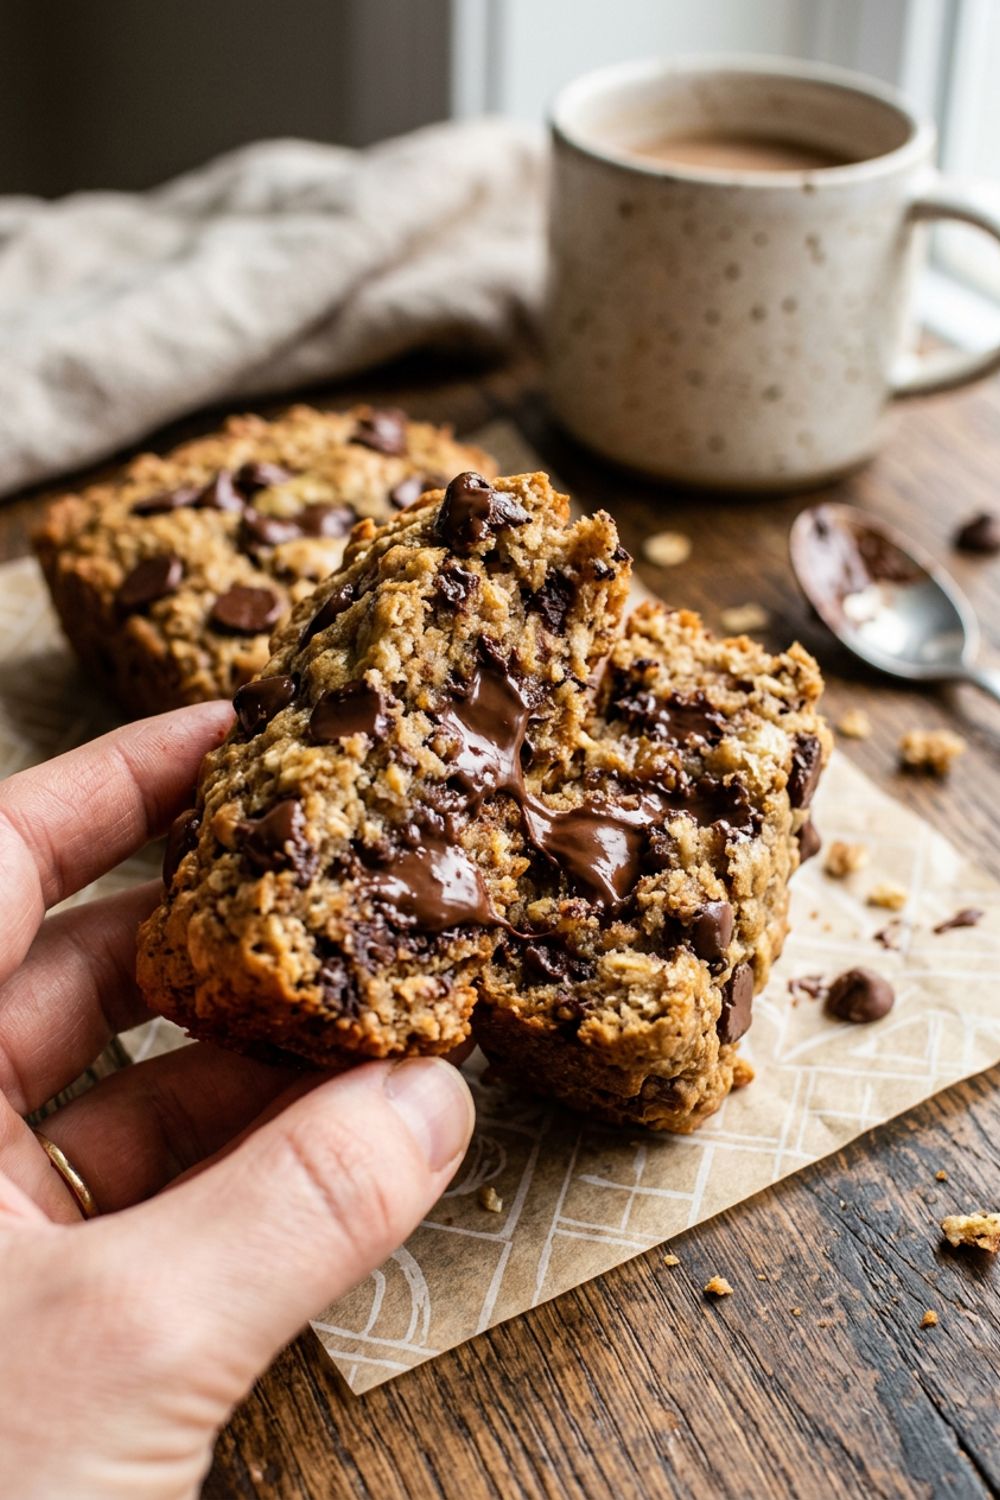
Think of these as the lovechild of banana bread and a chocolate chip cookie bar. You get all that gorgeous, caramelly banana flavor from the overripe fruit, combined with pools of melted chocolate in every bite. The brown sugar gives them a deeper, more toffee-like sweetness than regular granulated sugar, and the texture is soft and chewy with just enough structure to hold together when you pick up a square.
The entire recipe comes together in one bowl with nothing more than a fork and a spatula. No mixer, no complicated steps, no long baking times. From mashing bananas to pulling the pan from the oven, you are looking at about 35 minutes. I make these on weeknights when I want a homemade dessert without the commitment, on weekends for family snacking, and any time I spot those sad, brown bananas on the counter that nobody wants to eat plain. These bars rescue those bananas and turn them into something truly wonderful. Add the optional brown butter frosting for special occasions — it takes the bars from great to absolutely extraordinary.
The Magic of Brown Sugar in Bars
If you have ever wondered why some bars and cookies are chewy while others are cakey or crispy, the type of sugar used is one of the biggest factors. I use light brown sugar in these bars instead of granulated white sugar, and it makes all the difference in both flavor and texture.
Brown sugar is simply granulated white sugar with molasses added back in. Light brown sugar contains about 3.5% molasses, while dark brown sugar has about 6.5%. That molasses does two important things in baking. First, it is hygroscopic, meaning it attracts and retains moisture. This is why brown sugar bars stay soft and chewy for days, while cookies made with all white sugar can become crispy and hard within hours.
Second, molasses adds a rich, caramel-like flavor that pairs incredibly well with banana. The natural caramel notes in overripe bananas are amplified by the molasses in brown sugar, creating a depth of flavor that you simply cannot achieve with white sugar. It is like the banana and the brown sugar speak the same flavor language.
The melted butter works in concert with the brown sugar to create chewiness. When butter is melted (rather than creamed with sugar), it does not incorporate air into the batter. Less air means denser, chewier bars with a more fudgy texture. Creamed butter would produce a lighter, cakier result — delicious in its own right, but not the chewy, substantial bar I am after.
I specifically call for light brown sugar because dark brown sugar can be overpowering in this recipe. The higher molasses content can create an almost bitter, burnt-sugar flavor that competes with the banana. Light brown sugar hits the sweet spot of adding flavor and moisture without overwhelming the other ingredients.
Perfecting the Chocolate-to-Banana Ratio
I tested this recipe with everything from 1/2 cup to 1 1/2 cups of chocolate chips before settling on 1 cup as the ideal amount. Here is my reasoning.
With 1/2 cup, the chocolate felt like an afterthought — you would get some bites with chocolate and many without, which was disappointing. With 1 1/2 cups, the bars became more of a chocolate bar that happened to have banana in it, which was not the balance I wanted. One cup gives you chocolate in virtually every bite without overwhelming the banana flavor. The banana should be the star with the chocolate playing a strong supporting role.
I use semi-sweet chocolate chips because their bittersweet flavor contrasts beautifully with the sweet banana and brown sugar. Milk chocolate chips work too but can make the bars overly sweet. Dark chocolate chips (60% cacao or higher) create a more sophisticated flavor profile that adults tend to prefer.
My trick for making the bars look professional is reserving about 2 tablespoons of chocolate chips to scatter over the top of the batter before baking. These top chips get slightly caramelized in the oven and create an attractive, bakery-worthy appearance. They also signal to anyone looking at the bars that there is plenty of chocolate inside.
For the most even chocolate distribution, fold the chips in after the flour is incorporated, using just 2 to 3 gentle strokes. The batter should look marbled with chocolate rather than uniformly mixed. Overmixing at this stage not only risks developing gluten but also can crush the chips and create chocolate streaks instead of distinct melty pockets.
Tips for Perfect Banana Chocolate Chip Bars
Measure the mashed banana carefully. Three large bananas typically yield about 1 1/4 cups of mashed banana, but banana sizes vary. Too much banana and the bars will be gummy; too little and they will be dry. If you are between three and four bananas, err on the side of less. You can always eat the extra banana as a snack.
Do not overbake — pull them early. This is the most critical instruction in the entire recipe. At 22 minutes, check the bars. The edges should be golden and slightly pulled away from the pan. The center should look just barely set — it might even look slightly shiny. This is perfect. The residual heat in the pan will continue baking the bars for several minutes after you pull them from the oven. If you wait until the center looks fully baked, the bars will be dry and crumbly once cooled.
Let them cool completely in the pan. I know the warm banana-chocolate aroma makes waiting difficult, but warm bars are too soft to cut cleanly. They will crumble and fall apart. Letting them cool completely — at least 30 minutes, ideally an hour — allows the starches and sugars to set, giving you bars with clean edges and a satisfying chew. If you need to speed this up, pop the pan in the fridge for 15 minutes.
Try the brown butter frosting at least once. I list it as optional because the bars are fantastic on their own, but the brown butter frosting turns them into something truly special. The nutty, caramelized butter flavor on top of the banana and chocolate is a combination that makes people stop mid-bite and ask what is in it. It adds about 5 extra minutes and is absolutely worth the effort for special occasions.
Use a sharp knife for clean cuts. Banana bars can be sticky, especially with the chocolate chips. Spray your knife lightly with nonstick cooking spray or dip it in hot water between cuts. Wipe the blade clean each time for the neatest squares. Cutting while the bars are slightly chilled also helps.
Variations to Try
Banana Peanut Butter Chocolate Chip Bars. Dollop 1/4 cup of peanut butter in spoonfuls over the batter before baking and swirl with a knife. The peanut butter creates gooey pockets that taste incredible with the banana and chocolate. Use either creamy or crunchy — crunchy adds great textural interest.
Banana Walnut Chocolate Chip Bars. Fold in 1/2 cup of toasted, chopped walnuts along with the chocolate chips. The walnuts add a buttery crunch that contrasts with the soft bar and melted chocolate. Pecans work equally well for a slightly sweeter, more buttery flavor.
Double Chocolate Banana Bars. Add 3 tablespoons of cocoa powder to the dry ingredients and use a mix of semi-sweet and white chocolate chips. The cocoa turns the bars into a rich chocolate-banana hybrid that tastes like a chocolatey banana split without the ice cream.
Banana S’mores Bars. Replace half the chocolate chips with mini marshmallows and crush 4 graham crackers over the top before baking. The marshmallows get toasty and gooey while the graham crackers add that campfire flavor. These are a massive hit at summer gatherings.
Banana Oat Chocolate Chip Bars. Replace 1/2 cup of the flour with 1/2 cup of rolled oats for a heartier, breakfast-worthy version. The oats add fiber and a satisfying chewy texture. Let the batter rest for 10 minutes before baking so the oats have time to absorb some moisture.
How to Store Banana Chocolate Chip Bars
These bars store beautifully at room temperature for up to 3 days in an airtight container. The banana keeps them moist, and the brown sugar helps them stay chewy. I place a sheet of parchment paper between layers to prevent the bars from sticking together, especially if the chocolate chips have not fully set.
If you added the brown butter frosting, refrigerate the bars since the frosting contains butter and milk. They will keep in the fridge for up to 5 days. Let them come to room temperature for 10 minutes before serving so the frosting softens and the bars lose their fridge-firm texture.
For freezing, wrap individual bars tightly in plastic wrap and store in a zip-top bag for up to 3 months. Unfrosted bars freeze better than frosted ones. Thaw at room temperature for 20 to 30 minutes or microwave for 15 seconds for a warm, gooey treat. I always keep a stash in the freezer for banana-chocolate emergencies, which in my house happen more often than you would think.
Troubleshooting Banana Chocolate Chip Bars
The bars are too cakey. Switch to all brown sugar (no white), use melted butter instead of softened, and make sure you are not overmixing the batter. Overmixing develops gluten, which creates a cakier texture. Also check that your leaveners are accurate — too much baking powder causes excess rise and a cakey crumb.
The bars are falling apart. They need more cooling time, or they are slightly underbaked. The bars should be completely cool before cutting. If they crumble even when cool, the batter may not have had enough structure — make sure you used the full amount of flour and eggs.
The chocolate chips sank to the bottom. This happens when the batter is too thin. Make sure your bananas are well-drained (very ripe bananas can release a lot of liquid). If the batter seems loose, add 2 extra tablespoons of flour. Also, tossing the chips in a teaspoon of flour before folding them in can help them stay suspended.
The bars taste flat or bland. Check your salt — 1/2 teaspoon is essential for bringing out the banana and chocolate flavors. Also, make sure your bananas are ripe enough. Under-ripe bananas have very little flavor compared to heavily spotted, overripe ones.
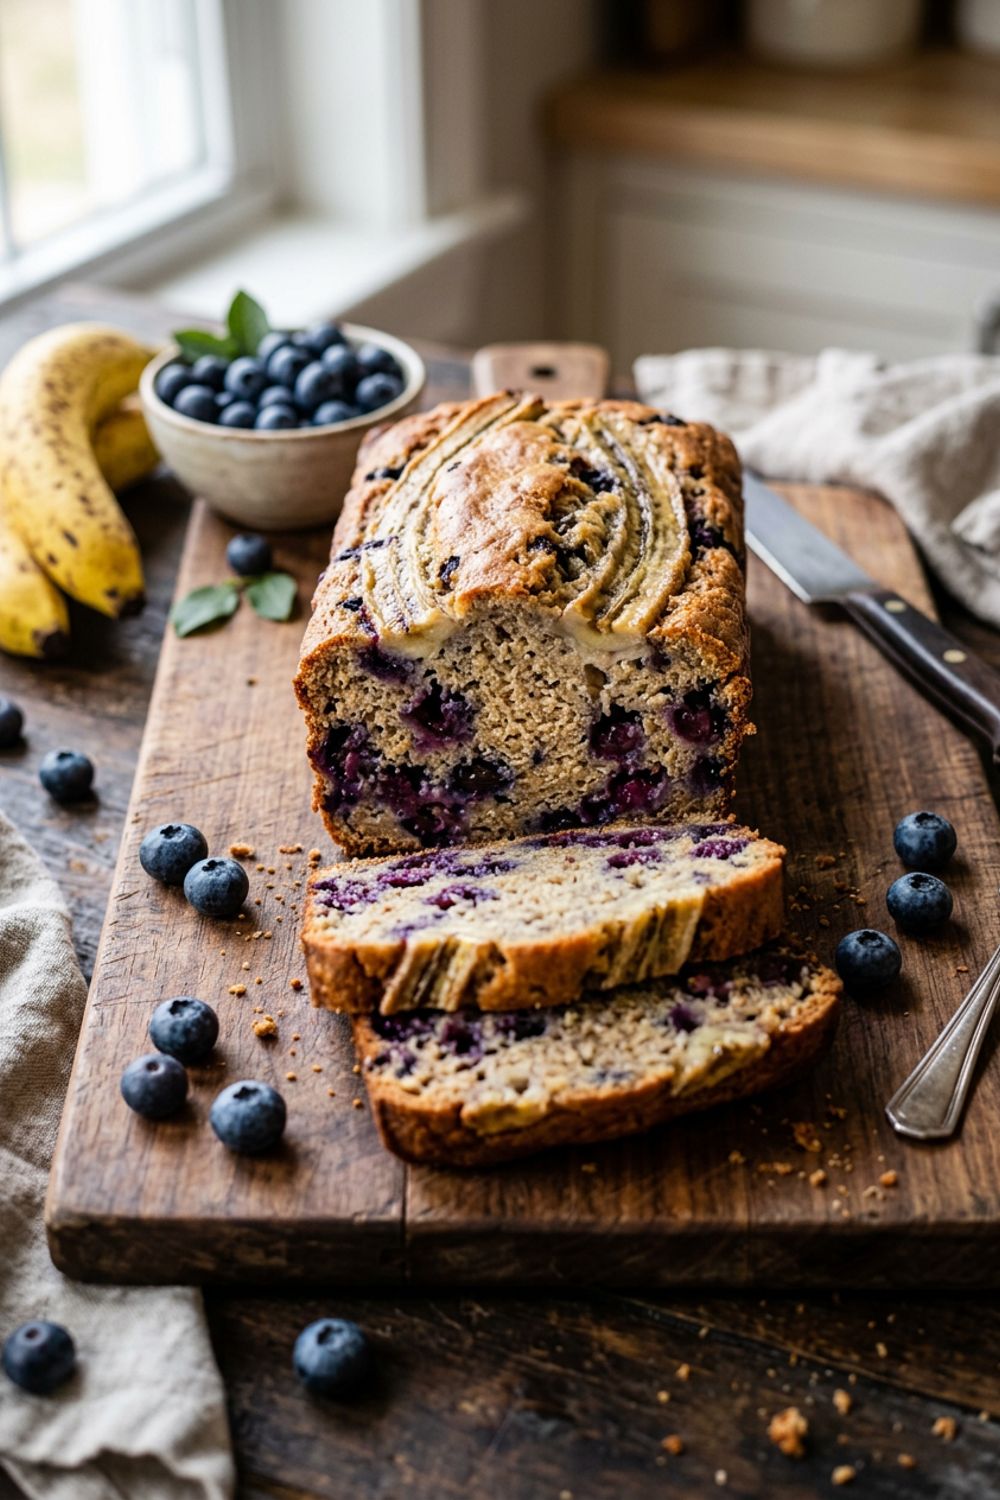
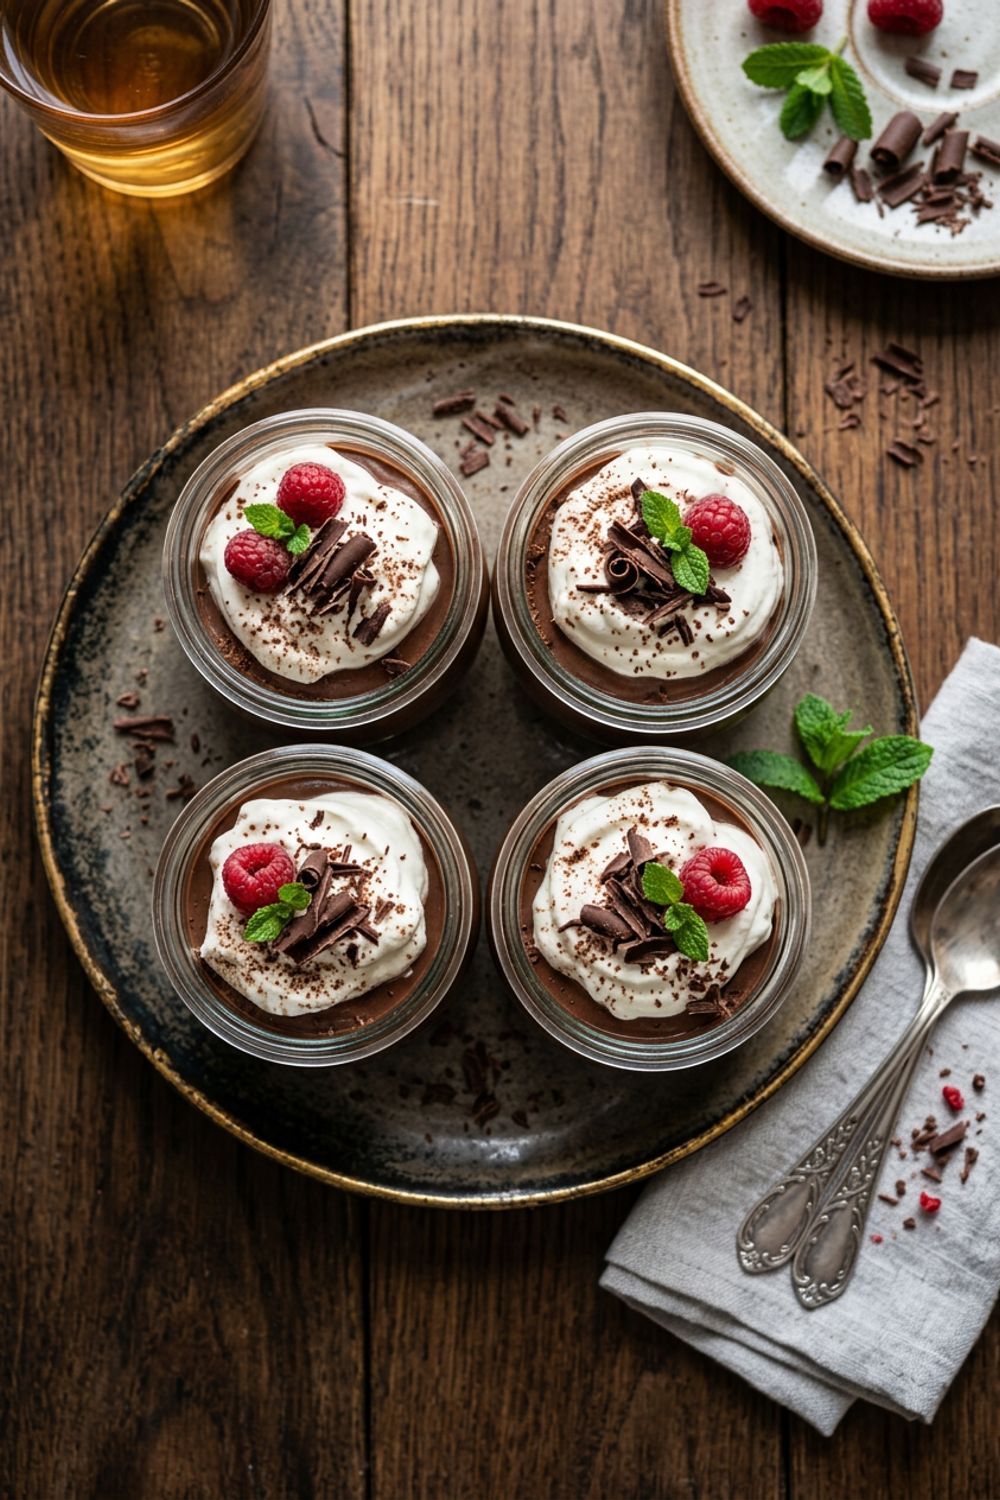
For more banana-based baking, check out my blueberry banana bread for a berry-studded classic, or my easy peanut butter cookie bars for another one-bowl bar recipe. If you want to explore chocolate in a different format, my chocolate pudding pots deliver rich chocolate in spoonable, silky form.
Never Miss a Recipe
Join 5,000+ home cooks and get new recipes straight to your inbox.
Ingredients
Banana Bars
Brown Butter Frosting (Optional)
Instructions
- 1
Prepare the Pan
Preheat your oven to 350°F (175°C). Line a 9x13-inch baking pan with parchment paper, leaving an overhang on two sides. Spray lightly with nonstick cooking spray.
- 2
Mix the Wet Ingredients
In a large bowl, mash the ripe bananas with a fork until mostly smooth. Stir in the melted butter and brown sugar until well combined. Add the egg and vanilla extract, stirring until the mixture is smooth and glossy.
- 3
Add the Dry Ingredients
Sprinkle the flour, baking powder, baking soda, salt, and cinnamon over the wet ingredients. Fold gently with a spatula until just combined — stop mixing when only a few streaks of flour remain.
- 4
Add Chocolate Chips
Reserve 2 tablespoons of chocolate chips for topping. Fold the remaining chocolate chips into the batter with 2 to 3 gentle strokes. Pour the batter into the prepared pan and spread evenly. Scatter the reserved chocolate chips over the top.
- 5
Bake
Bake at 350°F (175°C) for 22 to 25 minutes, until the edges are golden brown and a toothpick inserted in the center comes out with just a few moist crumbs. The center should look barely set — the bars will continue to firm up as they cool. Do not overbake.
- 6
Cool and Frost
Let the bars cool completely in the pan, at least 30 minutes. If making the brown butter frosting: melt the butter in a small saucepan over medium heat, stirring occasionally, until it turns golden and smells nutty, about 3 to 4 minutes. Pour into a bowl and whisk in the powdered sugar, milk, and vanilla until smooth. Spread over the cooled bars. Cut into 16 squares.
Nutrition Information
Per serving (serves 16). Values are approximate.
| Calories | 215 calories |
| Total Fat | 8g |
| Saturated Fat | 5g |
| Carbohydrates | 34g |
| Sugar | 21g |
| Protein | 3g |
| Sodium | 175mg |
| Fiber | 1g |
* Percent Daily Values are based on a 2,000 calorie diet. Your daily values may be higher or lower depending on your calorie needs. Nutritional information is an estimate and may vary.
Frequently Asked Questions
Can I use white chocolate chips instead?
Yes! White chocolate chips make a sweeter, creamier bar. You can also use a mix of semi-sweet and white chocolate chips for visual contrast and varied flavor. Peanut butter chips are another great option.
How ripe do the bananas need to be?
Very ripe — heavily spotted or fully brown/black skins are ideal. The riper the banana, the sweeter and more flavorful your bars will be. Under-ripe bananas produce bland, starchy bars.
Can I add nuts?
Absolutely. Fold in 1/2 cup of chopped walnuts or pecans with the chocolate chips. Toast them first in a dry skillet for extra flavor.
These bars are too cakey. How do I make them chewier?
Make sure you are using brown sugar (not white) and melted butter (not softened). Both contribute to a chewier texture. Also, pull them from the oven when the center still looks slightly underdone.

Hi, I'm Lisa!
I create simple, tested recipes from around the world that anyone can make at home.
Learn More →Reader Reviews
Based on 134 reviews